-
Fo
chevron_right
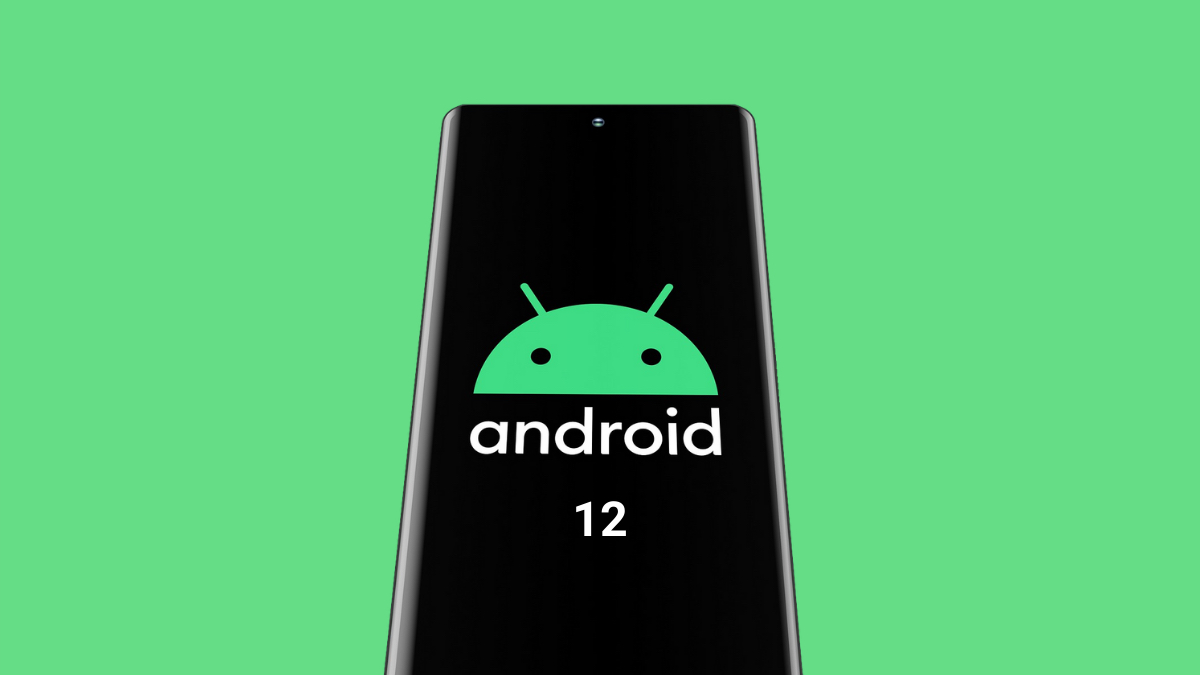
How To Enable And Use One-Handed Mode In Android 12?
pubsub.do.nohost.me / FossBytes · Thursday, 18 March, 2021 - 13:41 · 2 minutes
Android 12 DP 2 is out and Google has added a ton of new features. One of them, also hinted at in the previous build but was not live, is the new One-handed mode.
As the name suggests, the new Android 12 feature scales down the screen, therefore enabling users to reach options at the top with ease.
However, unlike the one-handed mode in Samsung’s One UI and other Android-based UI where the option pulls down the screen vertically and horizontally, the stock Android one seems to only scale down vertically.
Nevertheless, the one-handed mode in Android 12 will certainly be useful in smartphones that have big screens.
How to enable One-handed mode in Android 12?
As of writing this article, Android 12 early builds are only available a bunch of Google Pixel devices — Google Pixel 3, Pixel 3 XL, Pixel 3a, Pixel 3a XL, Pixel 4, Pixel 4 XL, Pixel 4a, Pixel 4a 5G, or Pixel 5.
It is important to note that installing Android 12 developer previews on your Pixel device comes with certain risks. Since the build is not stable, you may face performance issues or unexpected errors. We would advise you to install Android 12 DP2 on a secondary device or wait for a more stable build, i.e., Android 12 beta.
With that out of the way, here’s how to toggle the Android 12 one-handed mode on Pixel devices —
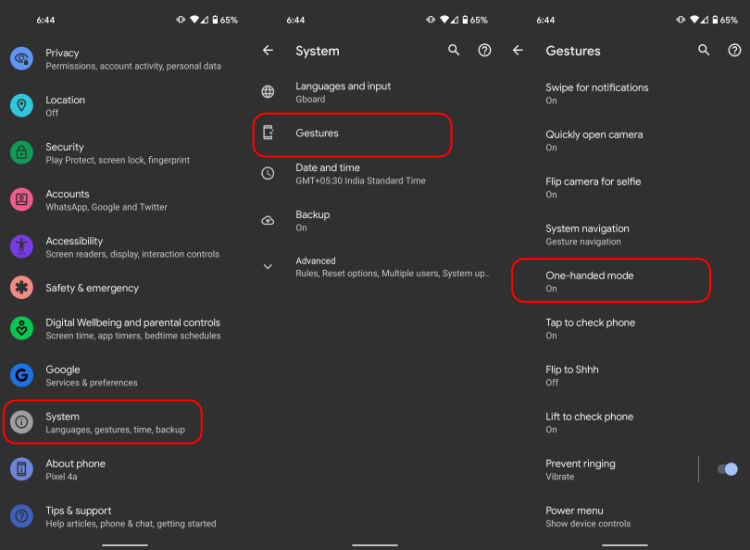
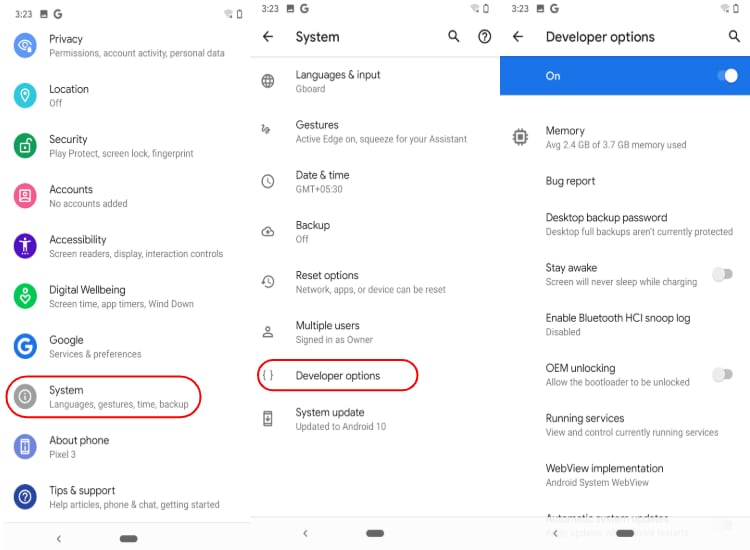
- Go to Android settings > System > Gestures
- Select One-handed mode and toggle Use one-handed mode
- To use One-handed mode on Android 12, simply swipe down on the bottom of the screen (on the pill).
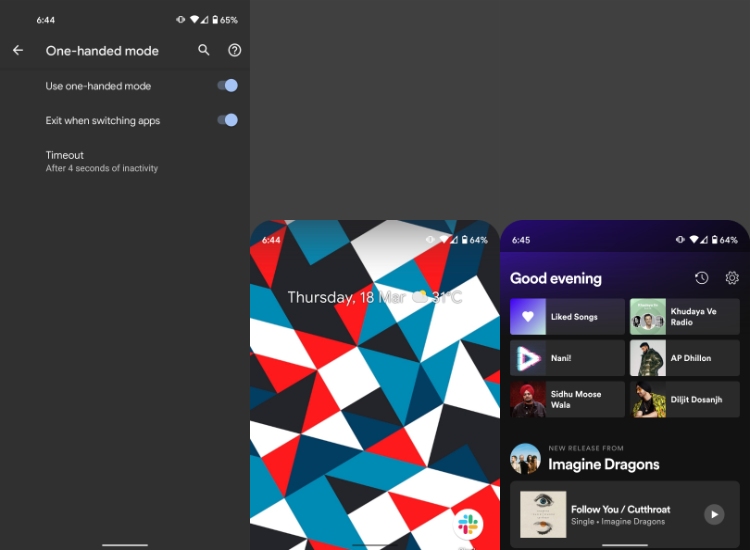
In the One-handed mode settings, you can toggle off Exit when switching apps which will keep the mode turned on until you manually turn it off. As per our testing, the toggle is not doing anything but we are hoping Google will fix this issue in the upcoming Android 12 build.
There is also a One-handed mode timeout option in the settings which will disable the feature after a certain time of inactivity. You can set it as 4 sec, 8 sec, 12 sec, or never.
We are hoping the Android 12 One-handed mode is here to stay and will not be removed from the final Android 12 build.
The post How To Enable And Use One-Handed Mode In Android 12? appeared first on Fossbytes .