Mint and Ubuntu are the two most popular Linux Distros among beginners. Some of the reasons they’re popular are their simple and delightful easy-to-use UIs, especially Mint’s UI, which resembles Windows in many ways. In this article, let’s compare Linux Mint Vs Ubuntu, check out the similarities and differences, and determine which one’s better for beginners.
Linux Mint Vs Ubuntu: What Are The Differences?
1. User Experience And Interface
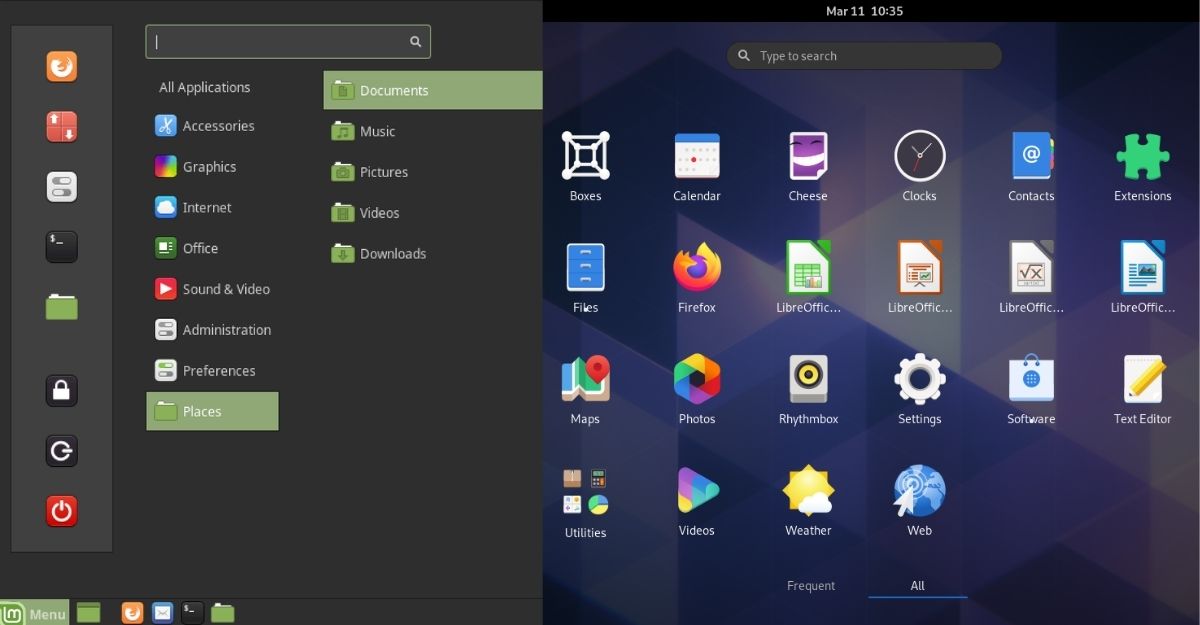
While Ubuntu ships with GNOME, Linux Mint ships in three flavors – Cinnamon, XFCE, and MATE, out of which Cinnamon is the most preferred Desktop Environment.
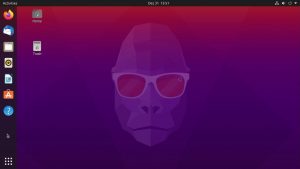
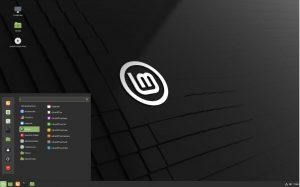
Ubuntu (Left) Vs Linux Mint (Right)
Ubuntu essentially looks like…Ubuntu, and Linux Mint Cinnamon resembles quite a lot to Windows XP/Vista/7.
That said, if you’re someone who’s coming from Windows, I’m pretty sure you’ll like Linux Mint.
2. The Cinnamon vs. GNOME Showdown
Both Cinnamon and GNOME have their own perks, but I like Cinnamon over GNOME. Cinnamon consumes significantly lesser memory than your usual Ubuntu Desktop, making Mint the
best distro for old PCs
.
I’ve tried both Ubuntu and Linux Mint, and the difference in performance was second to none on my 8th Gen Intel i5 machine. But, if you’re someone who’s running ancient hardware, you might be able to see the difference.
3. Pre-installed Applications
Many people, including me, hate bloatware, but the set of apps that come pre-loaded in Linux Mint, even though they’re too many, are all essential apps that you’ll definitely use at some point.
Whereas, to get started with Ubuntu, you’ll need to install many apps as it comes with almost nothing except the LibreOffice Suite and a bunch of other non-useful applications.
4. Ubuntu Vs Mint: Customizations Options
Customization is another area where Mint has an edge over Ubuntu. I know that you CAN customize Ubuntu, but I’d pick Mint’s pre-built customization options any day.
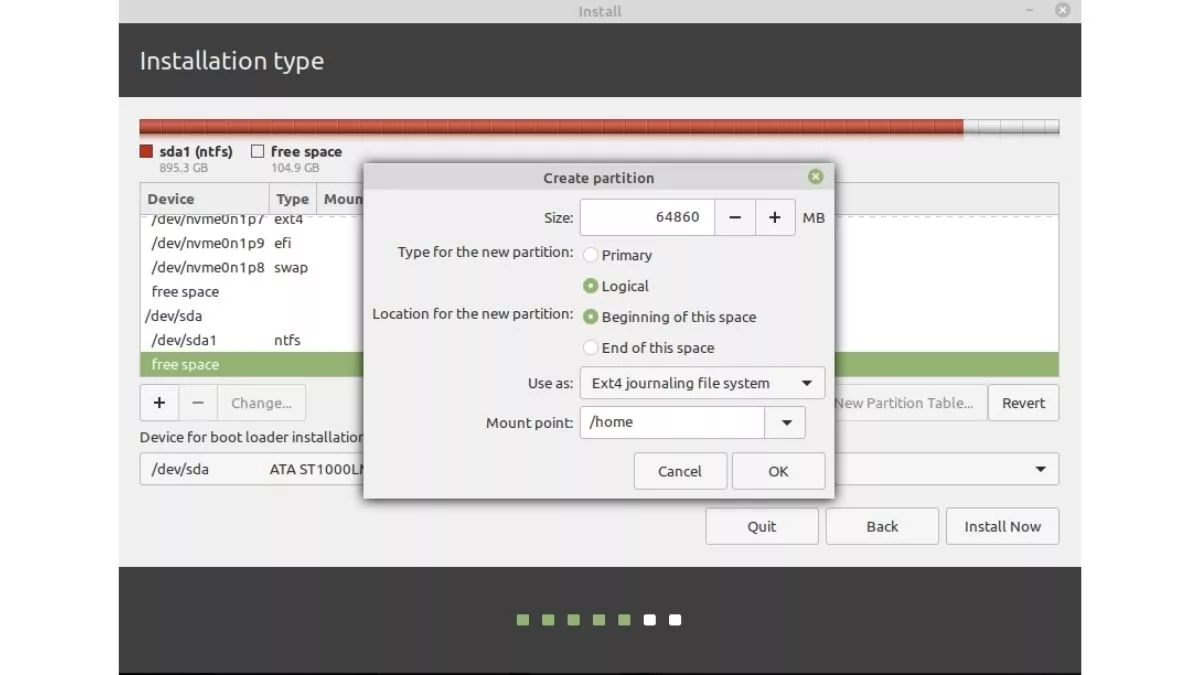
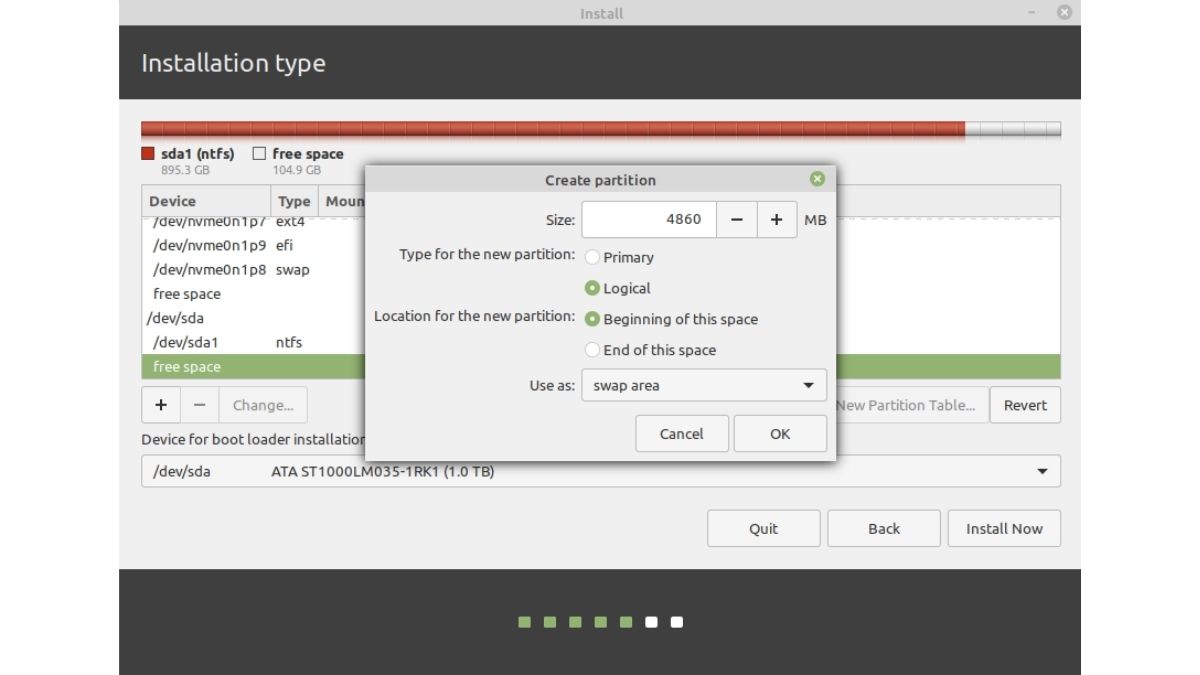
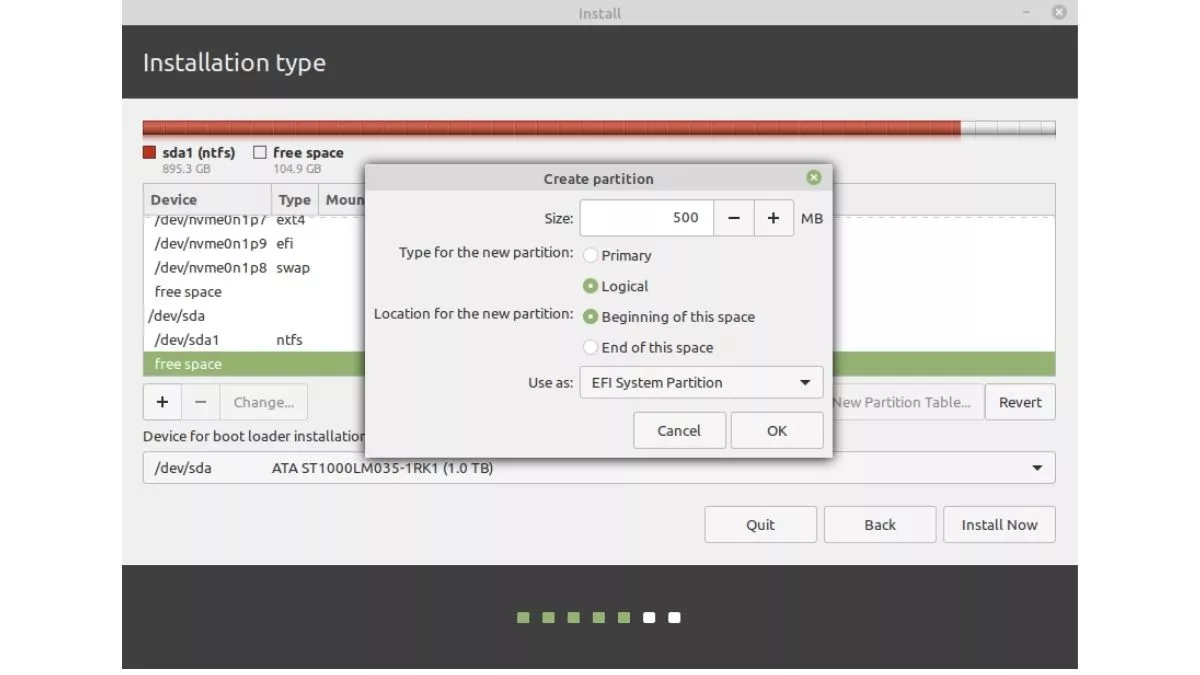
5. Ubuntu and Mint System Requirements
While Ubuntu has become a more spec demanding OS in the past few years, Linux Mint requires the least system resources among both.
If you own an ancient PC, then you should be better off with Mint. Here are the minimum specs requirements for Mint:
-
1GB RAM (2GB Recommended)
-
At least 20GB of free disk space.
-
A Dual-core processor
-
1024×768 screen resolution
6. Software Center And Snap Support
Ubuntu’s software center is slower than the one on Mint, which is blazingly fast. Also, Mint doesn’t support Snaps by default.
Like many other open-source developers, Mint’s developers don’t like how Canonical practically controls the Snap format, which is a valid point of view.
7. Linux Mint and Ubuntu For Programming
I’ve used both Linux Mint and Ubuntu for development purposes, and both the distros offer a similar experience. None of them has unique programming/development features that would act as a differentiating factor between them.
That said, if you’re looking for a distro solely for Development, do check out Solus in our
best non-Ubuntu-based distros that are beginner friendly
article.
8. Mint vs Ubuntu For Gaming
As Linux Mint is just a prettier version of Ubuntu, there’s not much difference in both the distros’ gaming capabilities. As long as you have the
latest NVIDIA
or Mesa (AMD) drivers, you should be good to go.
Also, if you need the best Linux gaming distros, we’ve got you covered! Check out our
best Linux gaming distros
article.
Which One’s The Best For Beginners?
On an old PC and for beginners, Linux Mint is the clear winner. On more modern hardware, the choice is not quite as clear. Both distros offer different experiences, and at the end of the day, it all boils down to your personal desktop preferences.
If simplicity is what you adore, Linux Mint is a better choice. But, if customizations are what you crave, Ubuntu is a great choice. Don’t like either of them? Make sure to check out our
best Linux distros to try out in 2021
article.
The post
Linux Mint vs. Ubuntu: Which One’s Better For Beginners?
appeared first on
Fossbytes
.
 A new IRC client (but don’t call it an IRC client) is being developed by Linux Mint. The Ubuntu-based distro currently includes Hexchat in its default software set. IRC isn’t as trendy as Discord or Telegram but it is a free, open standard that no single entity controls, is relatively low-bandwidth, interoperable, and efficient. But as I reported in February: Hexchat is no more. Hexchat quitting the chat leaves —I so badly want to type leafs there— Linux Mint with a dilemma and an opportunity. The dilemma being: “should we continue shipping an IRC client, and what role does it […]
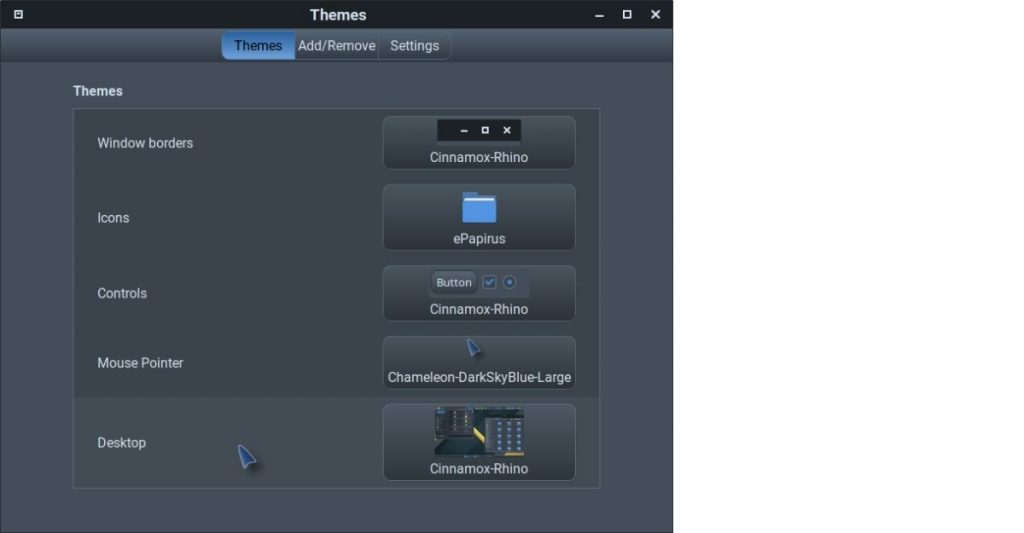
 When Linux Mint 21.2 is released this June it’ll come with a selection of new visual “styles” for users to choose from. Announcing this visual buff in its latest monthly update, Mint says the feature will simplify the Cinnamon desktop’s extensive customisation capabilities whilst still satisfying those looking to fine-tune the way their desktop looks and feels. “A style has up to three modes: mixed, dark and light. Each of these modes can contain color “variants”. A variant is a combination of themes which work well together,” Mint says of its new feature. Effectively, Linux MInt’s new “Styles” are “one-click” […]
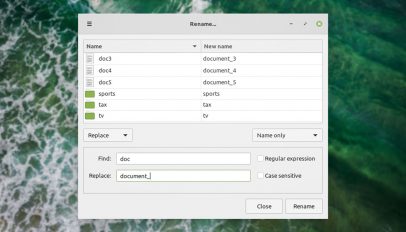 Linux Mint 20.2 is making it easier to bulk rename files, and to find files using the Nemo file manager. These improvements will ship in the next release.