• chevron_right

      All the Appliances You Need to Whip up a Smart Kitchen

      pubsub.dcentralisedmedia.com / LifehackerAustralia · Friday, 12 February, 2021 - 06:02 · 4 minutes

    No matter what level of cook you are, introducing smart appliances and gadgets into your kitchen is a sure-fire way to boost your cooking skills. These appliances can help take off the stress of preparing certain meals through their multi-functionality, pre-programmed settings and constant feedback via phone apps.

    We’ve collected a list of smart kitchen appliances that’ll help improve your meals, regardless of whether you’re a pro or novice. If you really want to go all out with your kitchen upgrades, you should also consider introducing some smart lighting and virtual assistants into your set up.

    Inkbird Smart Wireless BBQ Thermometer ($27.19)

    wireless-thermo-e1613012210882.jpg?auto=format&fit=fill&q=65&w=1280 Image: Amazon

    Inkbird’s smart wireless thermometer is perfect for the busy chef. After you insert the stainless steel probe into your meat, you’re able to set up a timer and a high/low temperature alarm which will alert you via the phone app, so you can avoid overcooking or undercooking your meal.

    The thermometer connects via Bluetooth with a range that’s just shy of 50m. Its temperature reading is accurate to ±1℃, with a the short time range of 0℃ to 310℃, and a continuous monitoring ranges from 0℃ to 250℃.

    RENPHO Digital Food Scale ($24.99)

    renpho-digi-scale.jpg?auto=format&fit=fill&q=65&nrs=40 Image: RENPHO

    This digital food scale will help you track and record your meal data, calculate calories and offer detailed nutritional info for portion control. Built with four high-precision load sensors to give you the most accurate reading possible, the scale also comes with a tare function, which lets you remove the container weight when measuring small ingredients.

    This scale also includes a feature designed for coffee, which will tell you the ratio needed between coffee beans and water, along with a brewing timer.

    Ninja Foodi Smart Pressure Cooker ($269.10)

    ninja-foodi-pressure-cooker-02.jpg?auto=format&fit=fill&q=65&w=1280 Image: Amazon

    If you love cooking but are tight on kitchen space, or maybe you’re a little less experienced and need something that can help you do everything, Ninja’s Foodi smart cooker might be the answer you need.

    This smart cooker is your one stop pot. The Foodi uses a multi-functional cooking system, allowing you to pressure cook, slow cook, steam, sauté, brown, air fry, bake, roast, and grill. It even boasts the ability to make a fresh 2.3kg  chicken crispy in 40 minutes.

    Ninja Intelli-Sense Smart Kitchen System ($335)

    ninja-kitchen-system.jpg?auto=format&fit=fill&q=65&w=1280 Image: Amazon

    Ninja’s Intelli-Sense Kitchen System isn’t one smart appliance, it’s four. It uses a smart base that has a set of smart programs which are specific to each of the interchangeable Smart Vessels.

    It gives you a range of functions and cooking solutions without bulking out your cupboard with multiple appliances. The four Smart Vessels are the Total Crushing Pitcher, Precision Processor, High-Speed Blender Cup and Auto-Spiralizer.

    You can use the Intelli-Sense to make a range of meals and drinks, from smoothies, to noodles, salsa and even pizza dough.

    Breville Smart Grill Pro ($399)

    smart-grill.jpg?auto=format&fit=fill&q=65&w=1280 Image: Amazon

    When cooking your meat to perfection, you need to be accurate with your temperature and times to ensure you get the correct doneness. You don’t want to aim for medium-rare and accidentally land on well done.

    Breville’s Smart Grill Pro is designed to relieve some of that stress by giving accurate temperature readings and quick heat control. The Smart Grill Pro comes equiped with a stainless steel probe that will give you a precise reading of your meat’s temperature and also indicate when you need to remove it from the grill.

    It also comes with programmed cooking settings for beef, lamb, pork, poultry and fish, so you can ensure you cook your meal to the doneness you need.

    Ecovacs DEEBOT Robot Vacuum Cleaner ($569)

    deebot-osmo-920-e1613012039714.jpg?auto=format&fit=fill&q=80&w=1280&nrs=40 Image: Ecovacs

    Working hard to make a delicious meal? A great and rewarding time. Knowing that there’s a dirty kitchen waiting for you the moment you finish eating? Not so great and rewarding. While a robot vacuum cleaner won’t help you with that pile of dirty dishes sitting in your sink, it’ll take care of your dirty floors and give you one less thing to worry about.

    Ecovacs’ DEEBOT Ozmo 920 can simultaneously vacuum and mop your floors, removing up to 99.26% of bacteria. The robot vacuum comes with programmable paths and routines, allowing you to choose when and where it will clean. You’re also able to pair it with Alexa and Google Assistant voice commands, giving you hands free control.

    Editor’s note: Descriptions and features are as taken from manufacturer/seller claims on Amazon.

    The post All the Appliances You Need to Whip up a Smart Kitchen appeared first on Lifehacker Australia .
    • chevron_right

      How To Make Delicious Buffalo Wings In Your Pressure Cooker

      pubsub.dcentralisedmedia.com / LifehackerAustralia · Sunday, 7 February, 2021 - 21:53 · 4 minutes

    Where wings are concerned, I’m very easy to please. For me, the Buffalo wing (chicken wing) experience is 90% sauce, with the remaining 10% split between juicy meat (that’s properly cooked) and some degree of skin crispiness; basically, as long as butter is involved, I’m thrilled.

    But even if I had exacting Buffalo wing standards, I’d be impressed by pressure-cooked Buffalo wings, which are easy, infinitely adaptable, satisfying, and best of all, fast . What’s not to love about that?

    How to make Buffalo wings in your pressure cooker

    If you love a crispy skin, then you should rest the wings overnight in the fridge to dry out the skin. But if you’re willing to sacrifice some crunch in favour of time, you can have a batch ready in less than an hour, no deep-frying required. Here’s how to do it.

    First, separate the wings into drums and flats if needed — the nice man at my local store hacked mine up for me so I didn’t have to — and season with salt. (Your batch size will depend on your pressure cooker’s capacity — you don’t want to overfill it.)

    Place a steamer basket in your pressure cooker and carefully arrange a layer of flats on the rack, making sure that none of them touch the bottom of the cooker. Once you have a nice solid layer, arrange the remaining wings on top and pour in a cup and a half of water.

    Lock the lid in place and press the “Steam” button, then use the “Adjust” button to select “Less” (or equivalent settings on your pressure cooker). This will steam the wings for 5 minutes at high pressure, which is what you want — and while they cook you can make some sauce .

    Let the pressure release naturally for about 5 minutes, and release the rest manually. If you’re making wings for a crowd, repeat this process as many times as you need to get all the wings cooked. (Save the leftover steaming water — it makes for great chicken stock.)

    From here, you have two options: grill the steamed wings straight away, or let them dry out in the fridge overnight. Because I am a serious journalist, I made several versions to help you decide. It is my duty. You’re welcome.

    erspo2cthmjimvbqtnav.jpg

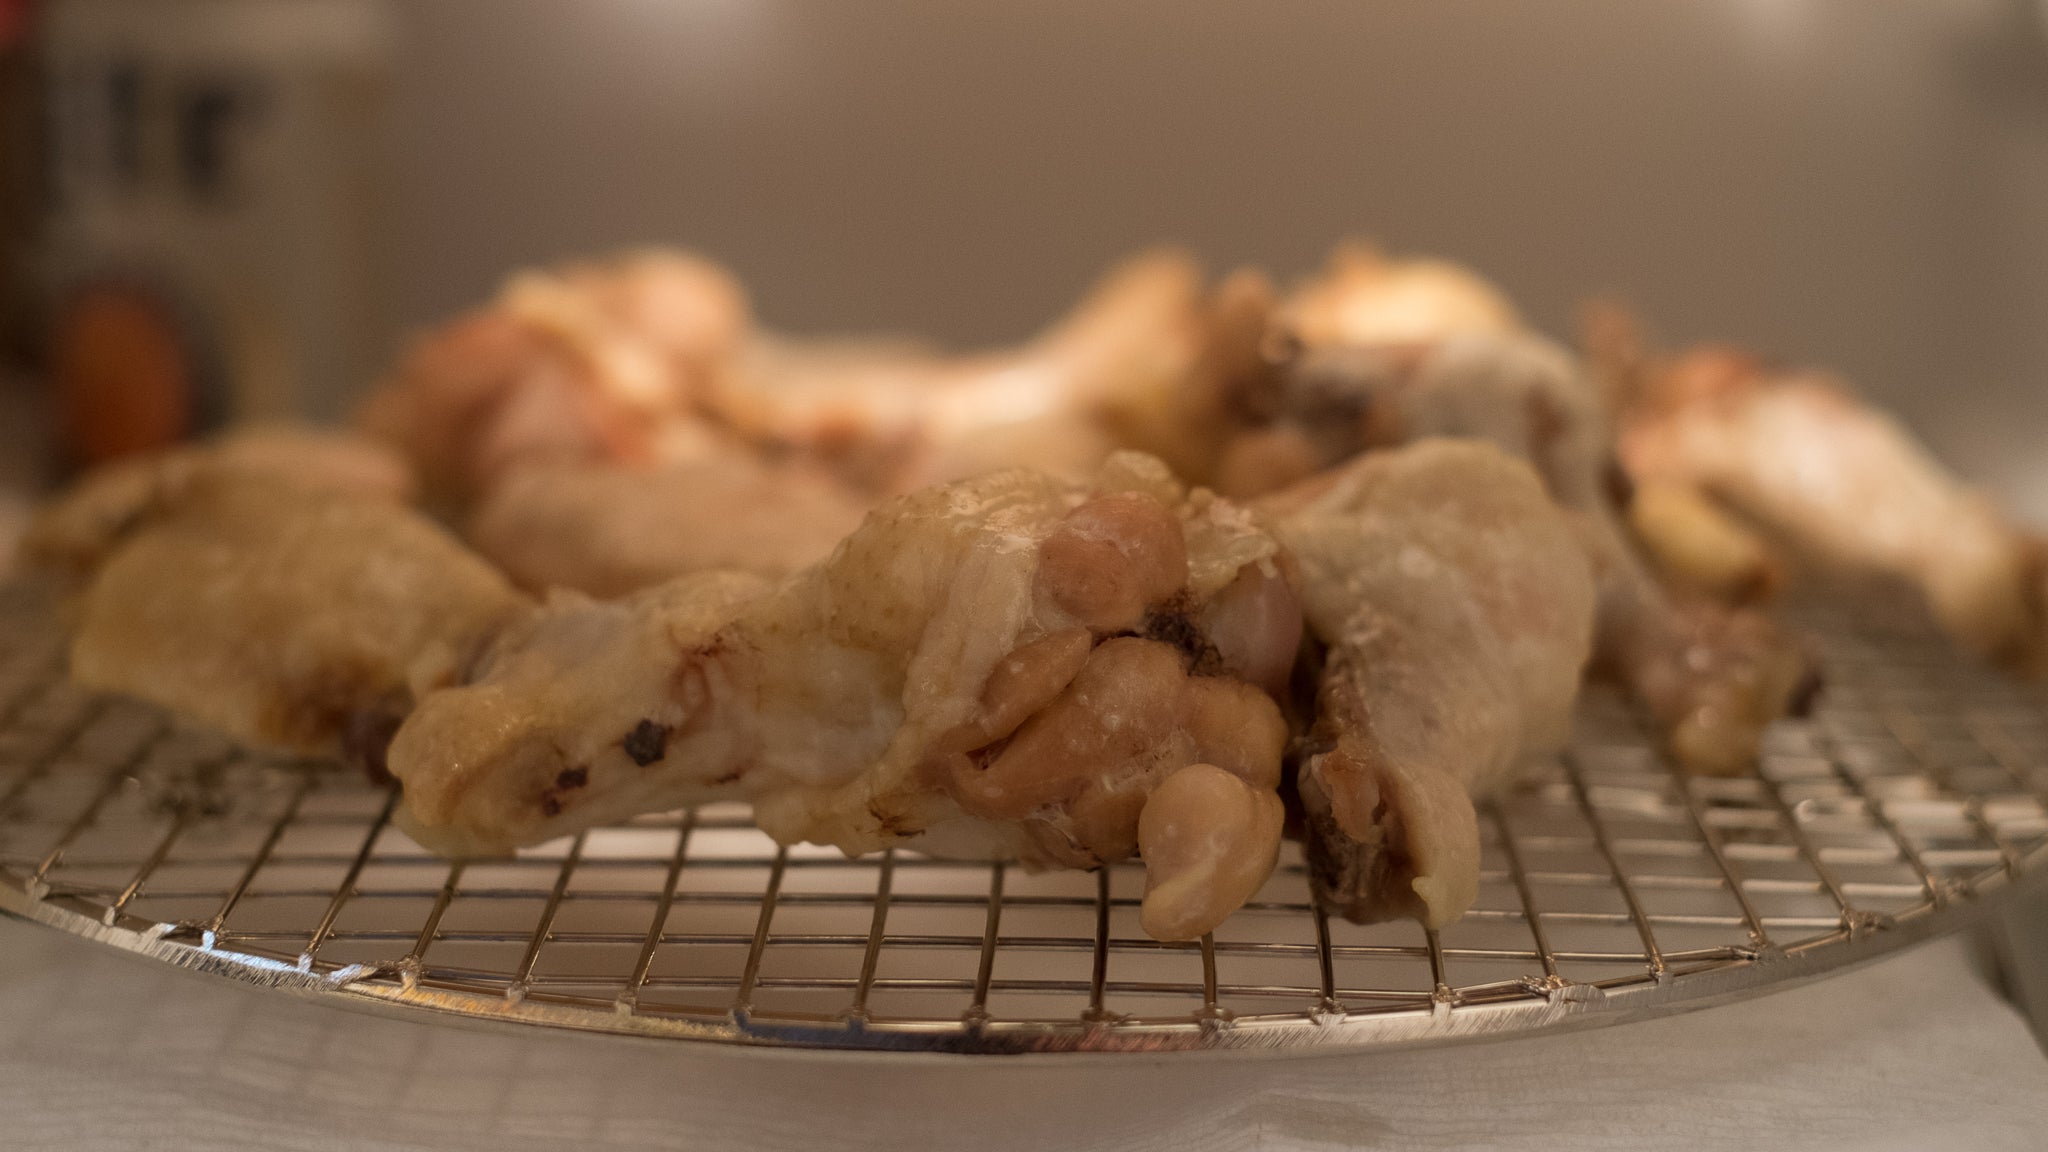
    The wings, pre-fridge drying.

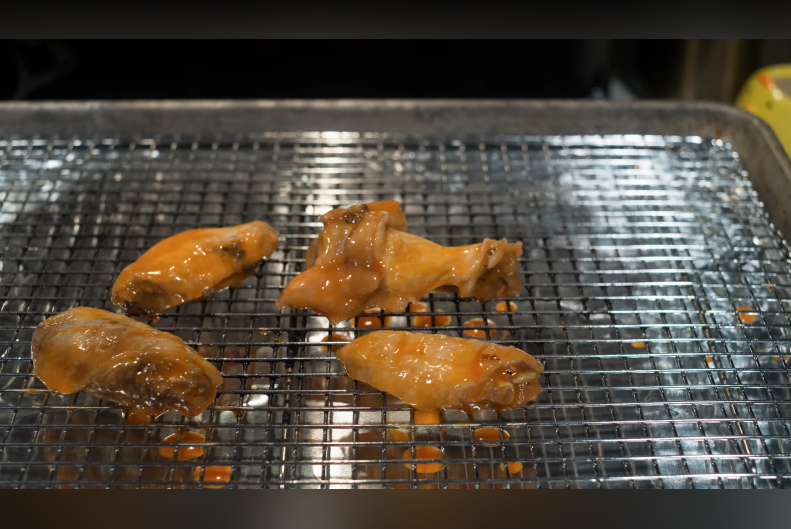
    First, I made a batch the same way I always do: lightly sauced right out of the pressure cooker, grilled on both sides until crisp, and then heavily sauced.

    Screen-Shot-2019-09-09-at-9.51.19-am.png?auto=format&fit=fill&q=80&w=1280&nrs=40

    If you’re hungry now and indifferent to crispy skin, these are for you. They took 30 minutes start-to-finish and are downright succulent: juicy and flavourful all the way through, and incredibly tender — but not so tender they fall apart in your hands. Look, you could do a lot worse.

    Screen-Shot-2019-09-09-at-9.51.34-am.png?auto=format&fit=fill&q=80&w=1280&nrs=40

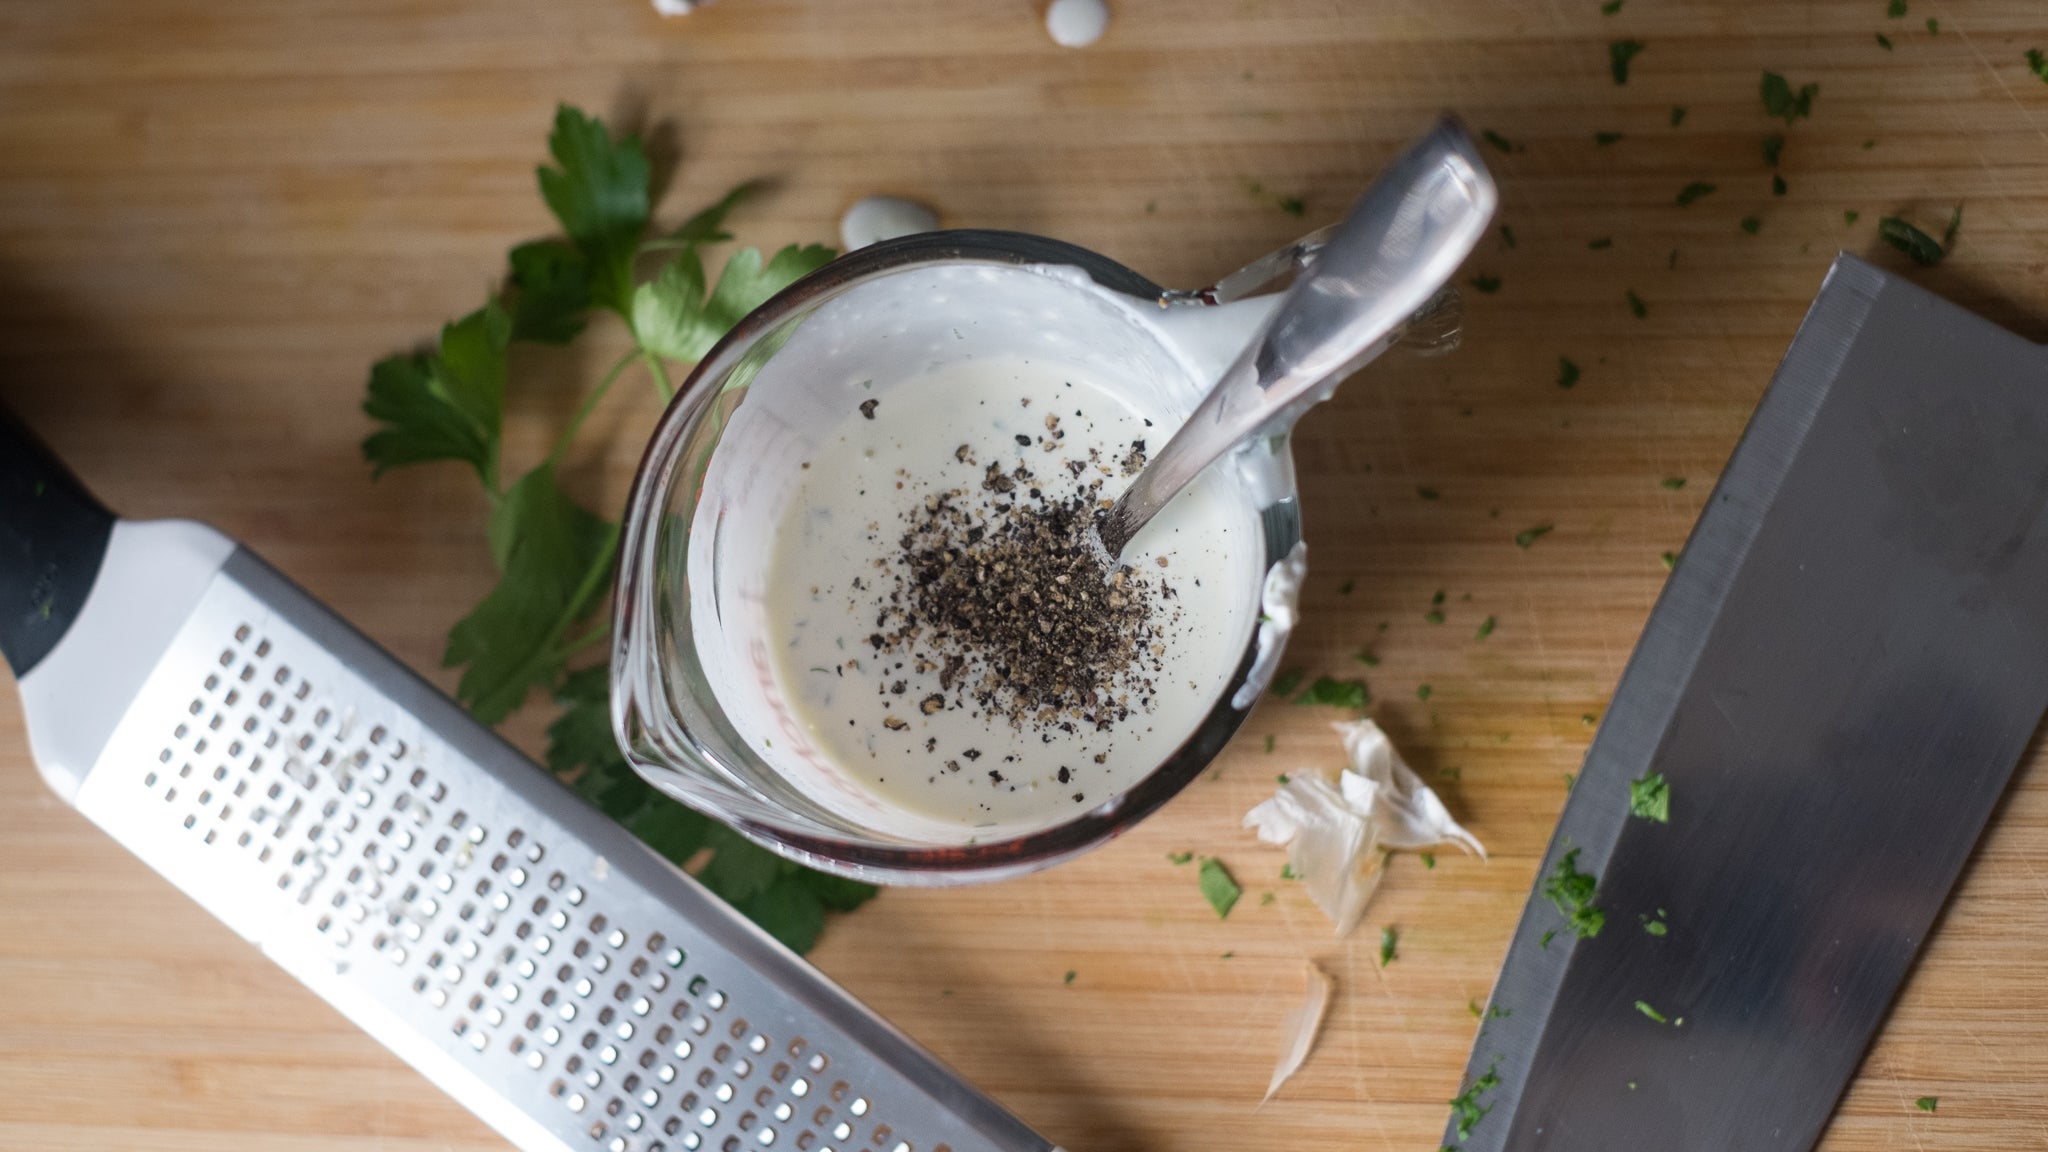
    But if you’re after that crispy, crispy skin, I suspect you feel you could also do a lot better . If that’s your deal, place the steamed wings skin side up on a cooling rack and let them rest, uncovered, in the fridge overnight. Make some ranch sauce if, like me, you prefer it to blue cheese dressing for wings, then go to sleep and dream of Buffalo wings.

    pkgyunqx2eu2zuiknq41.jpg

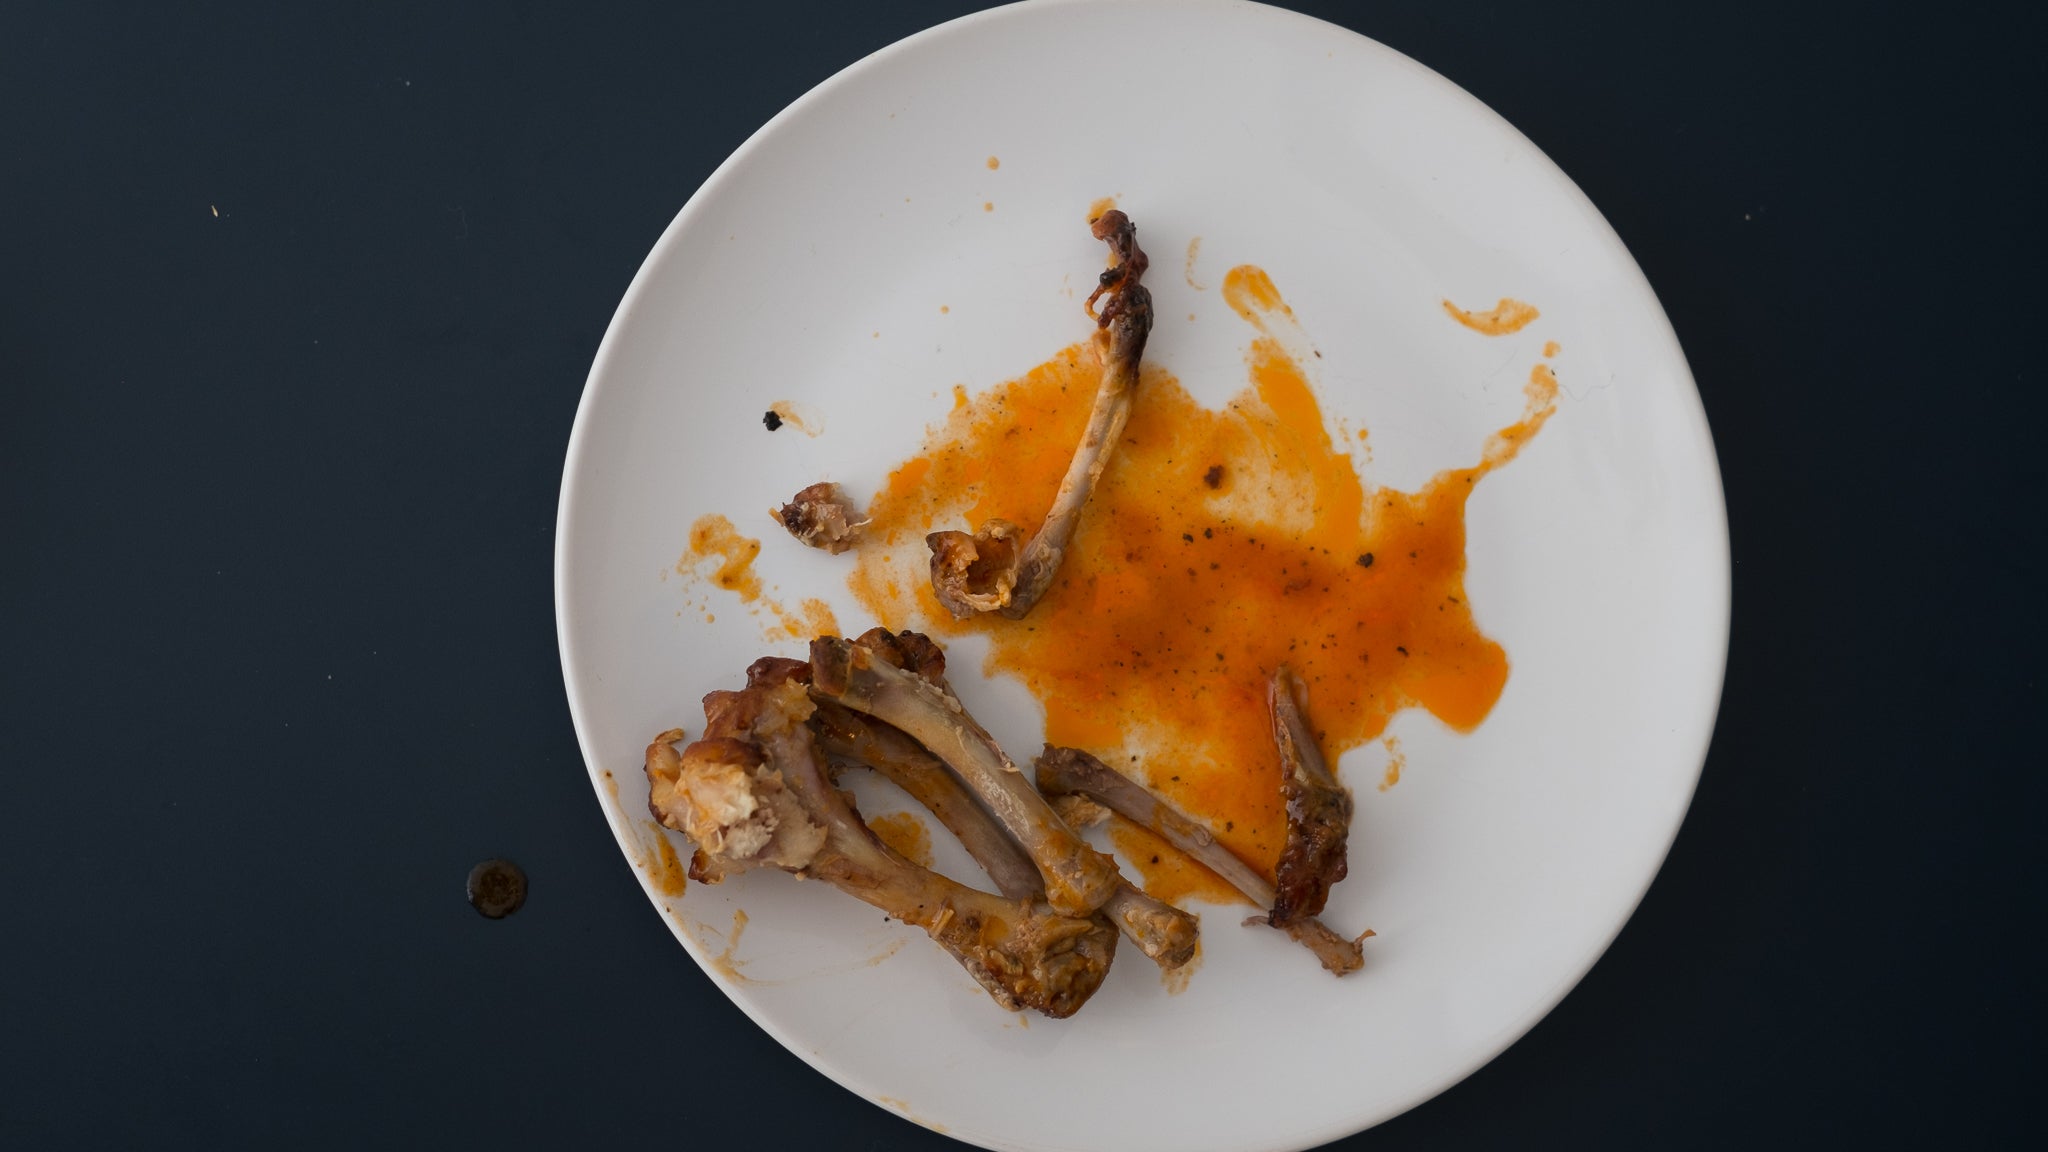
    I APOLOGISE FOR NOTHING

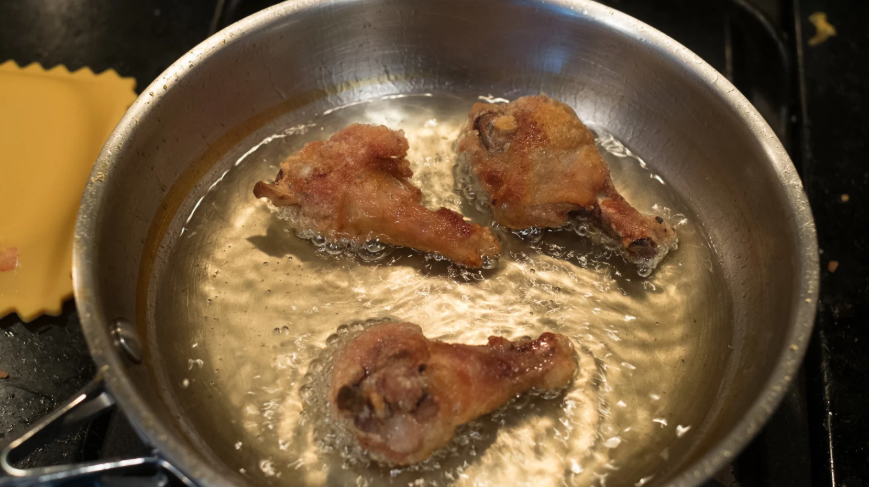
    Once the wings are nice and dry, you have to decide how you want to crisp them up. Grilling is my preferred crisping method because I hate smelling like a vat of oil, but I fried some wings anyway just for you. Following Claire’s method from her sous-vide wing adventure , I heated about 1.5cm of vegetable oil to about 200 degrees Celsius and shallow-fried three wings.

    Screen-Shot-2019-09-09-at-9.55.07-am.png?auto=format&fit=fill&q=80&w=1280&nrs=30

    Were they good? Obviously, yes, they were amazing. But now there’s a ring of gummed-on vegetable oil inside my stainless pan, all my windows are open even though it’s snowing outside, and I need to shower.

    Screen-Shot-2019-09-09-at-9.55.16-am.png?auto=format&fit=fill&q=80&w=1280&nrs=30

    Grilling your wings, on the other hand, is low-risk and high-reward. You can grill them straight out of the fridge to approximate a fried texture or do the sauce-broil-sauce method I mentioned earlier. Whichever you choose, keep your pan about 15cm away from the hot griller and put the flats in the centre, surrounded by the drums.

    They will brown more evenly this way. Broil ’em skin side-up until golden and crisp, then flip and repeat twice more — you want to finish them skin side-up to maximise that crispiness.

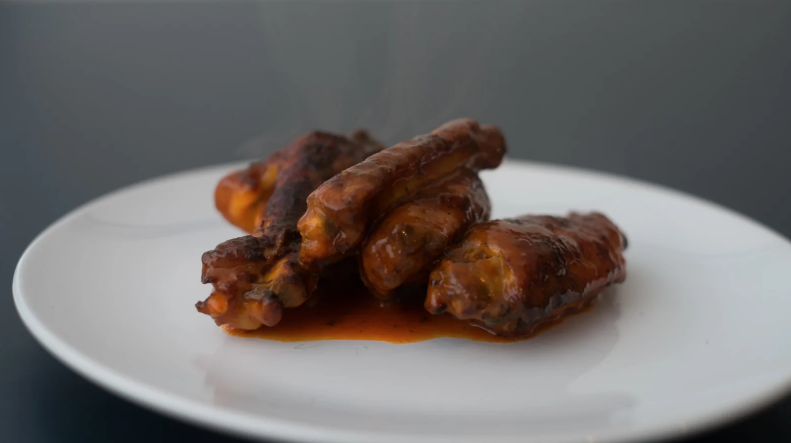
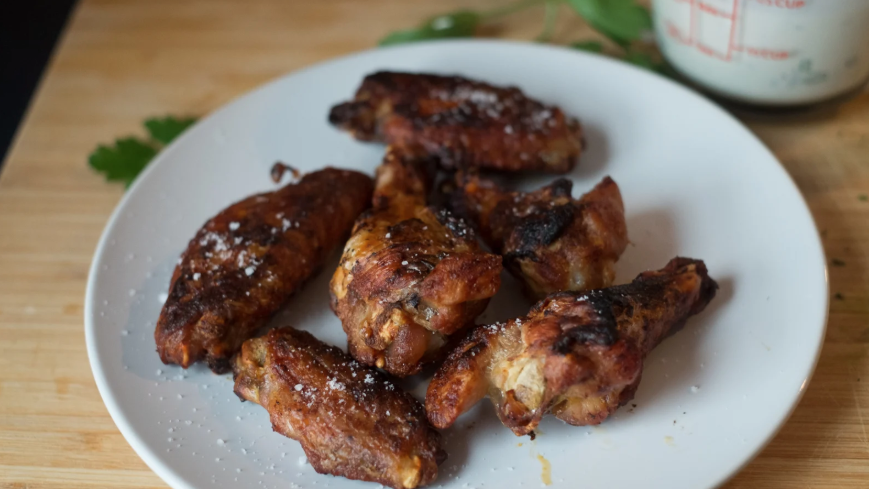
    Here’s what dried, broiled, then sauced wings will look like:

    Screen-Shot-2019-09-09-at-9.55.29-am.png?auto=format&fit=fill&q=80&w=1280&nrs=30

    These were legitimately crunchy, but they dried out a bit in the griller. You can try moving the pan closer to the grill, but you’ll need to watch them closely so they don’t burn. Overall, these are just OK; I scarfed down the testers happily, but technically they were the “worst” of the bunch.

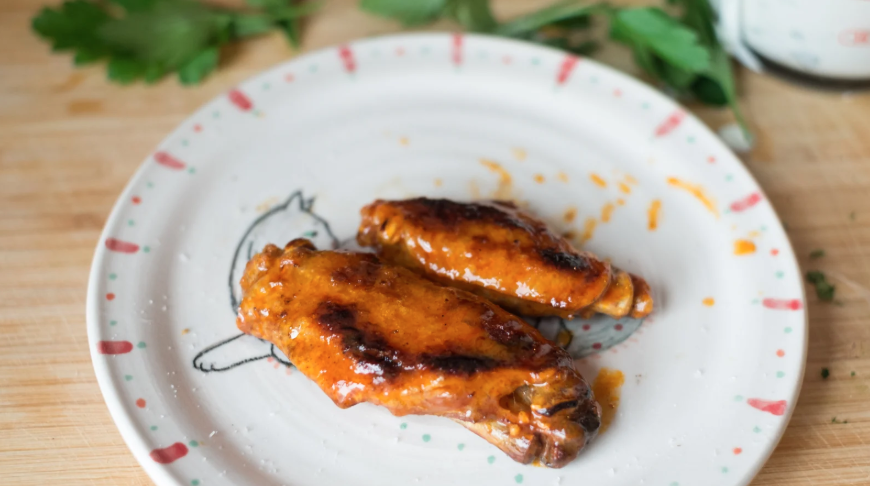
    And here are some dried-sauced-broiled-sauced wings:

    Screen-Shot-2019-09-09-at-9.55.36-am.png?auto=format&fit=fill&q=80&w=1280&nrs=30

    Drying them in the fridge helped the skin crisp up, but the cushion of sauce kept the meat from drying out. These are amazing. I’m keeping this technique in my back pocket for the next time I have a wing craving that I can wait 12 hours to satisfy.

    Screen-Shot-2019-09-09-at-9.55.29-am.png?auto=format&fit=fill&q=80&w=1280&nrs=30

    No matter what your usual technique for at-home Buffalo wings entails, I think it would be improved by high-pressured steam and a stint under the griller, especially if you’re making wings for a big crowd. Steam the wings the night before, whip up whatever sauces you like, and grill them off in batches the next day. Then you’re set to party.

    facu4tplv2eweiies561.jpg

    RIP.

    This article has been updated since its original publication.

    The post How To Make Delicious Buffalo Wings In Your Pressure Cooker appeared first on Lifehacker Australia .