• chevron_right

      Give Your Meat-Loving Valentine Some ‘Heartcuterie’

      pubsub.dcentralisedmedia.com / LifehackerAustralia · Friday, 12 February, 2021 - 14:30 · 2 minutes

    My first “serious” boyfriend did not like chocolate. But rather than explain that his choice of milkshake (strawberry) was a preference, he lied and told everyone (including me) that he was “allergic” to cocoa. When I found out the truth (only after we broke up), I felt a little betrayed — like I didn’t know him at all! And this was after he told me he was gay. (I’m happy to help anyone figure out their sexuality, but do not lie to me about your milkshakes!)

    How to Find Ethical Chocolate (And Why You Should)

    Ethical chocolate can be difficult to find. There are labels to look for, like “fair” or “direct trade,” but these only tell us so much, and the process for obtaining those marks can be expensive for chocolate-makers, not to mention that brands who are careful about where their cacao comes...

    Read more

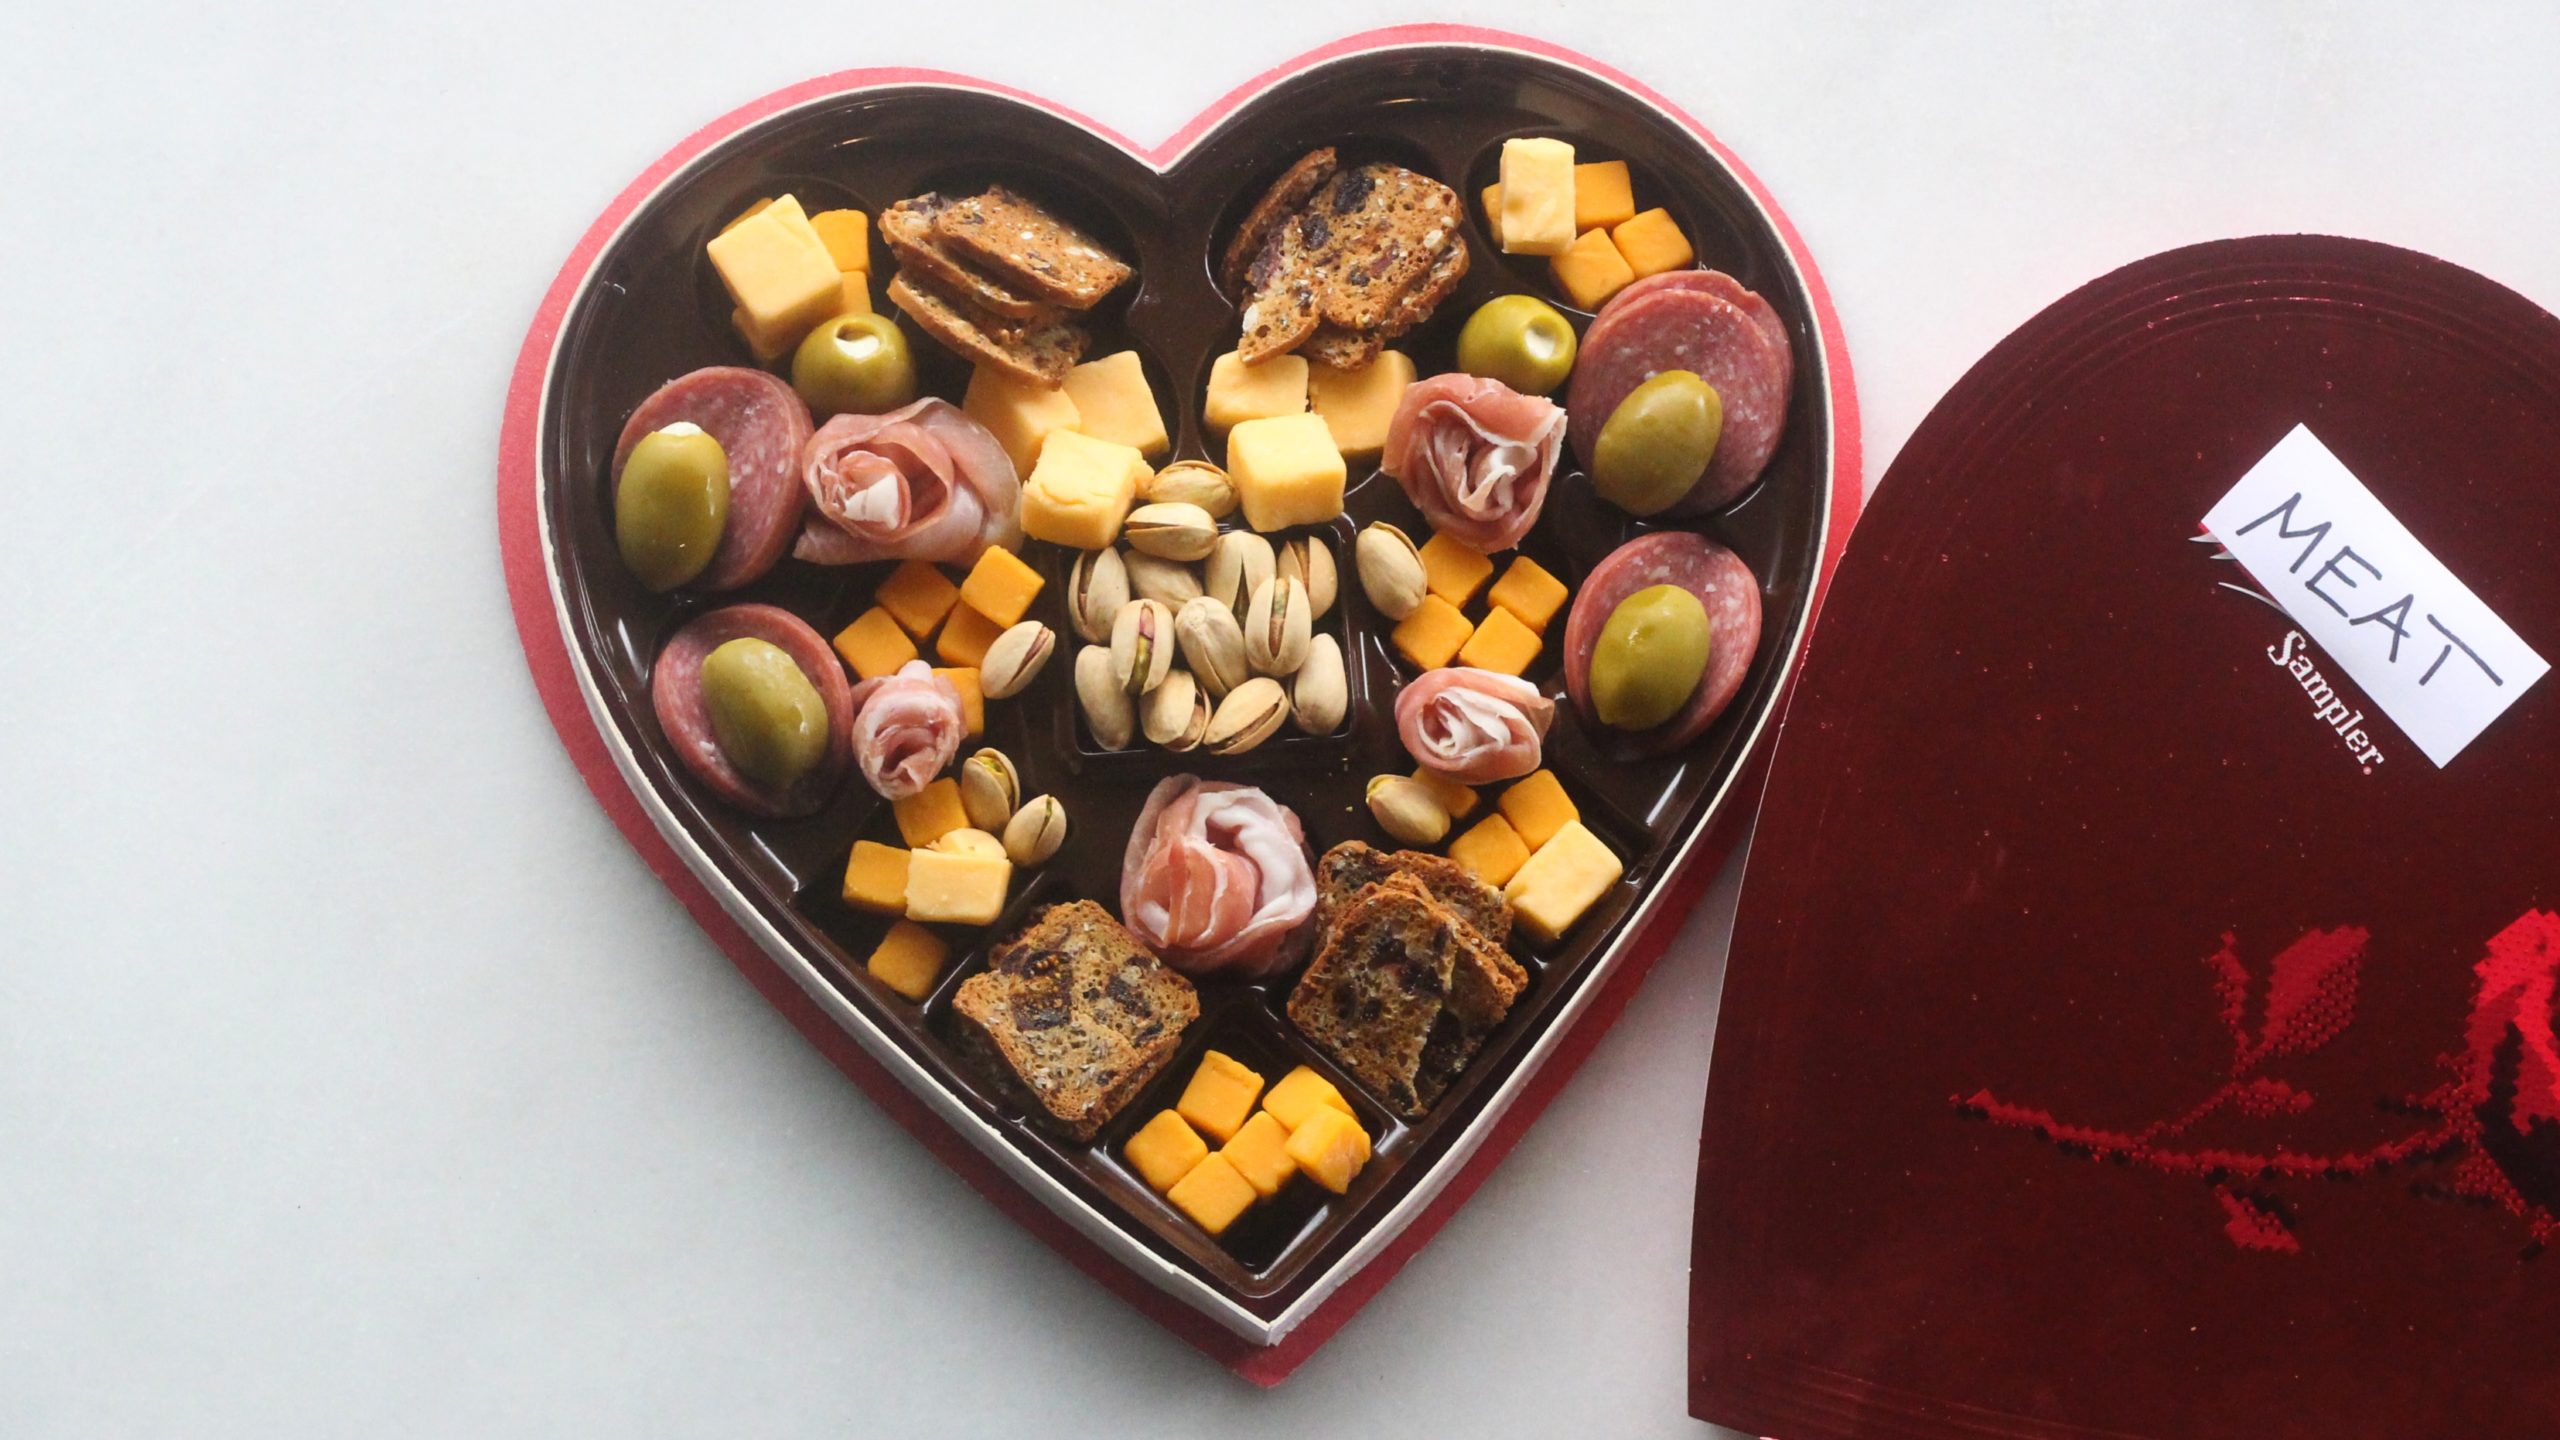
    Loving someone means accepting their weird food preferences and idiosyncrasies. My current partner is a “ketchup guy,” if you can imagine, and I have accepted that there is no changing this. (I now buy him huge restaurant-sized pump bottles of Heinz , because they make him happy.) This is all to say that you don’t have to conform to societal norms when it comes to tokens of affection. Chocolate isn’t the only thing you can put in a heart-shaped box; you can fill one with meat just as easily.
    yiltlslzrgz7t9cng0zk-scaled.jpg?auto=format&fit=fill&q=65&w=1280

    I must confess this is not a Claire Lower Original Thought. All of my paramours since that first have been fans of chocolate, but one year Beth Skwarecki, Lifehacker’s senior health editor, found herself with a valentine (husband) who was not a fan of filled chocolates (and was also on a keto diet). So she did what any reasonable person would do: She bought a box of chocolates, ate the chocolates herself, and filled the empty box with cheeses and meats.

    vbrsohbwiftsgrvvnzhr.png?auto=format&fit=fill&q=65&nrs=40

    This is a brilliant idea — which makes sense, because Beth is known for her brilliance. And unlike elaborate meat bouquets that require a good bit of meat styling, filling little divots with charcuterie (henceforth known as “heartcuterie”) is a project that can be executed by someone without significant fine motors skills. (I am hysterically unskilled as a sculptor, but even I was able to roll prosciutto into rose-like shapes.)

    There really isn’t much to it: Buy some chocolate — preferably some you like — eat it (or save it to eat later), then dust out any errant chocolate bits from the divots and fill them with meat, cheeses, nuts, olives, and any other accouterment you think your sweetie would enjoy. (If you do use olives, pickles, or anything that comes packed in brine, make sure to blot them with paper towels first.) Edit any labelling on the box as needed — change “Whitman’s Sampler” to “MEAT Sampler” for example — then close the box and give the heartcuterie to your meat- and/or cheese-loving beloved. Make sure to use the word “heartcuterie.” Puns are very sexy.

    The post Give Your Meat-Loving Valentine Some ‘Heartcuterie’ appeared first on Lifehacker Australia .

    • chevron_right

      Listen to Your Cake Before You Take It Out of the Oven

      pubsub.dcentralisedmedia.com / LifehackerAustralia · Wednesday, 10 February, 2021 - 23:01 · 1 minute

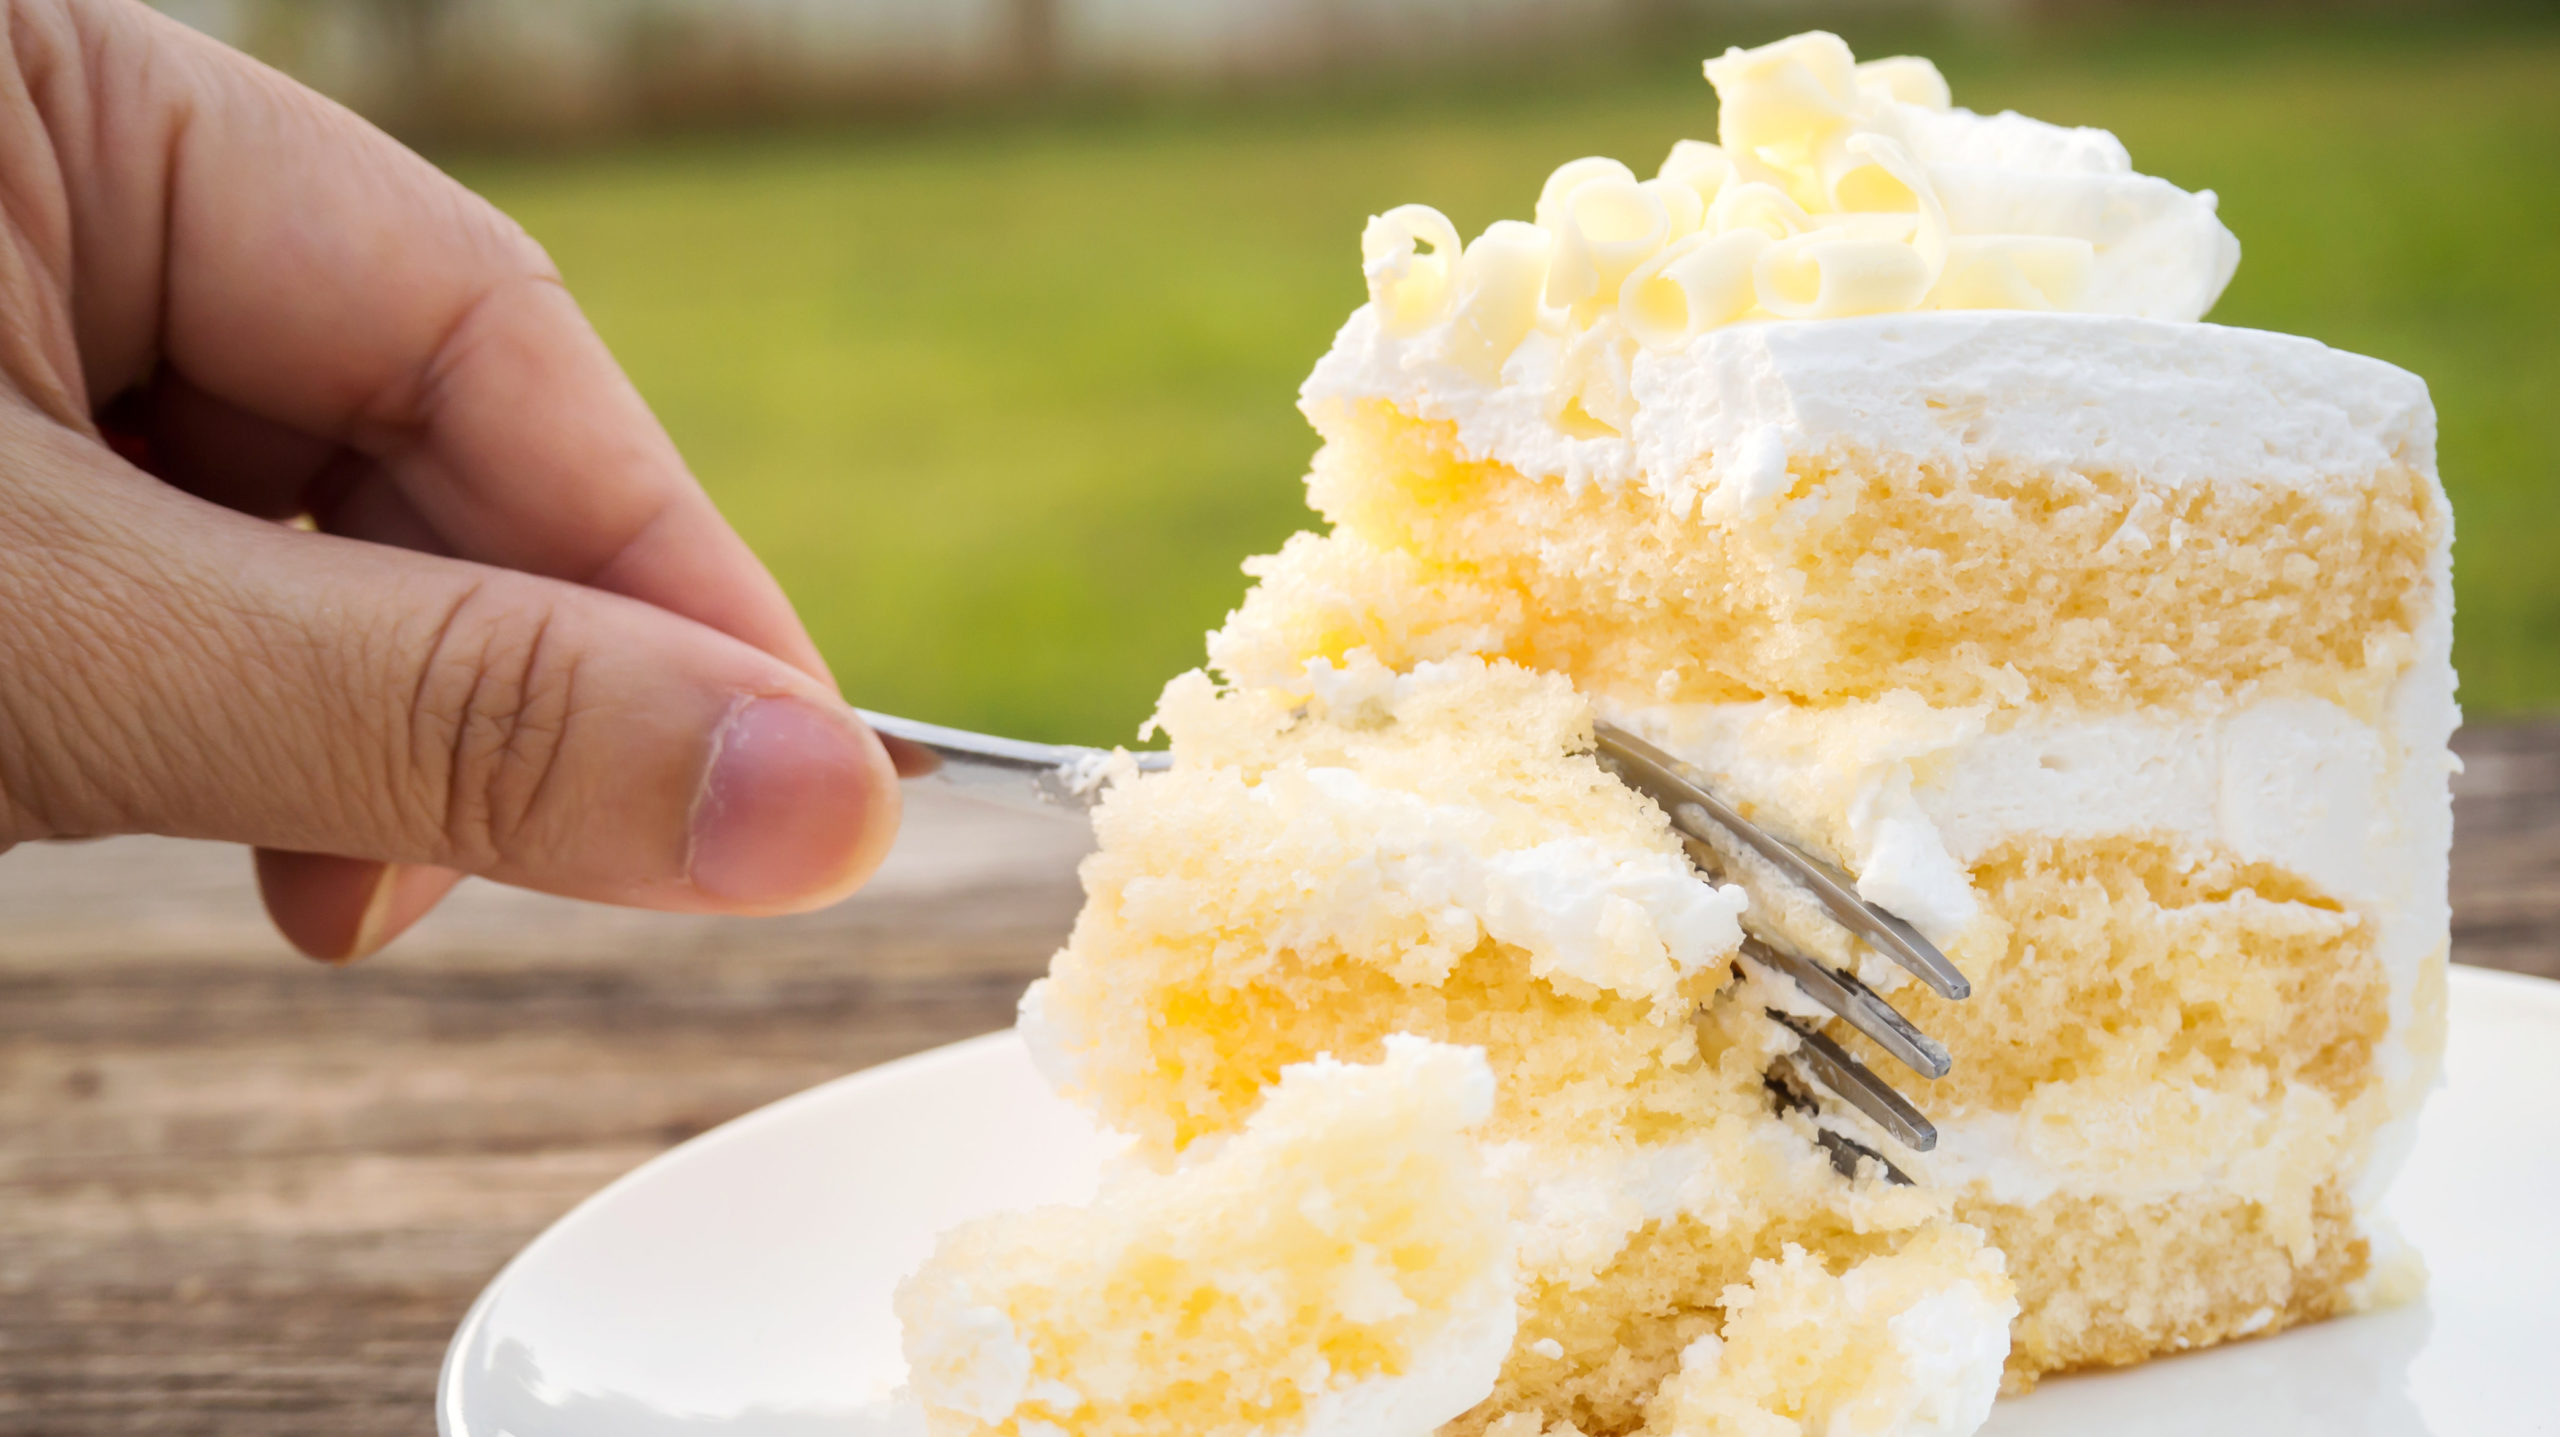
    Baking is an activity that involves all of your senses. You have to look at your dough to see if it has doubled in volume, feel the bread as you knead it in order to nail the right level of elasticity, and smell the air to make sure nothing’s burning. Taste… well, obviously. And according to Peter — the first star baker of this season of T he Great British Bake Off — you should listen to your cakes to see if they’re done baking.

    Actually, this slice of wisdom goes back further than this season. As he explains in his voiceover, Peter (a 20 year-old accounting and finance student from Edinburgh) learned the trick from a series three (“season three” in American) contestant when he was but a tween:

    “John Whaite on series three of Bake Off — he said that his mum taught him to listen to it. If it’s still wet, then it’s going to sound like it’s boiling away. But if it’s just a nice, moist cake it’s just got a gentle, gentle sound to it.”

    This makes sense. If your cake still has a lot of water inside of it, that water is going to be boiling off and evaporating, and it’s going to make noise. After most of it has been baked off, it’s going to make less noise.

    You may have to calibrate your ear the first couple of times, so listen to your cake at a couple of different points, taking not of how it sounds when you know it is definitely under-baked, and use other cues to help you identify that perfectly done point. Once you’ve got it dialed in, you’ll have one more sense you can use when baking — and as someone who still experiences a fair amount of anxiety around baking, I personally welcome this sonic yardstick.

    This article was originally published in October 2020.

    The post Listen to Your Cake Before You Take It Out of the Oven appeared first on Lifehacker Australia .

    • chevron_right

      Treat Valentine’s Day Like a Dinner Party for Two

      pubsub.dcentralisedmedia.com / LifehackerAustralia · Wednesday, 10 February, 2021 - 21:18 · 5 minutes

    Whether you’re cooking a meal or phoning it in this Valentine’s Day, treating the evening like a dinner party for two will ensure you strike a special, thoughtful tone.

    Basically, if it’s a move you’d bust out for a dinner party, you should bust it out for the dinner you serve on February 14th. Dinner parties are all about impressing people with how mature and considerate you are, which is a vibe that should be extended to your valentine, who is — more than likely — the person you have been around almost constantly for a full year. Attention to detail can be a love language, and can make an at-home meal feel different , even if you haven’t left that home in over 11 months.

    Set the table

    If you have “nice” dishes, use them. If you have children, banish them for the evening so you don’t have to worry about them breaking the nice plates (have them watch a movie or put them to bed early). Don’t, however, use plates that are so nice you can’t put them in the dishwasher, or plates that are so nice you feel anxious eating off of them. This is supposed to be fun, after all.

    Once you’ve picked the plates, you can focus on the rest of the table. Place mats, cloth napkins, and — yes — candles are all things that make the meal feel more intentional and thoughtful. I also recommend place cards, even if there are only two places at the table. Write your Valentine’s name on a cute little card or — better yet — a clementine (get the kind with leaves still attached if you can), set it in front of their chair, and watch their face light up at the adorable, edible detail.

    Warm your plates and chill your glasses

    dcvz9zmk9box2ouzvbpm.jpg?auto=format&fit=fill&q=65&w=1280

    If you are going to go through the trouble to cook a beautiful medium-rare steak, or mix a perfectly chilled and diluted martini, you might as well take the extra step of serving them in or on a vessel that won’t negatively affect their temperature one way or other. For plates that will be graced with hot food, just set them in a low-temperature oven (the lowest it will go) on a baking sheet for a couple of minutes right before serving time. (This is also a good brunch move — few things ruin a hot egg like a cold plate.)

    Elevate Homemade Salads By Chilling Your Plate

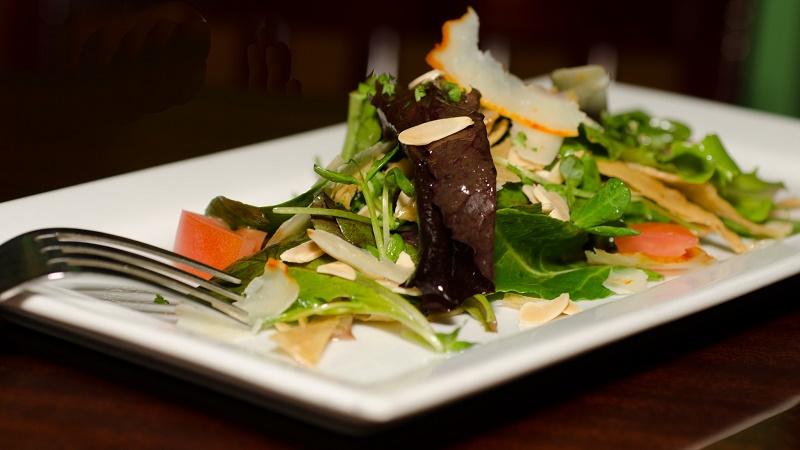
    Nobody likes a warm, wilted salad. If you want your homemade salads to be as crisp and refreshing as the ones you get at a restaurant, try this trick.

    Read more

    If you’ll be serving a salad, pop the salad plates in the fridge (for 20 minutes) of freezer (if you’re in a hurry) to help keep your greens cold and crisp. This may not be necessary, depending on how warm you keep your house, but it’s useful if your plates are fresh and warm from the dishwasher.

    If you’ll be serving cocktails, white wine, or even Diet Coke, pop a few fancy glasses in the freezer while you prepare the meal. This is a particularly nice — some might say “crucial” — move if you’ll be sipping martinis, which are at their best when they are icy.

    Learn a few fancy plating tricks

    I did not expect artful plating to be one of the things I missed during this pandemic, but it is — I miss the stark white plates with their negative space and carefully placed garnishes. People truly do eat with their eyes first , and while sculpting mashed potatoes may feel silly in the moment, it feels thoughtful on the plate. If you’re uncomfortable with that amount of bourgeois decadence, at least finish your dish with a squeeze of lemon, a drizzle of good olive oil, or sprinkle on some fresh herbs and crunchy stuff ,.

    What It Means To ‘Finish’ A Dish

    If you’ve watched any appreciable number of cooking shows, you’ve most likely been instructed by some famous chef to “finish” your dish with a drizzle of oil, a sprinkling of salt, or some freshly chopped herbs. “Finishing” a dish, which is quite different than polishing one off, simply means adding...

    Read more

    Don’t forget the butter (and nice salt)

    An ample supply of room-temperature butter is what separates my favourite bread-serving restaurants from the rest. If a waiter brings me butter that’s topped with some sort of flake salt, I’m theirs for the night, and will follow them into hell, or at least the more expensive pages of the wine menu. It’s a powerful move, is what I’m saying, and you can harness its power by setting out good butter (which is different from your everyday butter ), nice salt (Maldon or something similar), and a pepper mill full of whole peppercorns.

    If your meal or your valentine requires any condiments, pickle, or sauce, make sure to set all that out before dinner is served so no one has to leave the table, and clean the bottles and lids of those condiments before setting them out. You can also transfer them to cute little bowls with cute little serving spoons, but cleaning the hot sauce bottle should suffice.

    Discuss the division of labour beforehand

    If you are presenting the meal as a “gift,” then cleaning up the mess you make in the kitchen should be part of it. One of the best things about going out for Valentine’s Day is not having to clean anything, so don’t foist an unexpected chore on your partner or spouse.

    If the meal is a combined effort, divvy up the labour before February 14.

    Decide who is making the main, who is making dessert, and who’s in charge of the drink program, mood music, and cleaning up ahead of time so you don’t end up bickering on an evening that is supposed to be romantic. Do this even if you’re getting takeout. Tossing the plastic takeout container in the dishwasher after dinner isn’t as big of an ask as cleaning grease out of a cast iron pan, but it is still an ask, and you might want to ask for other after-dinner activities instead.

    The post Treat Valentine’s Day Like a Dinner Party for Two appeared first on Lifehacker Australia .
    • chevron_right

      You Should Make Tiny Tomato Toast

      pubsub.dcentralisedmedia.com / LifehackerAustralia · Wednesday, 10 February, 2021 - 21:12 · 2 minutes

    Ever since I interviewed food journalist Alicia Kennedy about her daily eating habits , I have been longing for tomato toast, a decidedly summer treat that feels out of reach in the middle of February. Big, juicy tomatoes are not in season at the moment — but tiny tomatoes (such as cherry or grape) are juicy, sweet, and easy to find all year round and, lucky for me, they make a fantastic tomato toast.

    Like its big-tomato brethren, tiny tomato toast is a bright, happy dish, perfect for injecting life into a cold, grey morning or rainy lunch hour. You can keep it simple — with grated tomatoes, olive oil, and flake salt — or you can grate the tomatoes atop of some sort of creamy substrate: cream cheese, labneh , whipped cottage cheese , or avocado. I like to keep the layer of creamy stuff pretty thin; you want just enough to form a hydrophobic layer in between the tomatoes and the toast to keep the juices of the former from seeping into the bread and making it soggy .

    In terms of toppings, salt is usually plenty, but I’ve recently been wilding out with chilli oil , air-fried ginger , and scallions . Lemon zest, za’atar, sumac, everything bagel seasoning , your favourite vinegar, and very finely grated cheese are all viable options; just remember that the tomatoes are the star. Leave room for them to shine.

    I’m Food Journalist Alicia Kennedy, and This Is How I Eat

    I have always been a bit in awe of Alicia Kennedy. Her writing focuses on the intersection of food, capitalism, and ethics, and it’s always thoughtful, beautifully-written, and informative — all without a touch of snobbery. She lives with her boyfriend and egg-loving dog in San Juan, Puerto Rico, where...

    Read more

    The only drawback to grating tiny tomatoes is that there is less to hold onto while you grate, but I — a very clumsy person — haven’t had any mishaps. Hold the fruit at one end of its oblong body (or grab the stem if it has one), then grate it over the toast, letting the seeds, gel, and juicy flesh fall until you are left with a little nub of smashed skin and flesh. Toss that on the toast as well. (Make sure to use a grater with large holes, not a microplane.) Add your seasonings and any finishing touches you desire, and chomp down.

    The post You Should Make Tiny Tomato Toast appeared first on Lifehacker Australia .
    • chevron_right

      Give Your Grilled Cheese Sandwich a Parmesan Crust

      pubsub.dcentralisedmedia.com / LifehackerAustralia · Tuesday, 9 February, 2021 - 14:00 · 2 minutes

    I am a bit of a grilled cheese purist. I like mine on white bread, slathered with butter ( not mayo ), and filled with gooey, processed American cheese. A good havarti is also acceptable if the mood dictates a touch of luxury, but harder, acidic cheeses like cheddar or parm are not allowed — unless you’re putting them on the outside of the sandwich.

    The qualities that make parmesan, cheddar, and other hard cheeses like them so poorly suited for the inside of a grilled cheese are what make them so well suited for the outside . Because of their low-ish pH, these cheeses tend to grease out and congeal, rather than melt into a soft, creamy blob (which is what you want in between your bread). But when placed on the outside of a sandwich, the fat inside the cheese renders, frying the proteins and leaving behind a lacy network of crispy, salty, fried cheese. It’s frico , except it’s stuck to bread.

    Basically, if you can make a cheese crisp with it, you can use it to create a crunchy crust on the outside of your sandwich. Cheddar works, shredded parmesan works, even the powdered shaker parm gets the job done. Throughout the course of my many serious sandwich experiments, I found that the powdered parm does the best job of sticking to the bread and releasing from the pan, but the shredded stuff has a better flavour. (Real Parmigiano-Reggiano would have the best flavour, obviously, but it’s the priciest option.)

    cqrl19hqn0l4drgqqkrq-scaled.jpg?auto=format&fit=fill&q=65&w=1280

    Adding an external layer of cheese to your cheese sandwich is easy: Spread some soft butter on the outside of the bread (or dip it in melted butter ), then sprinkle half a tablespoon or so of your desired cheese on the buttered bread, pressing it down gently to help it stick. Place on a piece of bread, cheese side down, in a nonstick pan, layer your softer “filling” cheese inside, then cook over medium heat until the outside cheese forms a golden crust and the inside cheese melts completely. If you’re worried about it burning, use a plastic spatula or take out utensil to carefully lift up a corner and take a peek. Slide on to a plate, cut it in half diagonally, and devour.

    The post Give Your Grilled Cheese Sandwich a Parmesan Crust appeared first on Lifehacker Australia .

    • chevron_right

      Toss a Hunk of Ginger in Your Air Fryer

      pubsub.dcentralisedmedia.com / LifehackerAustralia · Monday, 8 February, 2021 - 18:00 · 2 minutes

    I don’t think I have ever encountered a form of ginger I didn’t enjoy. Candied ginger, pickled ginger, fresh ginger — all ginger is good ginger. (I’m also a fan of gingers , but that’s not what this is about.) I lean hard on pickled ginger most of the time — particularly in dressings and drinks — but cold weather calls for a sweeter, warmer type of ginger root. Cold weather call for air-fried ginger.

    Of course, it’s “not really fried,” but more “turbo-roasted.” (“The Turbo Roaster” would have been a more accurate name for the air fryer, I think, but what’s done is done.) Semantics aside, air-fried ginger is a delight for most, if not all of your senses. It has a caramelised, lightly candied quality, and is so soft you can tear it apart with your hands. It’s slightly less smoky than broiler-roasted ginger (which is how Bon App roasts theirs), but the real difference lies in your energy bill.

    Instead of broiling a single chunk of ginger root in a large oven for 45 minutes to an hour, you can toss it, unpeeled, in a 400-degree air fryer basket for approximately 30 minutes. I say “approximately” because I let the ginger hang out in the basket while it preheats — which adds around three minutes to the overall time.

    The ginger that comes out is soft, fragrant, and encased in a crinkly, blistered skin. The flavour is softer, quieter, and warmer, and the unpeeled, roasted root can be blended into sauces, dressings, smoothies, and cocktails. Last night I blended a two-inch piece of roasted ginger with some sesame oil, soy sauce, rice vinegar, and a little sugar to make a dipping sauce for some poached chicken. It was great, but I’ll probably use a neutral-tasting oil next time, as the toastiness of the sesame oil obscured the ginger’s more nuanced qualities, which are too beautiful to cover up.

    So, to recap: All you have to do to avail yourself of tender, deeply sweet ginger is place a washed, unpeeled piece of the root in the basket of your air fryer, set the temperature to 400℉ and the time to 30 minutes, then walk away and let the air fryer do its thing, returning once to flip it over somewhere in near the middle. Remove from the air fryer, blend it into things, and repeat as needed.

    The post Toss a Hunk of Ginger in Your Air Fryer appeared first on Lifehacker Australia .

    • chevron_right

      How Do You Organise Your Recipes?

      pubsub.dcentralisedmedia.com / LifehackerAustralia · Sunday, 7 February, 2021 - 21:18 · 2 minutes

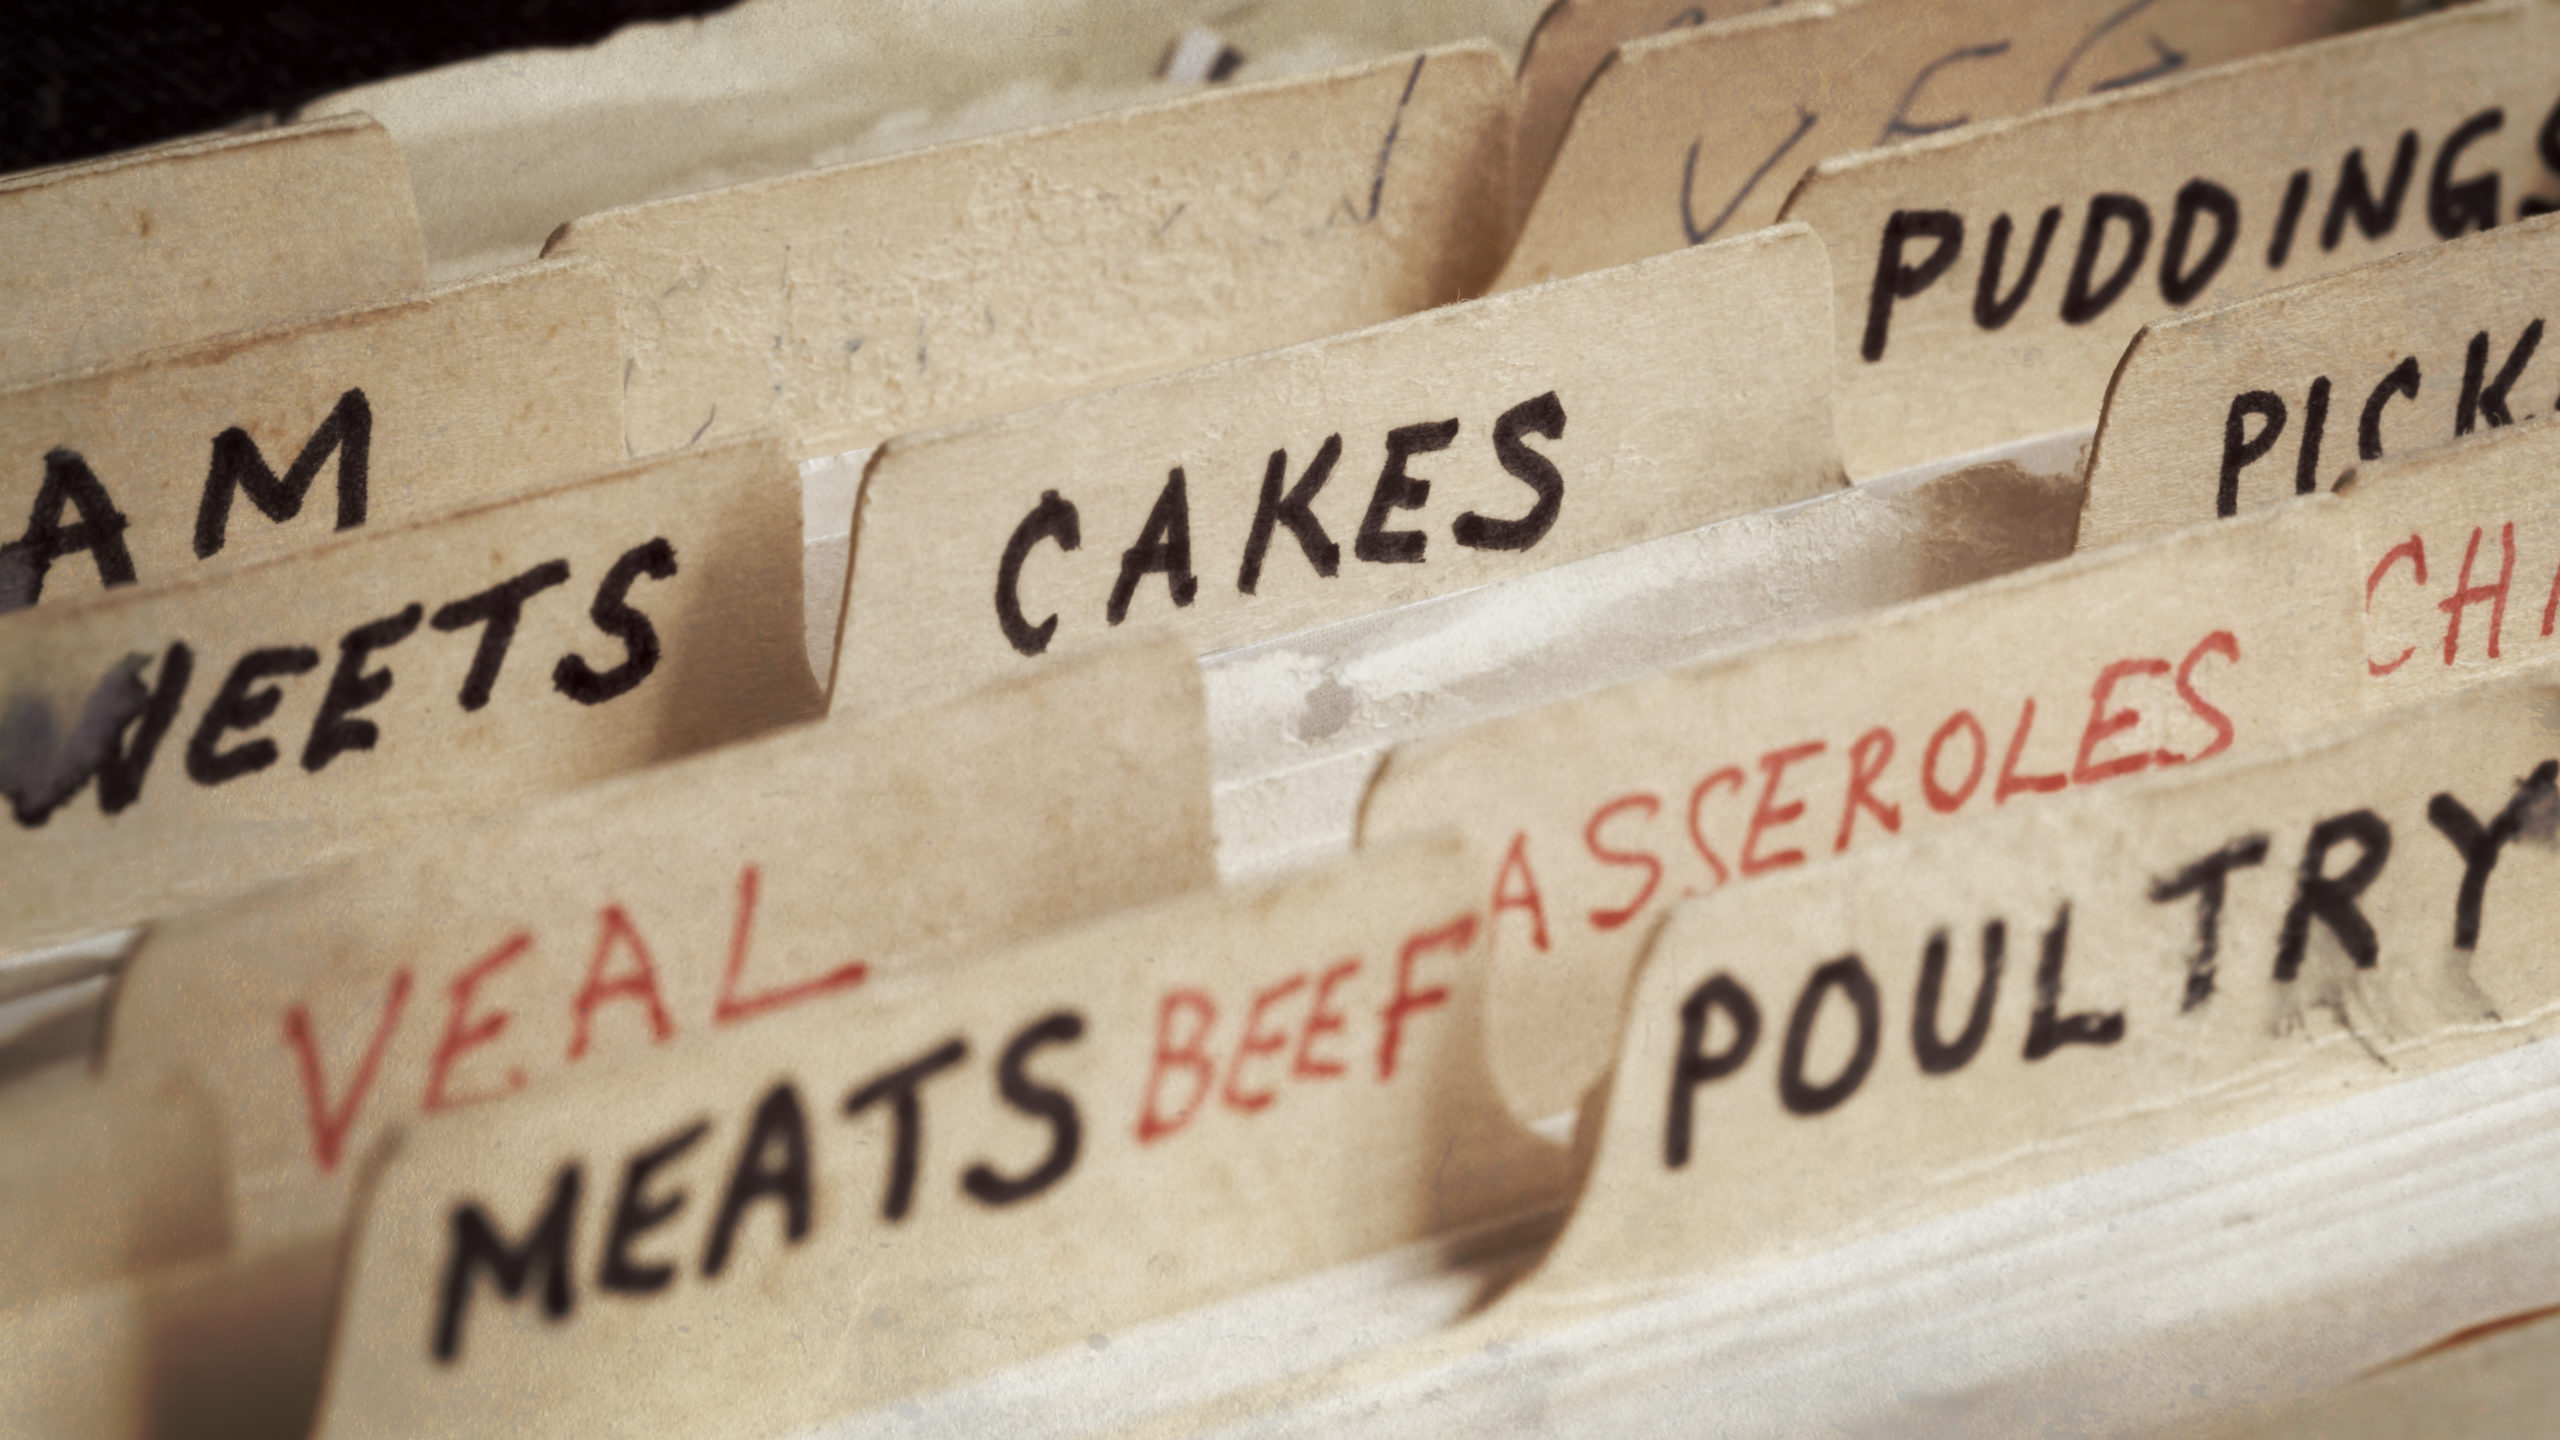
    There is a red binder in my kitchen cabinet, and in that red binder resides the following: A recipe for barbecue sauce I tore from a magazine years ago and never made. Scrawled instructions on a Post-it Note to remind me how to roast pumpkin seeds once a year. Directions from eHow on how to stir-fry “anything.” Countless handwritten recipes on a wide variety of paper, including stationary with inspirational quotes, stationary from my first newspaper job and, for some reason, Hello Kitty stationary I do not recall owning. There are recipes I use all the time and recipes I made once and promptly forgot about forever. It is a mess — and it’s the most organised system I have.

    My other “systems” include: a folder in my email full of recipes I found online that I want to try some day . A board on Pinterest where I add recipes I find mostly by stalking my mother-in-law’s much more extensive Pinterest board. A recipe box that contains a few recipes I make once in a while and a whole bunch I don’t. And, finally, this family recipe book my husband and I received as a gift and have yet to write a single thing in. Not to mention the countless recipe books with bookmarked pages because I like the pasta salad recipe in one book but the lemon chicken orzo soup in another.

    There are some recipes I want to preserve forever, like the printed-out email with detailed directions from my dad, instructing my 20-year-old self on how to make mashed potatoes for the first time. (“Add any additional milk sparingly,” he wisely advised, “because once it’s in there, you can’t take it out, and you don’t want runny potatoes.”) And the directions I wrote down one night after I called my grandma, just months before she died, to ask how to make her meatball sauce. But I need a better system.

    The binder itself is a pretty good way to organise loose recipes, as I use plastic sleeves and dividers to keep my bread recipes separate from those for veggies, main courses, pastas, and desserts. But it quickly becomes overrun with things I want to try (but never will), and still I find myself rummaging through my email for that creamy tortellini soup recipe I sent to myself a few weeks ago.

    Tell me in the comments: How do you organise your recipes, both online and offline? How long do you hang on to a new recipe before you decide you’re never going to make it, and it’s time to set it free? How often do you go through your physical recipes to purge the ones you don’t use? What apps or other online systems do you use to organise the recipes you don’t yet want to print? How do you even remember that you liked that spicy Thai shrimp you made from that one cookbook last week? How you keep track of and organise the endless recipe options at your disposal?

    The post How Do You Organise Your Recipes? appeared first on Lifehacker Australia .

    • chevron_right

      You Should Use Ice in Your Brine

      pubsub.dcentralisedmedia.com / LifehackerAustralia · Friday, 5 February, 2021 - 18:00 · 2 minutes

    Whether you’re planning to roast a big ‘ol turkey or a head of cauliflower , a good brine ensures the final product is tender, moist, and flavorful throughout. Simple brines are little more than sugar, salt, and water, but peppercorns, citrus zest, bay leaves, and all sorts of plant parts can be used to make things more interesting. One universal truth about brines, however, is that you must heat the liquid to get those crystalline solids into solution.

    If your brine is meant for meat, it must then be cooled completely before your pork chop, turkey breast, or troupe of shrimp is submerged into those salty, sugary waters. You can wait for this to happen, or you can use some ice.

    Add Feta Cheese To Your Brine For Delicious, Juicy Chicken

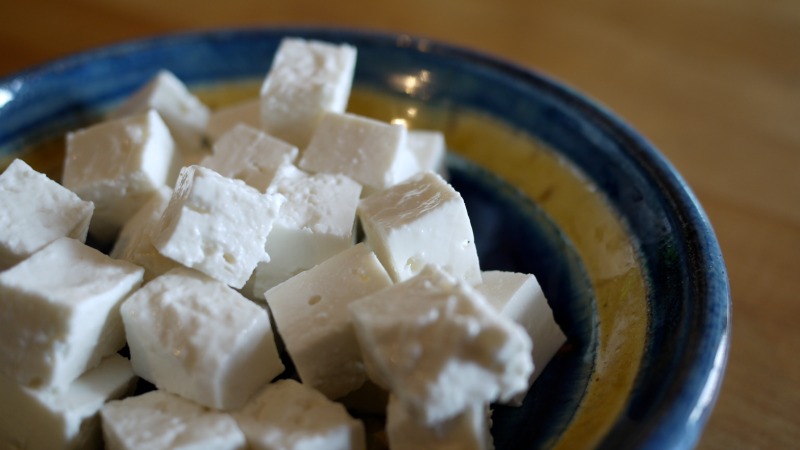
    Usually, I tend to favour a dry brine over a wet one, but I might switch sides for a bit to try the Kitchn’s feta cheese brine, which requires only two ingredients: Feta (duh) and water.

    Read more

    Of course, you can’t just dump a bunch of ice in your brine; that will throw off your proportions and dilute your flavours. Instead, divide the amount of water called for by your recipe in half, use that volume to dissolve your salt and sugar, then add the rest of the water in the form of ice. The ice will chill the brine as it melts, bringing it to the correct temperature and volume.

    You will — I’m so sorry about this — have to do a tiny amount of maths to calculate the correct amount of ice. Water expands as it freezes, meaning one cup of ice is not equal to one cup of liquid water. Luckily, a milliliter of water weighs one gram at room temperature, so all you have to do is count your milliliters, convert to grams, and weigh out that many grams of ice. Let’s use this very simple brine recipe to illustrate:

    Basic Brine from myrecipes :

    Ingredients:

    • 1 cup salt

    • 1 cup light brown sugar

    • 2 quarts cold water

    • 3 bay leaves

    The recipe instructs you to add all the ingredients to the pot and heat to dissolve the sugar and salt, then wait for the brine to cool completely before proceeding. To speed the process up with ice, add the salt, sugar, and leaves to the pot with a single quart of water and heat it up, dissolving everything but the leaves.

    Next, add the ice. A quart of water weighs 946 grams, so grab a bag of ice and weigh out 946 grams of ice. Add that to the brine, stir to dissolve and cool, and submerge your meat. No need to wait.

    The post You Should Use Ice in Your Brine appeared first on Lifehacker Australia .
    • chevron_right

      Air Fry Your Spring Onions for the Perfect Garnish

      pubsub.dcentralisedmedia.com / LifehackerAustralia · Wednesday, 3 February, 2021 - 21:17 · 2 minutes

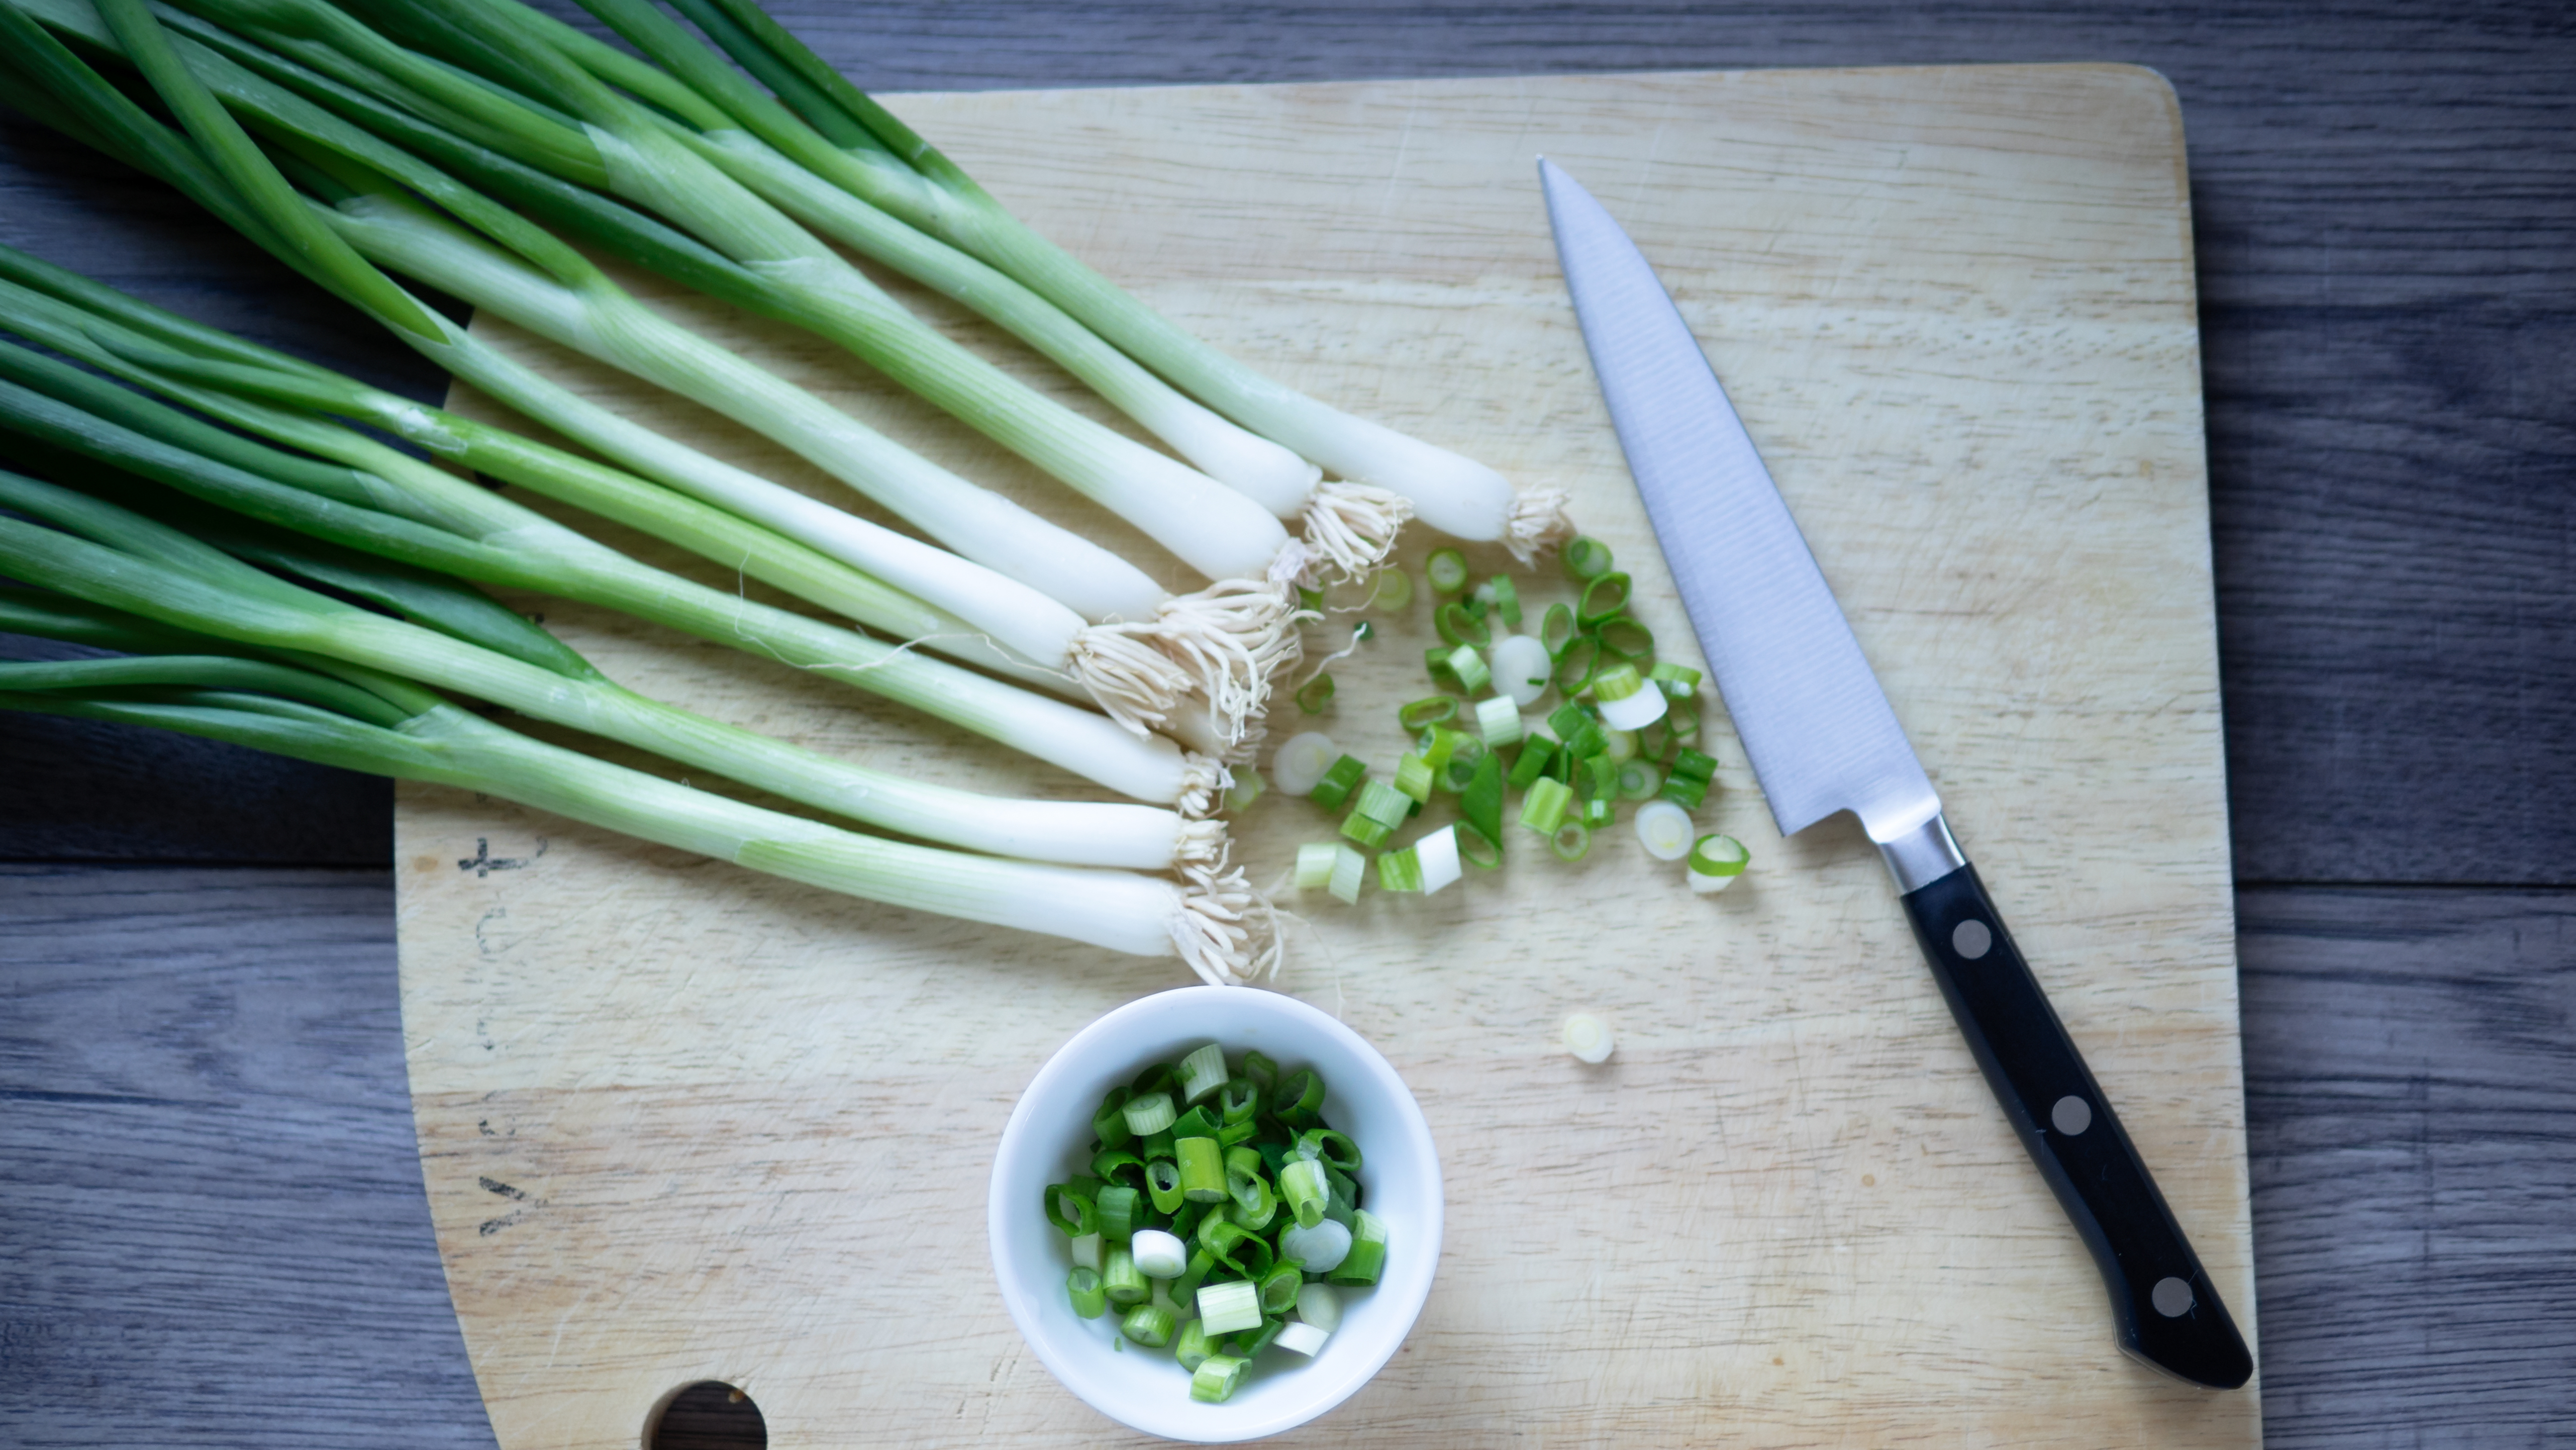
    Spring onions are a complete steal. They’re flavourful, versatile , and cheap. You can usually snag a bunch for under a dollar, they keep for a very long time, and you can grow more spring onions from the scraps. I like them raw (try one dipped in salt alongside a rich, creamy cheese), but I’m currently all about the air fried spring onion.

    You’re Not Cooking With Spring Onions Enough

    I’m keen on green onions. The lazy “and the wise” man’s onion, spring onions are versatile, dirt cheap and easy to deal with, and they should be a staple in everyone’s kitchen, beyond their typical use a garnish. For those who aren’t familiar, spring onions are young onions, harvested before...

    Read more

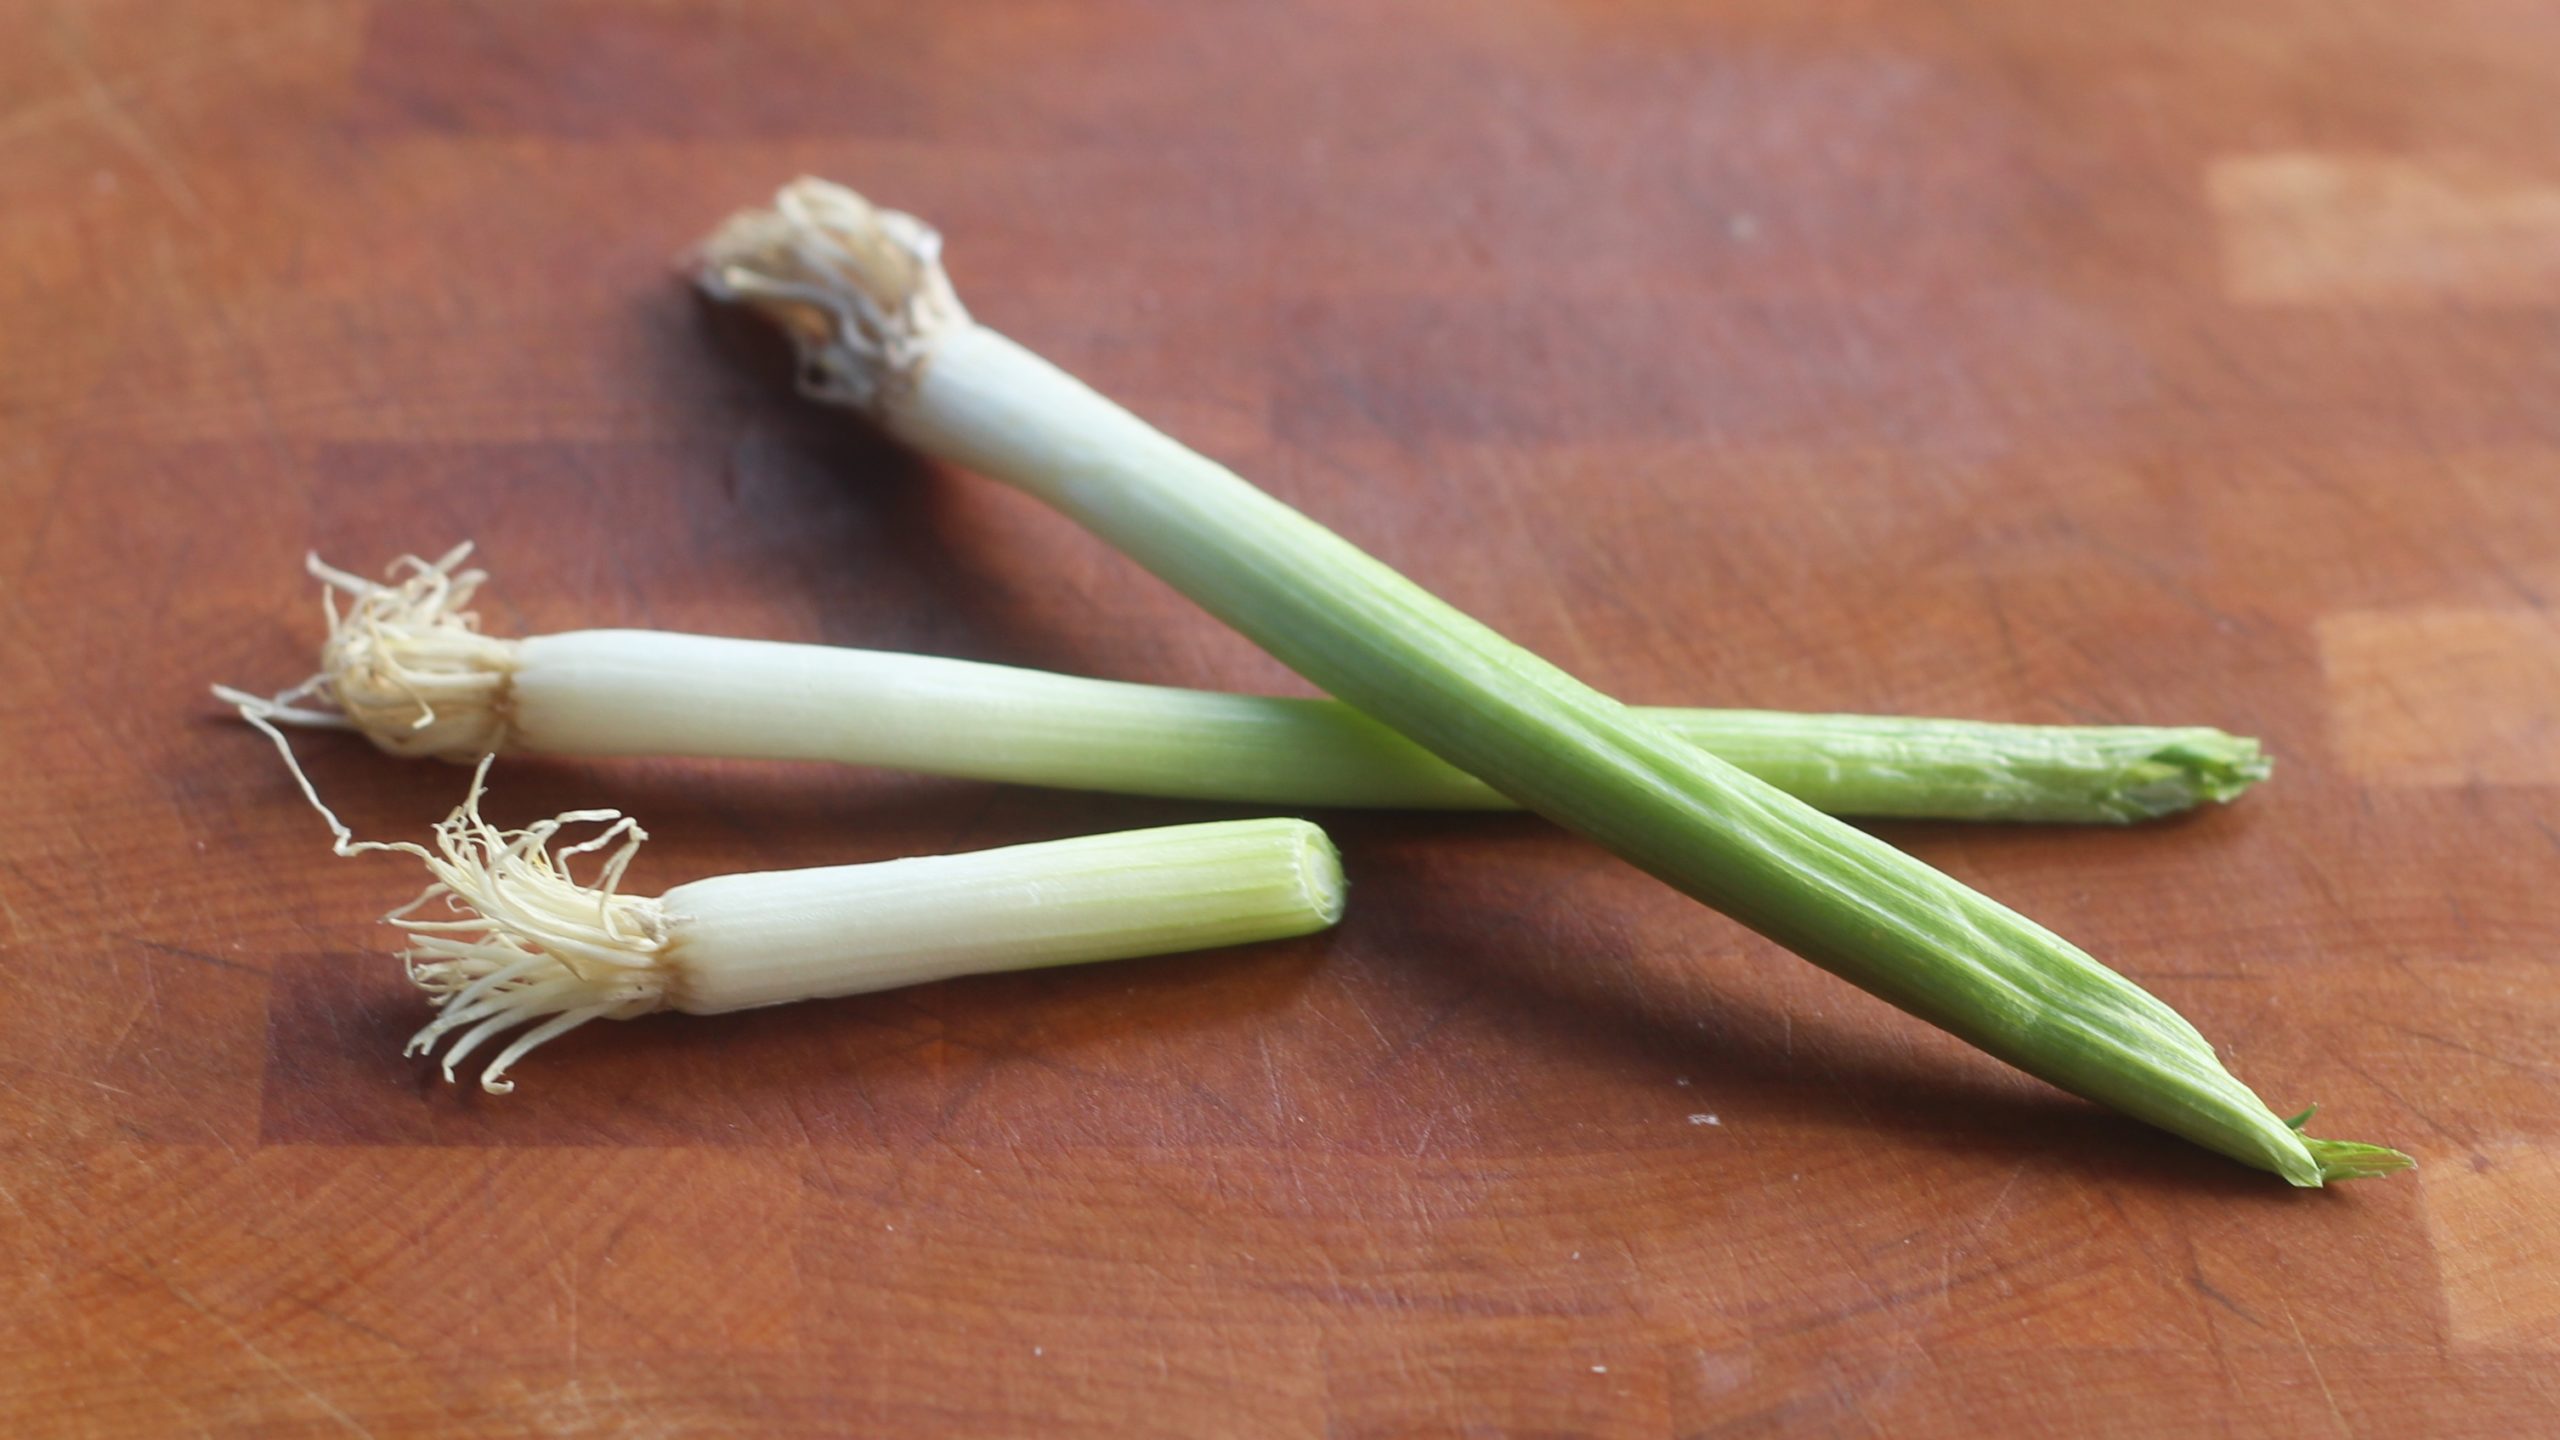
    Besides making my home smell warm and allium-y, an air-fried, turbo-roasted onion adds deep flavour to whatever you fling it on. It’s my favourite thing for a half-used spring onion that is mostly pale green and white. You know, the little scrappy guys who look like this:

    euezkfhpzyglgkhgging-scaled.jpg?auto=format&fit=fill&q=65&w=1280

    I rub a little cold bacon grease down the entire length of each spring onion (you can also toss them in olive oil), then throw them in my air fryer basket for 5-7 minutes, depending on how thick they are. (I usually start checking after two minutes, and give ‘em a little shake.) You can do whole spring onions too, but you’ll need to cut them in half for two reasons: Depending on the size of your air fryer, they may not fit if kept whole, but I mostly separate the deeper green from the paler green because the deeper green portion browns much more quickly than the rest of the spring onion.

    If your air fryer is set to 200 degrees Celsius, the green part will wilt about two minutes in; the colour will intensify, and you’ll start to see a few brown spots. After four minutes, the green portions will start crisping in a major way. After six minutes, the pale green and white parts will soften and start to char.

    qjo3dnjlxemqjfcxhiwj-scaled.jpg?auto=format&fit=fill&q=65&w=1280

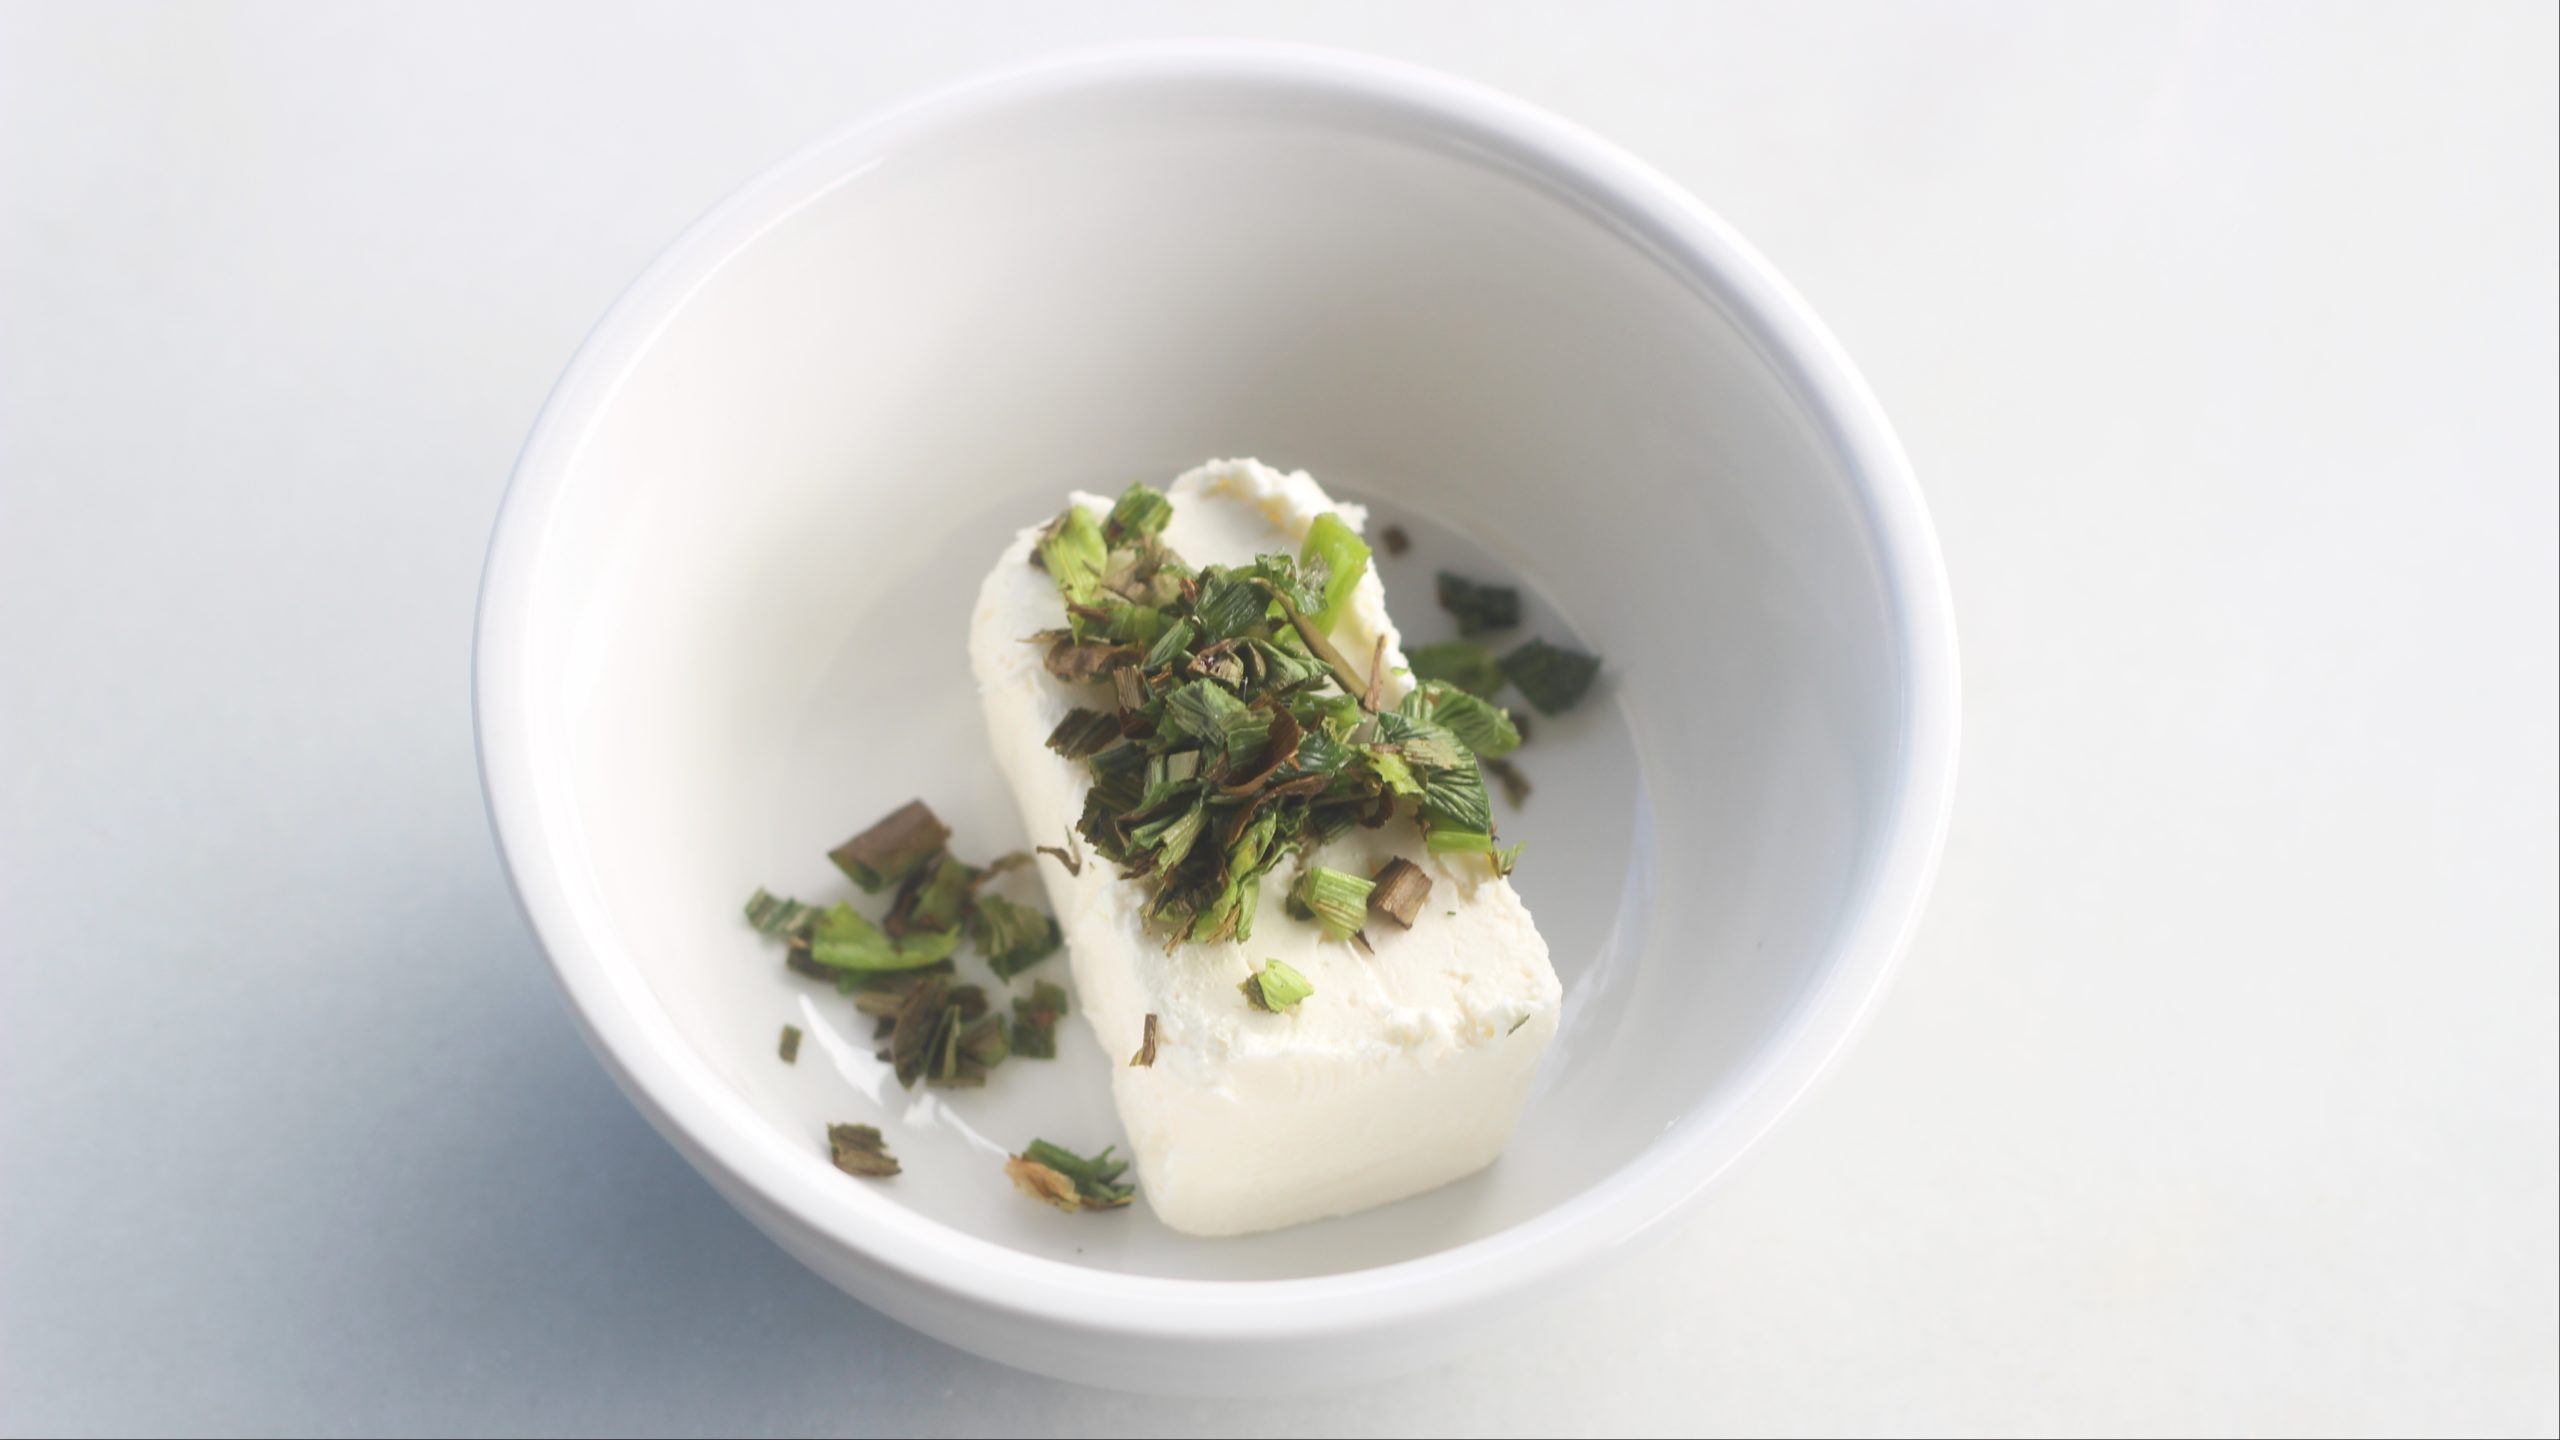
    I like to chop up the crispy green parts and mix them into dips, or mash them up with some cream cheese to make roasted spring onion cream cheese. The lighter coloured ends are good all on their own, as a side or garnish, but they’re pretty stellar in sandwiches, wraps, and tacos.

    I’m Obsessed With Air Fried Tofu

    Many years ago, I took a break from studying chemistry in Gainesville, Florida to hang out with my brother who was teaching maths in Athens, Georgia. It was the late-ish 2000s, Dottie Alexander was still in of Montreal, and Michael Stipe’s vegetarian restaurant, The Grit, was very popular.

    Read more

    If you want to roast an entire bunch, the oven makes more sense, but it will take much longer (at least 30 minutes longer if you include pre-heating). The accessibility of an air-fried spring onion means you don’t have to commit to an entire sheet pan — you can roast a couple, or several, or a single spring onion in under 10 minutes, then repeat if needed. I am averaging about three roasted spring onions a day, one for each meal.

    The post Air Fry Your Spring Onions for the Perfect Garnish appeared first on Lifehacker Australia .