• chevron_right

      TikTok Food Hacks That Will Low-Key Change Your Life

      pubsub.dcentralisedmedia.com / LifehackerAustralia · Sunday, 14 February, 2021 - 22:10 · 2 minutes

    As you have probably seen at this point, TikTok user @grilledcheesesocial’s baked feta pasta recipe has gone absolutely freaking viral of late.

    The TikTok video has amassed more than 265 thousand likes and is continuing to draw in interest with every passing day.

    Considering the internet-wide thirst for easy, quick and delicious cooking hacks on TikTok, I thought it would be useful to pull together a list of other, equally as tasty, useful food hacks that you can pepper your week with.

    Ready to dig in? Course you are.

    Here’s our list of favourite TikTok food hacks:

    Baked feta TikTok pasta recipe by @grilledcheesesocial

    Tell me this doesn’t look like a sexy meal to you.

    @grilledcheesesocial

    Baked feta pasta viral recipe! Inspired by #uunifeta via @liemessa & @tiiupiret #learnontiktok #foodtiktok #foodie

    ♬ She Share Story (for Vlog) – 山口夕依

    The folded tortilla TikTok trend by @simplefood4you

    Section off your ingredients when filling a wrap, and fold it neatly into a triangle when popping it into the sandwich press. Neat and delicious.

    @simplefood4you

    Had to try this???? #tortillatrend #trend #tiktoktrend #trending #recipe #cooking #foodie #foodtiktok #mat #food #fördig fördigsverige #fyp

    ♬ Baby Work It – Your Favourite Garçon

    Quick kimchi dumplings by @thekoreanvegan

    Impress your pals with homemade Korean.

    @thekoreanvegan

    #tiktokcooks #learnontiktok #easyrecipe #koreantiktok #mukbang #vegan #foodtiktok #dinnerwithme #koreanfood #dumplings #mandoo

    ♬ Delicious – Pabzzz

    Easy Focaccia by @zaynab_issa

    If you didn’t make focaccia in the pandemic times, were you even here?

    @zaynab_issa

    Sarah Jampel’s Focaccia ???? ✨ > #tiktokrecipe #thisisbliss #howtotiktok #foodtiktok #focaccia #getthatbread #bakingbread #fyp #foryou #foryoupage #fypシ

    ♬ Up Beat (Married Life) – Kenyi

    A to-die-for breakfast sandwich by @acooknamedmatt

    Could eat this baby every day and not even feel bad about it.

    @acooknamedmatt

    Breakfast sandwich better than Steak ? #tiktokpartner #learnontiktok #food #DayInMyLife

    ♬ original sound – Chef Matt Broussard

    Mini pancake cereal by @sydneymelhoff

    This TikTok video went viral way back in May 2020. It’s still pretty cool, and it’s definitely still delicious so it makes the list.

    @sydneymelhoff

    Pancake dip n dots ???? This was a joke but actually tasted amazing #breakfast #pancake #tiktokdiy #positivevibes #cooking #keepingbusy #passover

    ♬ Over it Chinese New Year Remix by JohhnyG – KingVADER

    Oreo cake by @aquickspoonful

    Let’s finish this off with dessert, yeah? I honestly wouldn’t be able to trust myself around this bad boy.

    @aquickspoonful

    #oreo #oreos #cake #YouGotThis #cakelove #cakelover #oreocake #dontmixit #tiktokfood #tiktokrecipe #easyrecipe #dumpcake #momlife #kitchenhack #fyp

    ♬ original sound – Sophia Wasu

    Have you tried any of these recipes? Let us know how they turned out! And if you happen to come across any other must-taste TikTok food hacks, be sure to tell us about them in the comments section.

    Oh, and while we have you, may as well check out our write up on how to bake pasta without boiling it first . It’s a real time saver.

    The post TikTok Food Hacks That Will Low-Key Change Your Life appeared first on Lifehacker Australia .
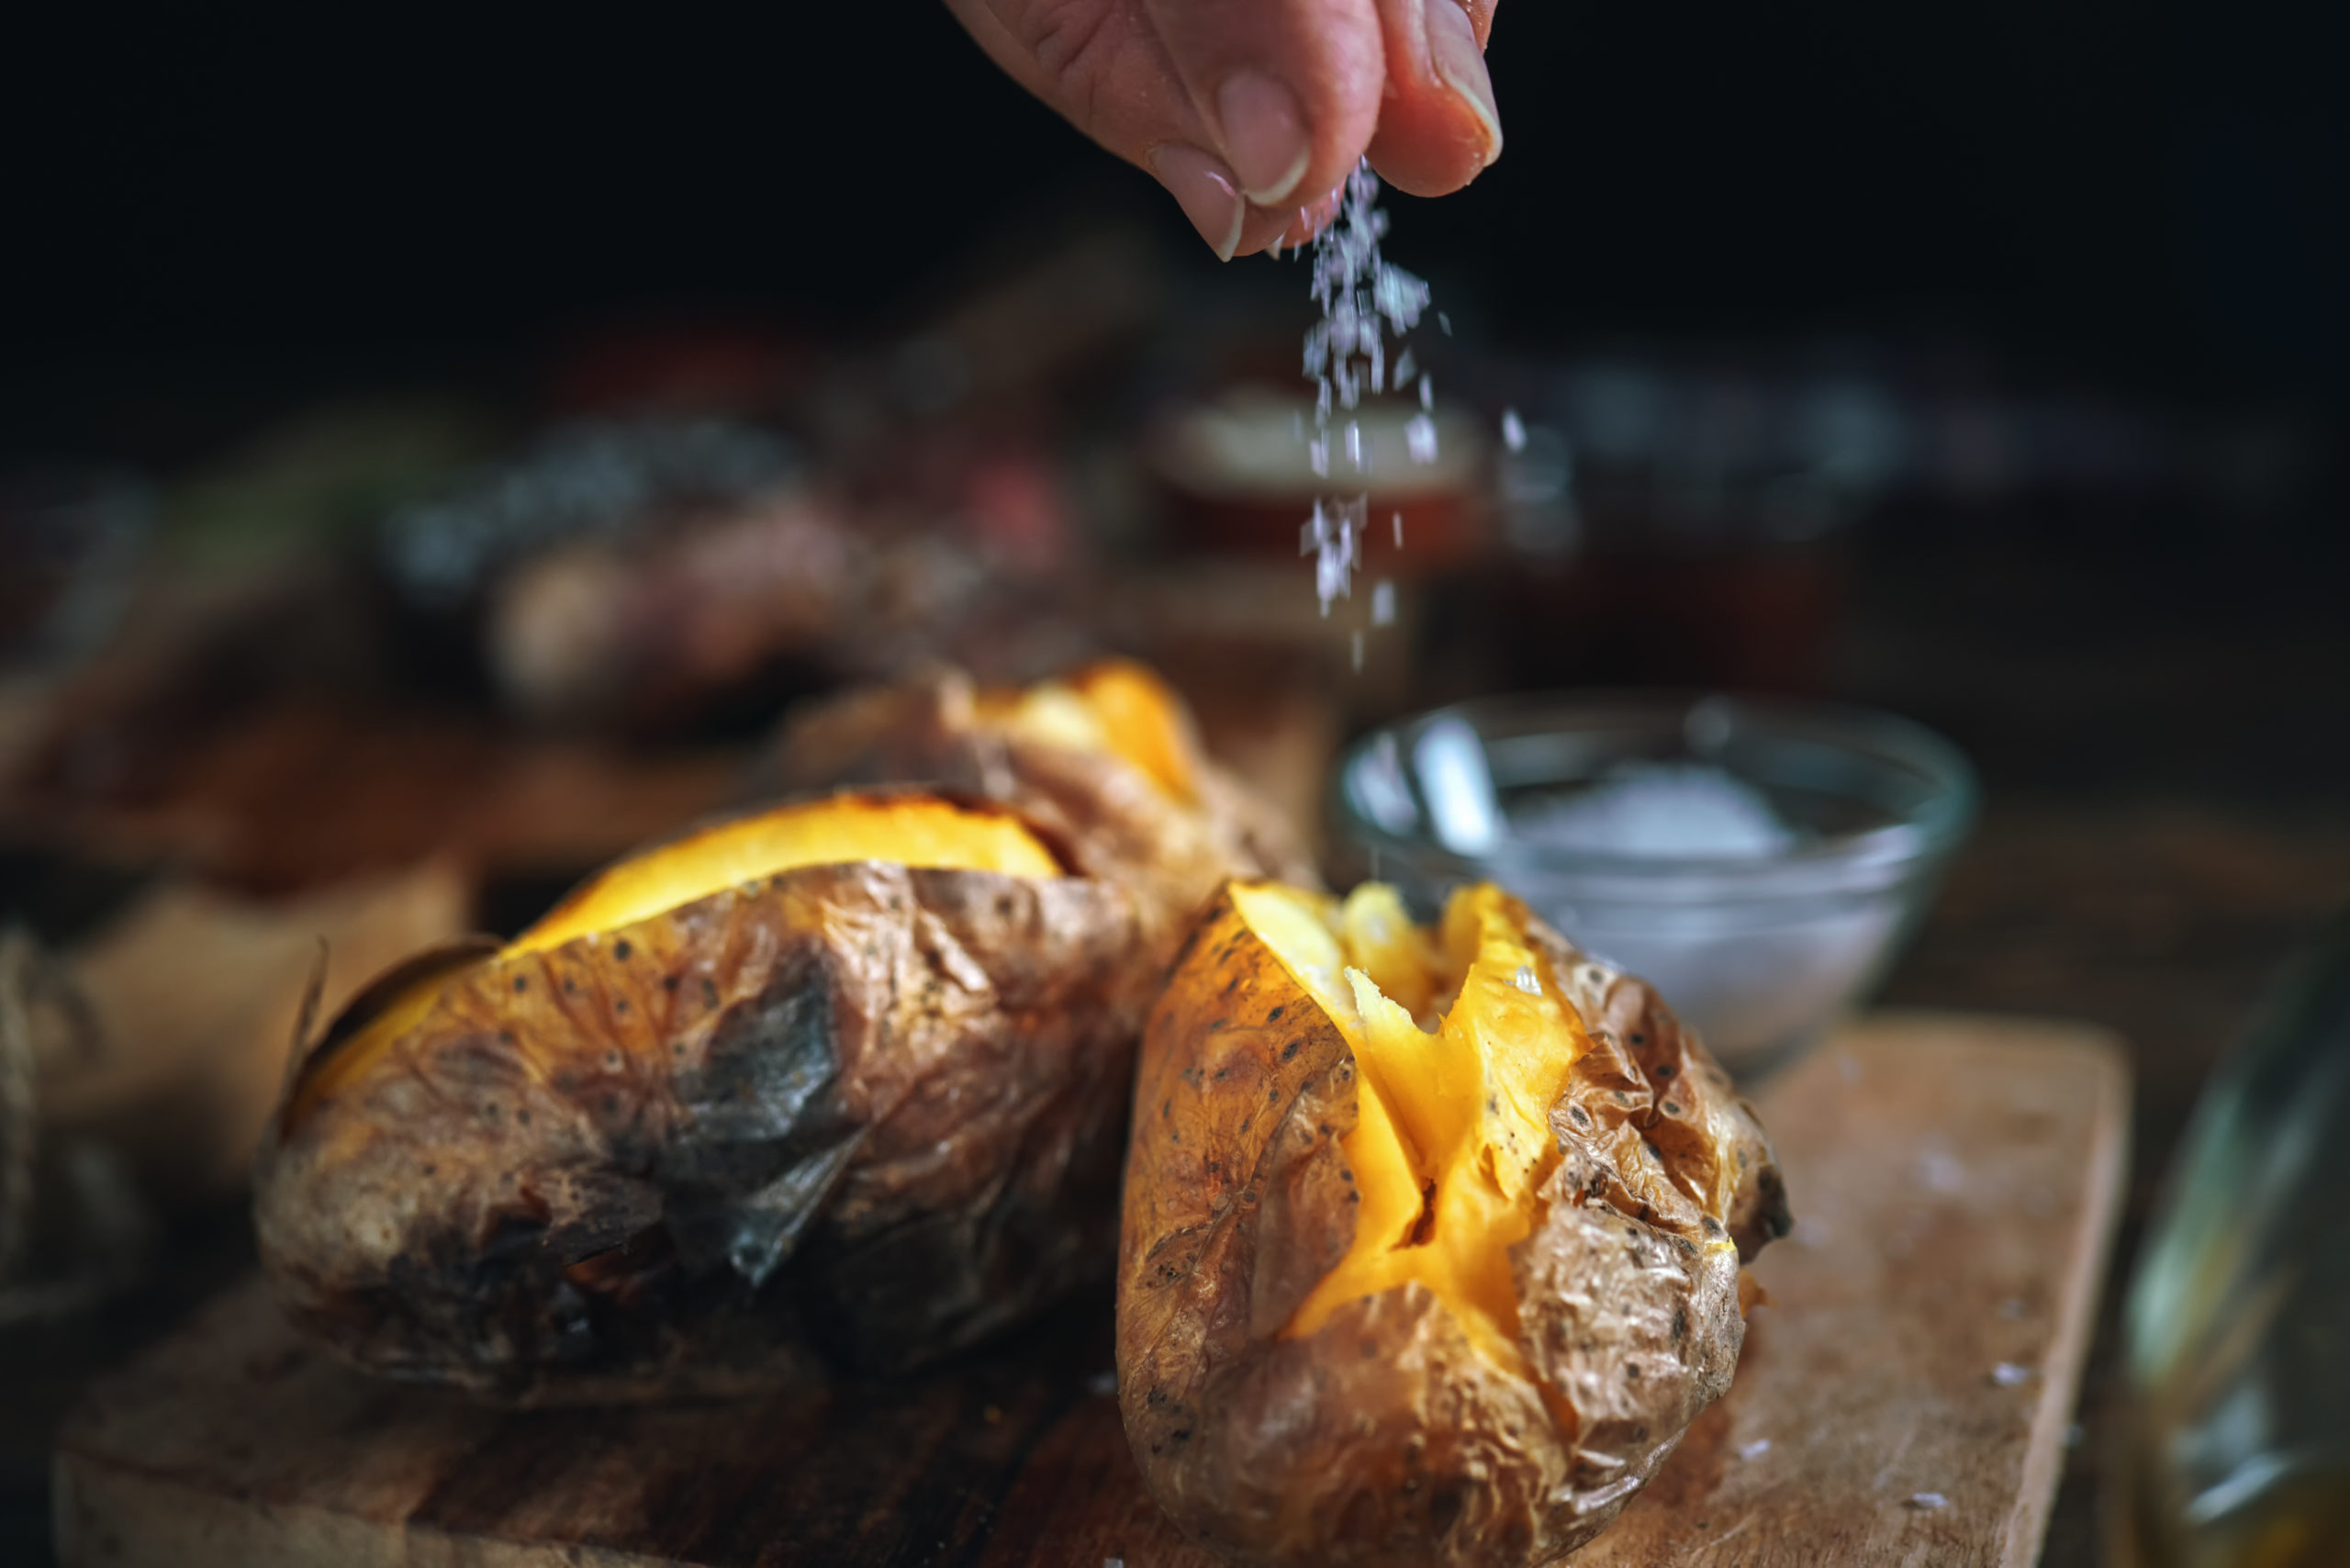
    • chevron_right

      The 45-Cent Hack to Cooking Perfect Roast Potatoes

      pubsub.dcentralisedmedia.com / LifehackerAustralia · Wednesday, 10 February, 2021 - 22:07 · 1 minute

    Wondering what the heck to make for dinner tonight? I know how it is. Lucky for you, we’ve been blessed with the news of a viral cooking hack that might help a little. And you better believe I’m about to share it here with you all.

    As 7 News has recently shared, an Australian mum’s trick for nailing roast potatoes has gained a whole lot of attention online because of how simple her approach is.

    Dropping her wisdom on the Mums Who Clean Facebook page, Vicki revealed that her secret to cooking drool-worthy potatoes is, wait for it… dry French Onion soup mix.

    In the post, which won Vicki a whole lot of attention when she published it a few months back, the Aussie mum wrote:

    “When doing roast spuds, peel, cut and place in a baking dish then …. get French Onion dry soup mix and sprinkle over top of spuds. Then sprinkle your oil over that and bake. It’s the only way I do roast spuds now.”

    You can pick up a packet of French Onion soup mix for as little as $0.45 at Coles and Woolworths if you’d like to transform your taters tonight.

    Want to step up your potato cooking game even further? Well, according to Family Food on the Table you can cook these little spuds in the microwave in 10 minutes if you want to skip the whole oven situation. ( As we recently discovered , you can also microwave sweet potatoes.)

    GettyImages-1072176534-scaled.jpg?auto=format&fit=fill&q=65&w=1280 Getty Baked Potato

    They’ve written that if you want to try this approach, you should poke each potato five to six times with a fork, then toss them straight onto the microwave plate for 10 to 11 minutes (this is for two medium-sized potatoes).

    To check if your potatoes are ready, the Family Food on the Table website recommends giving them a squeeze (wear an oven mitt or use a tea towel) and checking if they begin to open up. You can find the full write up here .

    Ta-da! Perfect (and easy) potatoes.

    The post The 45-Cent Hack to Cooking Perfect Roast Potatoes appeared first on Lifehacker Australia .

    • chevron_right

      How To Make Single-Serve Jam Doughnuts in a Mug

      pubsub.dcentralisedmedia.com / LifehackerAustralia · Monday, 8 February, 2021 - 23:09 · 1 minute

    With Valentine’s Day fast approaching, many of us have sweet things on the brain. And whether or not you’re planning to spend the big V Day with a significant other, access to a tasty little treat should be a given this February 14th.

    I came across a recipe via Gemma Stafford of Bigger Bolding Baking in recent weeks, and I believe it may just be the perfect Valentine’s Day dessert. It takes five minutes to pull together, it sounds tasty AF, and it’s made in single serves so it’s the perfect dessert to enjoy solo – if you like.

    Introducing, the Jam (or jelly, ’cause America) Doughnut in a Mug:

    What you’ll need:

    • Ingredients are listed in full on the website here . But be sure to grab yourself some quality jam and cinnamon for this baby. The recipe calls for strawberry jam, but you can go with your preferred flavour.

    Directions:

    1. Place butter into a microwavable mug and microwave until just melted (roughly 20 seconds).
    2. Add in the remaining ingredients; mix well with a fork until just combined.
    3. Once the batter is mixed place the spoonful of jam down into the batter to get a jammy centre.
    4. Microwave for 45 seconds or until it is firm on top. (Cooking time is based on a 1200W microwave so your timing might vary) Always keep a close eye on your mug while in the microwave so it doesn’t overflow or overcook.
    5. Sprinkle some cinnamon sugar on top and enjoy straight away!
    IMG_9826.jpg?auto=format&fit=fill&q=80&w=1280&nrs=30 
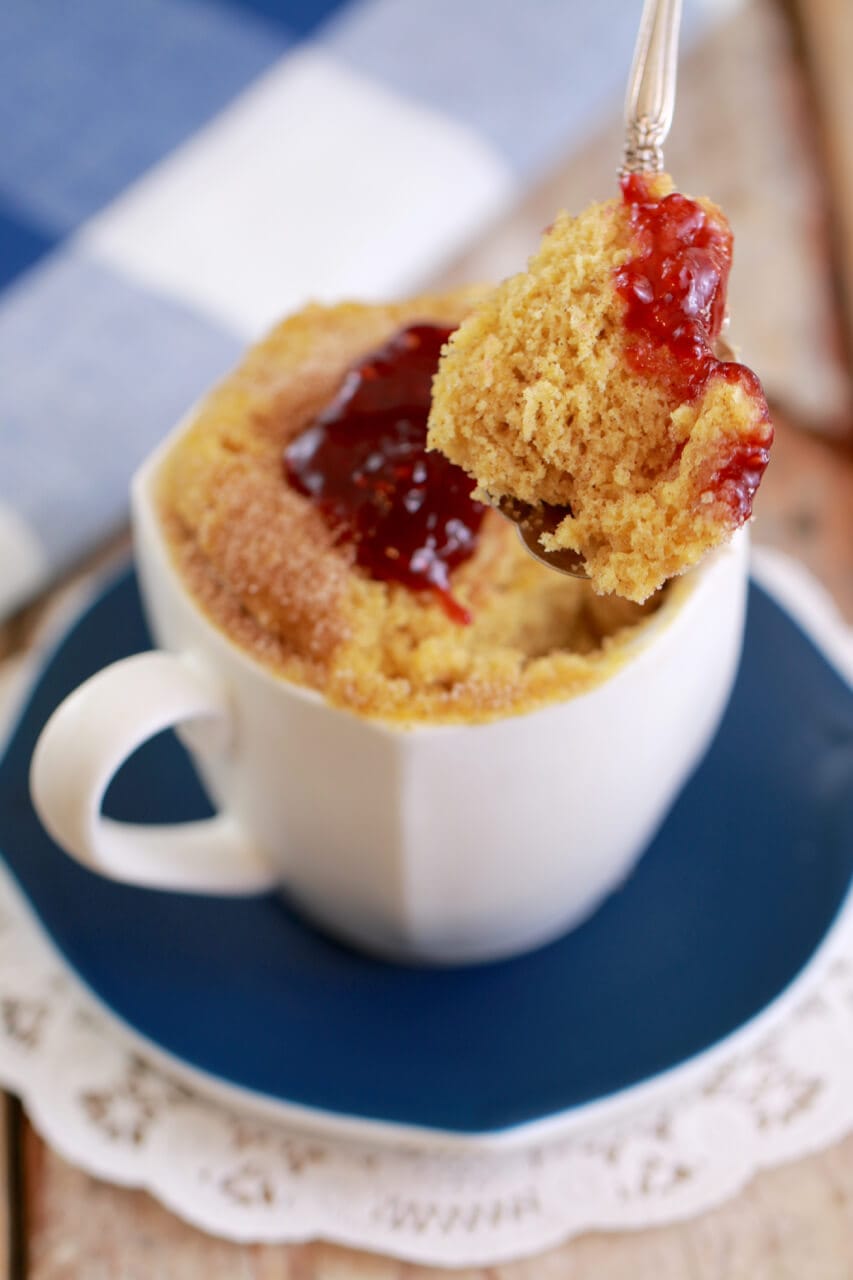
Tell me this doughnut doesn’t look damn delicious. Image via Bigger Bolding Baking

    Hot tip: Cooking time will vary depending on your microwave and the width and depth of the mug.

    Hot tip #2: You can replace the egg with 2 tablespoons of banana or apple sauce, if you prefer.

    Hot tip #3: You can bake your doughnuts in the oven at (180°C) for roughly 10-12 minutes. However, every mug is different so I advise checking on it after 10 and then make a call.

    Want to do more mug baking? You should check out our write up on Stafford’s single-serve pizza in a mug here .

    The post How To Make Single-Serve Jam Doughnuts in a Mug appeared first on Lifehacker Australia .

    • chevron_right

      How To Make Delicious Buffalo Wings In Your Pressure Cooker

      pubsub.dcentralisedmedia.com / LifehackerAustralia · Sunday, 7 February, 2021 - 21:53 · 4 minutes

    Where wings are concerned, I’m very easy to please. For me, the Buffalo wing (chicken wing) experience is 90% sauce, with the remaining 10% split between juicy meat (that’s properly cooked) and some degree of skin crispiness; basically, as long as butter is involved, I’m thrilled.

    But even if I had exacting Buffalo wing standards, I’d be impressed by pressure-cooked Buffalo wings, which are easy, infinitely adaptable, satisfying, and best of all, fast . What’s not to love about that?

    How to make Buffalo wings in your pressure cooker

    If you love a crispy skin, then you should rest the wings overnight in the fridge to dry out the skin. But if you’re willing to sacrifice some crunch in favour of time, you can have a batch ready in less than an hour, no deep-frying required. Here’s how to do it.

    First, separate the wings into drums and flats if needed — the nice man at my local store hacked mine up for me so I didn’t have to — and season with salt. (Your batch size will depend on your pressure cooker’s capacity — you don’t want to overfill it.)

    Place a steamer basket in your pressure cooker and carefully arrange a layer of flats on the rack, making sure that none of them touch the bottom of the cooker. Once you have a nice solid layer, arrange the remaining wings on top and pour in a cup and a half of water.

    Lock the lid in place and press the “Steam” button, then use the “Adjust” button to select “Less” (or equivalent settings on your pressure cooker). This will steam the wings for 5 minutes at high pressure, which is what you want — and while they cook you can make some sauce .

    Let the pressure release naturally for about 5 minutes, and release the rest manually. If you’re making wings for a crowd, repeat this process as many times as you need to get all the wings cooked. (Save the leftover steaming water — it makes for great chicken stock.)

    From here, you have two options: grill the steamed wings straight away, or let them dry out in the fridge overnight. Because I am a serious journalist, I made several versions to help you decide. It is my duty. You’re welcome.

    erspo2cthmjimvbqtnav.jpg

    The wings, pre-fridge drying.

    First, I made a batch the same way I always do: lightly sauced right out of the pressure cooker, grilled on both sides until crisp, and then heavily sauced.

    Screen-Shot-2019-09-09-at-9.51.19-am.png?auto=format&fit=fill&q=80&w=1280&nrs=40

    If you’re hungry now and indifferent to crispy skin, these are for you. They took 30 minutes start-to-finish and are downright succulent: juicy and flavourful all the way through, and incredibly tender — but not so tender they fall apart in your hands. Look, you could do a lot worse.

    Screen-Shot-2019-09-09-at-9.51.34-am.png?auto=format&fit=fill&q=80&w=1280&nrs=40

    But if you’re after that crispy, crispy skin, I suspect you feel you could also do a lot better . If that’s your deal, place the steamed wings skin side up on a cooling rack and let them rest, uncovered, in the fridge overnight. Make some ranch sauce if, like me, you prefer it to blue cheese dressing for wings, then go to sleep and dream of Buffalo wings.

    pkgyunqx2eu2zuiknq41.jpg

    I APOLOGISE FOR NOTHING

    Once the wings are nice and dry, you have to decide how you want to crisp them up. Grilling is my preferred crisping method because I hate smelling like a vat of oil, but I fried some wings anyway just for you. Following Claire’s method from her sous-vide wing adventure , I heated about 1.5cm of vegetable oil to about 200 degrees Celsius and shallow-fried three wings.

    Screen-Shot-2019-09-09-at-9.55.07-am.png?auto=format&fit=fill&q=80&w=1280&nrs=30

    Were they good? Obviously, yes, they were amazing. But now there’s a ring of gummed-on vegetable oil inside my stainless pan, all my windows are open even though it’s snowing outside, and I need to shower.

    Screen-Shot-2019-09-09-at-9.55.16-am.png?auto=format&fit=fill&q=80&w=1280&nrs=30

    Grilling your wings, on the other hand, is low-risk and high-reward. You can grill them straight out of the fridge to approximate a fried texture or do the sauce-broil-sauce method I mentioned earlier. Whichever you choose, keep your pan about 15cm away from the hot griller and put the flats in the centre, surrounded by the drums.

    They will brown more evenly this way. Broil ’em skin side-up until golden and crisp, then flip and repeat twice more — you want to finish them skin side-up to maximise that crispiness.

    Here’s what dried, broiled, then sauced wings will look like:

    Screen-Shot-2019-09-09-at-9.55.29-am.png?auto=format&fit=fill&q=80&w=1280&nrs=30

    These were legitimately crunchy, but they dried out a bit in the griller. You can try moving the pan closer to the grill, but you’ll need to watch them closely so they don’t burn. Overall, these are just OK; I scarfed down the testers happily, but technically they were the “worst” of the bunch.

    And here are some dried-sauced-broiled-sauced wings:

    Screen-Shot-2019-09-09-at-9.55.36-am.png?auto=format&fit=fill&q=80&w=1280&nrs=30

    Drying them in the fridge helped the skin crisp up, but the cushion of sauce kept the meat from drying out. These are amazing. I’m keeping this technique in my back pocket for the next time I have a wing craving that I can wait 12 hours to satisfy.

    Screen-Shot-2019-09-09-at-9.55.29-am.png?auto=format&fit=fill&q=80&w=1280&nrs=30

    No matter what your usual technique for at-home Buffalo wings entails, I think it would be improved by high-pressured steam and a stint under the griller, especially if you’re making wings for a big crowd. Steam the wings the night before, whip up whatever sauces you like, and grill them off in batches the next day. Then you’re set to party.

    facu4tplv2eweiies561.jpg

    RIP.

    This article has been updated since its original publication.

    The post How To Make Delicious Buffalo Wings In Your Pressure Cooker appeared first on Lifehacker Australia .

    • chevron_right

      How Do You Organise Your Recipes?

      pubsub.dcentralisedmedia.com / LifehackerAustralia · Sunday, 7 February, 2021 - 21:18 · 2 minutes

    There is a red binder in my kitchen cabinet, and in that red binder resides the following: A recipe for barbecue sauce I tore from a magazine years ago and never made. Scrawled instructions on a Post-it Note to remind me how to roast pumpkin seeds once a year. Directions from eHow on how to stir-fry “anything.” Countless handwritten recipes on a wide variety of paper, including stationary with inspirational quotes, stationary from my first newspaper job and, for some reason, Hello Kitty stationary I do not recall owning. There are recipes I use all the time and recipes I made once and promptly forgot about forever. It is a mess — and it’s the most organised system I have.

    My other “systems” include: a folder in my email full of recipes I found online that I want to try some day . A board on Pinterest where I add recipes I find mostly by stalking my mother-in-law’s much more extensive Pinterest board. A recipe box that contains a few recipes I make once in a while and a whole bunch I don’t. And, finally, this family recipe book my husband and I received as a gift and have yet to write a single thing in. Not to mention the countless recipe books with bookmarked pages because I like the pasta salad recipe in one book but the lemon chicken orzo soup in another.

    There are some recipes I want to preserve forever, like the printed-out email with detailed directions from my dad, instructing my 20-year-old self on how to make mashed potatoes for the first time. (“Add any additional milk sparingly,” he wisely advised, “because once it’s in there, you can’t take it out, and you don’t want runny potatoes.”) And the directions I wrote down one night after I called my grandma, just months before she died, to ask how to make her meatball sauce. But I need a better system.

    The binder itself is a pretty good way to organise loose recipes, as I use plastic sleeves and dividers to keep my bread recipes separate from those for veggies, main courses, pastas, and desserts. But it quickly becomes overrun with things I want to try (but never will), and still I find myself rummaging through my email for that creamy tortellini soup recipe I sent to myself a few weeks ago.

    Tell me in the comments: How do you organise your recipes, both online and offline? How long do you hang on to a new recipe before you decide you’re never going to make it, and it’s time to set it free? How often do you go through your physical recipes to purge the ones you don’t use? What apps or other online systems do you use to organise the recipes you don’t yet want to print? How do you even remember that you liked that spicy Thai shrimp you made from that one cookbook last week? How you keep track of and organise the endless recipe options at your disposal?

    The post How Do You Organise Your Recipes? appeared first on Lifehacker Australia .

    • chevron_right

      How to Make Garlic Less Garlic-y

      pubsub.dcentralisedmedia.com / LifehackerAustralia · Friday, 5 February, 2021 - 01:12 · 2 minutes

    This may be a bold declaration I’m about to make, but it’s one I’m happy to stand behind. I think hummus is the king of the dips.

    It’s creamy, flavourful and versatile. Have you ever tasted lemon hummus? It’s a dream. I could eat the stuff every day. I kind of do.

    Anyway, if you too are a hummus fiend, you may have attempted to make the dip at home once or twice . If you have, there’s a chance you’ve run into the problem of a particularly powerful garlic flavour in your dip.

    Sound familiar? Well, you’re not alone. The topic popped up in a Reddit feed recently with folks discussing their solutions to intense garlic flavour in homemade hummus.

    How to tone down strong garlic flavour in hummus? from AskCulinary

    A few solutions were brought to the table, but one appeared more popular than the rest. That was the use of lemon juice.

    Redditor felipevca shared that blitzing the garlic in lemon juice can settle the flavour somewhat. It’s a point that American chef and food writer Kenji Lopez has made before, they shared.

    How to use lemon juice with garlic

    Taking a peek at Kenji Lopez’s recipe for smooth hummus, he shares that, “you start by putting whole, unpeeled garlic cloves—a whole head’s worth of them—in a blender with a good amount of lemon juice and blending it to a pulpy purée. You then press the liquid through a fine-mesh strainer into a bowl”.

    He wrote that his initial assumption was that the flavour was going to be particularly strong, but to his surprise, he “found that, while it had a powerful, sweet garlic aroma, it had none of the harshness or raw, hot garlic bite you’d expect”.

    Now, this hack is not necessarily hummus-specific. There’s nothing to say you can’t use it in other recipes that require raw garlic. This trick simply popped up with regard to a hummus recipe. And iff you do give it a try, let us know how it goes in the comments below.

    The post How to Make Garlic Less Garlic-y appeared first on Lifehacker Australia .

    • Th chevron_right

      The Best Ways to Reheat and Reuse Leftover French Fries

      Brett & Kate McKay · tests.marevalo.net / The Art of Manliness · Thursday, 6 August, 2020 - 16:05 · 4 minutes

    The pandemic supposedly got people back into their kitchens — baking bread and making comfort food casseroles. But around here, we’ve actually found ourselves getting take-out a little more often. At first it was a way to support local restaurants, and then it became increasingly uncomfortable to linger in grocery stores hunting for rarely-used ingredients for new recipes. Plus, there’s just the fact that when there are other stressors on the mind, it’s nice to have one less thing on the mental bandwidth.

    So we’re still cooking ( Jeremy’s stupidly-easy-but-incredibly-delicious biscuits have seen perennial action), but restaurant take-out has ended up in the dinnertime rotation a bit more frequently.

    Something I noticed after consuming these Styrofoam-encased meals, is that we sometimes ended up with some leftover French fries. Restaurants often accompany their entrees with outsized portions of them, and our kids especially don’t always have the appetite to finish theirs off. The leftover fries would end up in the fridge, where they would invariably remain untouched, and then be shunted to the trash.

    Because who likes to eat leftover French fries? Their deliciousness has a short shelf-life; fresh from the fryer, they’re the height of tastiness, but a day, even an hour later, and they’re soggy and mealy. Reheat them in the oven, and they turn hard and dry. Nuke ‘em in the microwave, and they become soft and limp, devoid of their former crispness.

    And yet, it seems a shame to throw your fries away. You paid for them, and take-out is expensive. You want to get your full money’s worth instead of letting your food go to waste.

    Fortunately, it’s possible to reheat and reuse leftover French fries in ways that restore their golden glory.

    How to Reheat French Fries (So They Actually Taste Good)

    While many methods for reheating fries turn out lackluster results, these two will bring your fries back to something approaching their fresh-from-the-fryer state.

    The Improved Oven Method

    As mentioned above, reheating fries in the oven tends to make them dry and hard. But with a few tweaks to this method, you can get a much superior result.

    1. Preheat oven to 400 degrees.
    2. Tear off a sheet of foil big enough to cover a baking sheet and crumple it into a ball.
    3. Gently (to avoid tearing) unfold the foil so that it’s flat, but not entirely smoothed out. Keep the textured ridges you’ve created; the fries will sit on top of these ridges, allowing the oven’s heat to warm every side of the elevated pieces.
    4. Place French fries on the foil spaced out in a single layer.
    5. Hit the fries with a light spray of cooking spray.
    6. Bake for about 5 minutes, until hot.
    7. Add salt to taste (you wouldn’t think it’d be needed, but it likely is and quite enhances ’em) and consume.

    The Re-Fried Fries Method

    If fries taste best straight from the oil, then it makes sense that returning them to some grease would restore their deliciousness. And indeed, this was the best method we tried; re-fried fries taste almost better than they did originally.

    1. Coat the bottom of a pan with a thin layer of oil and heat over medium-high heat.
    2. Place the fries spaced out in a single layer in the pan.
    3. Leave fries to heat for 1-2 minutes (depending on thickness/desired crispiness), then flip/stir them, and fry for 1-2 minutes more, until hot, golden, and crispy.
    4. Let drain on a paper towel-lined plate and add salt as needed.

    If you like softer fries (and aren’t keen on adding oil to an already grease-laden food), use the oven method. If you like crispier fries, use the frying method.

    How to Reuse French Fries in a Meal

    If you don’t want to go through the trouble of heating up the oven or dirtying a frying pan just to make yourself a French fry snack, consider reusing your leftover fries by incorporating them into another food or meal. When they’re mixed with other things, their texture becomes less consequential.

    Smothering the fries with cheese and toppings or poutine (gravy + cheese curds) is a good option, as it turns a would-be snack into something that eats like a meal.

    You can also use leftover fries pretty much in any recipe that calls for potatoes (keeping in mind that they’re already cooked, and won’t need as much cook-time as the original recipe calls for). You can stick them a breakfast burrito or hash, or incorporate them into a casserole.

    Possibly the best option is to put your leftover fries into a frittata. Frittatas are a versatile dish – they can be eaten for breakfast or dinner, and you can pretty much throw anything you have on hand, leftover or fresh, into them, whether veggies, meats, or even (cooked) pasta. While you can come up with infinite combos, here’s a recipe that will get you started and easily and tastily use up your leftover fries.

    Leftover French Fry Frittata

    Ingredients

    • 8 eggs
    • ¼ cup cream
    • 4-6 slices of bacon
    • ¼ cup cheddar cheese
    • 1/4 teaspoon salt
    • 1/2 teaspoon pepper
    • leftover French fries (the exact amount doesn’t matter, but no more than about 2 cups)
    • fresh chives

    Directions

    Preheat oven to 400 degrees.

    Cook bacon, drain, and dice. Dice chives. Whisk together eggs, cream, salt, and pepper until just combined. Lightly grease a cast-iron or other oven-safe pan. Place French fries in a single layer on its bottom. Sprinkle in pieces of bacon. Pour in eggs, covering fries and bacon evenly. Sprinkle on cheese.

    Heat on stove over medium-high heat, until the edges begin to firm. Then transfer to oven and bake for 15 minutes/until you can cut into it without seeing runny egg. Sprinkle frittata with chives and serve.

    The post The Best Ways to Reheat and Reuse Leftover French Fries appeared first on The Art of Manliness .