close
    • Li chevron_right

      How to Enable Microsoft Edge’s New ‘Kids Mode’

      pubsub.dcentralisedmedia.com / LifehackerAustralia · Friday, 19 February, 2021 - 18:00 · 2 minutes

    Microsoft is testing a new “Kids Mode” for Edge that makes the browser safer for younger users with just a few clicks.

    How to Try Out the Upcoming Firefox Redesign Now

    Later this year, Mozilla will update Firefox’s desktop design with the new Proton interface. The visual overhaul is expected to include:

    Read more

    Edge already has several family features, but those settings must be manually set up and apply to all users in a family group. Kids Mode, however, can be turned on or off by the parents and comes with heightened security and content filters built-in, including blocked sites, Bing Safe Search, and family-friendly browser themes.

    Kids Mode is still in development, but you can try it out early in the latest Edge Canary build. It will come to the developer build next, then should be available in the stable build sometime in the future. If you download Edge Canary for Kids mode, keep in mind it will install as a separate version of Edge — so if you’re trying to keep your kids away from certain content, you’ll need to make sure they’re using Edge Canary instead of the normal version. It’s also important to note that Edge Canary is full of other unfinished features and settings, which could cause occasional crashes and other errors.

    How to enable Kids Mode

    Whether you test Edge’s Kids Mode out early or wait for it to come to a more stable version, turning it on is easy: Open the browser, then click the Profile image in the upper-right, and select “Kids Mode.”

    With Kids Mode on, Edge will prevent access to a list of pre-determined websites, which can be modified by going to Settings > Family S afety . This menu also includes activity reports and lets you manage all the other profiles and devices used by your family. Bing will also be permanently set to ‘Safe Search’ when the browser is in Kids Mode.

    Finally, Kids Mode can be customised with its own kid-friendly browser themes — just click the settings icon from a new tab and click “Custom, and then “Manage” under “Background Image.”

    [ The Verge ]

    The post How to Enable Microsoft Edge’s New ‘Kids Mode’ appeared first on Lifehacker Australia .

    • Li chevron_right

      How Do I Fix a Glitched Photo Library in macOS?

      pubsub.dcentralisedmedia.com / LifehackerAustralia · Friday, 19 February, 2021 - 14:00 · 7 minutes

    You do everything right, yet disaster still strikes. Such is the world of troubleshooting a fussy PC, like when a prompt suggests that it’s fixing your computer but somehow makes a situation worse.

    At least, that’s where Lifehacker reader Joanne finds herself today. She recently wrote to Tech 911 with the following question:

    This is a long shot but last resort after 19 days of everything I can think of.

    I had 31700 photos and 1100 videos on my iMac photo library. Releasing there were some duplicates I downloaded photosweeper, just started the process when photo library crashed. When I reopened library it asked me to rebuild library which I did and now there are only 3409 photos!!!!

    I can’t seem to find a masters but do have an originals file which only seems to have photos up until 2016 when I last changed my Mac.

    I have tried using finder spotlight which comes back with more than 80000 images and when I try to copy my Mac continues to restart due to error.

    I thought I had last backed up my photos to a usb drive in February 2020 but when I try open the file Photos 2020 it come back saying error.

    I am a mother of 4 and the majority of the images are of my children and I am pretty desperate to restore my library. Can you offer any help or advice?

    Is It Worth Switching From a Mouse to a Pen?

    I’ve been a mouse guy for as long as I can remember — never wavering. However, what if you want to ditch your mouse entirely? That’s the question put forth by Lifehacker reader James. He writes:

    Read more

    When a recovery doesn’t recover

    I’m sorry you’re dealing with this, Joanne. This must have been quite the three-week bout of anxiety for you; at least, that’s how I would have felt if I suddenly lost some 27,000+ photographs. To that point, I’ve never experienced this on my Mac, but also all my photos go straight to the cloud to live on someone else’s servers because I don’t trust one hard drive or operating system to preserve my data.

    I don’t say that to scold you, but to remind everyone that regularly backing up your critical data (especially photographs you can’t bear to lose) should be a regular part of your digital life. When in doubt, simply remember this: store your files in as many places as you can, because it never hurts to have multiple backups.

    Generally, I’d recommend sticking to three locations: Your computer, a cloud service, and some kind of external storage that you control such as a USB hard drive. You don’t have to back up your files to all these places at once every time — perhaps you sync your PC’s photo folder to the cloud, or simply drop every photo you take into cloud storage from your device or PC. Maybe copying your photo archive from your PC to external storage is something you do more sparingly, in case you ever need to restore an older file, but aren’t concerned that you’ll lose everything in your cloud storage.

    How Do I Transfer Data When I Switch Out My Laptop’s Hard Drive for an SSD?

    Replacing an ancient mechanical drive with a super-speedy solid-state drive is one of the best upgrades you can make to a desktop or laptop computer. Though it won’t turn your 8-year-old HP into a new M1 Mac, you’ll definitely feel and appreciate the difference (especially if you pair it with...

    Read more

    And speaking of backups, if you find yourself in this predicament with your Mac again, the first thing you should do is make a full, direct copy of your photo library to somewhere else (whether that’s to another folder on your PC or some kind of external storage). That gives you the ability to go back to the way things were right when the issue occurred, in case your troubleshooting happens to make things worse.

    While it appears that your troubleshooting has made things worse, I think you still have a few options you can try to restore your photos. First off, have you checked iCloud ? That sounds basic, but if you’ve been backing up your photos from your Mac to Apple’s online storage (ideally automatically), everything in your photo library might still be there.

    Before we do anything else, though, let’s back up your existing Photo Library. On the macOS desktop, click on Go in your menu bar and select Home . Pull up your Pictures folder and copy your Photos Library somewhere else — ideally external storage, but even copying it to your desktop should suffice (if you have room).

    From there, it’s time to investigate those iCloud photos. Assuming your library is safely stored in the cloud, you can download them all manually (ugh) or you can try having them re-sync to your Mac. Launch your Photos app, and click on Photos > Preferences . Click on iCloud , and make sure “Download Originals to this Mac” is selected.

    ytqyiexeiu7budzcmxgn.png?auto=format&fit=fill&q=65&w=1280

    Though, actually, it might be better to create a brand new photo library instead, just in case. Instead of just launching Photos , hold down the Option key while clicking on the Photos icon. You’ll be given a prompt that looks like this, which you’ll use to create a brand-new library:

    boivth61lpk0jalfy99j.png?auto=format&fit=fill&q=80&w=1280&nr=20

    Once you’ve done that, go to Photos > Preferences , click on “Use as System Photo Library” under the General tab, and you should then be able to use the iCloud link to download said originals.

    If your images aren’t in iCloud, let’s try something else. Assuming you’ve backed up your Photos library, go to the original library’s location in your Pictures folder and Control-click on it. Click on Show Package Contents , and click on the Resources folder. Delete the Recovery folder that should be present , close the Finder window, and relaunch the Photos app. Hopefully, you’ll get either a brand-new recovery process that works, your photos will magically appear, or something useful will be in that folder.

    If not, I’d go back to the “create a new photo library” idea I suggested earlier. Once you’ve got that set up, and are sitting in the Photos app, go back to your original Photos library and do the same “Show Package Contents” step as before. This time, try dragging your entire “originals” folder into the Photos app, which should recopy all of your old photos back into your new library.

    Do I Need to Replace My Windows 7 Computer Yet?

    I never thought I’d hear the phrase “Windows 7″ ever again, but a Lifehacker reader recently reminded me that, yes, some people are still using Microsoft’s end-of-life operating system. It’s not that they wouldn’t want to upgrade, I assume, but some people just can’t; they probably tried, were met with...

    Read more

    Similarly, I’m not sure what you tried with your backup, but you might want to consider doing the “Show Package Contents” route on that to see if you have any more files in your Originals folder. Or, barring that, try copying that file to your Photos folder, launching Photos while holding down the Option key, and using the “Other Library” command to select that photo library.

    Regardless, all of your photos have to be in one of these three locations — buried in your existing library, buried in your backup, or sitting safely on iCloud (or within iCloud’s “Recently Deleted” folder). That, or they’re possibly within Photos’ “ Trash (Photosweeper) “ album, if that exists . You might want to consider relaunching the app (after you’ve done all your backups of your Photo library) and poking around to see if it’ll help you recover anything. I doubt that one, but it’s worth a shot.

    Do you have a tech question keeping you up at night? Tired of troubleshooting your Windows or Mac? Looking for advice on apps, browser extensions, or utilities to accomplish a particular task? Let us know! Tell us in the comments below or email david.murphy@lifehacker.com .

    The post How Do I Fix a Glitched Photo Library in macOS? appeared first on Lifehacker Australia .

    • Li chevron_right

      Use ‘Nearby Share’ to Send Android Apps to Your Friends

      pubsub.dcentralisedmedia.com / LifehackerAustralia · Thursday, 18 February, 2021 - 20:00 · 2 minutes

    As an Android user, how do you share apps with other people? You probably tell them, “Hey, I awesome downloaded [cool app name]. You should play/use it too.” But Google has introduced a new way to share apps from Google Play, and it’ll be pretty useful when (if?) we’re ever able to hang out in person again.

    Once you can access the feature, which is currently rolling out various permutations of devices running the 24.0 version (or newer) of the Google Play Store app, you’ll be able to send some of the apps on your phone directly to friends using your device’s Nearby Share feature. However, there’s a caveat; as Android Authority reports, not all apps are eligible for the sharing, thought that might change at some point.

    To check if you have this capability yet, make sure you’ve updated your Android’s operating system and all of its apps to the latest versions available (via Settings > System > Advanced > System Update , at least on my Pixel). Check your version of the Google Play Store app by visiting Settings > Apps & notifications > See all [x] apps > Google Play Store > Advanced , and scrolling down a bit until you see the app’s version number. (Again, those are instructions for my Pixel, so the exact path might vary for your specific Android.)

    zx1o5auzzukrct8fev03.png?auto=format&fit=fill&q=65&w=1280

    Next, launch Google Play, tap on the three-line hamburger icon in the upper-left corner, and select My apps & games . You should now see a new tab at the top: Share . Tap it, and you’ll see this prompt:

    e8fvnm6b1u6ujwzh5kks.png?auto=format&fit=fill&q=65&w=1280

    Once you’ve given the app the proper permissions, you’ll be able to use the Send button to shoot apps to nearby phones that have tapped on the Receive button and are awaiting transmission. Neither phone needs an internet connection for this to work, as Nearby Share works via a bunch of different methods (“Bluetooth, Bluetooth Low Energy, WebRTC, or peer-to-peer WiFi “) to ship .APKs between the two devices.

    o5hqjtvvfdf1onozf3sw.jpg?auto=format&fit=fill&q=80&w=1280&nr=20
    n3xmysvsoq1uyc8f2cor.jpg?auto=format&fit=fill&q=80&w=1280&nr=20

    Once you’ve picked a device to send apps to — or once someone has elected to send one to you — you’ll get a prompt with a pairing code. All you have to do is make sure the four-digit codes match on the sending and receiving devices. Odds are they will, unless someone else near you is trying to do the exact same thing at the exact same time.

    yqcsfft4fpx0efmvzszn.jpg?auto=format&fit=fill&q=80&w=1280&nr=20

    The post Use ‘Nearby Share’ to Send Android Apps to Your Friends appeared first on Lifehacker Australia .

    • Li chevron_right

      How to Ditch WhatsApp for Good

      pubsub.dcentralisedmedia.com / LifehackerAustralia · Sunday, 14 February, 2021 - 21:29 · 1 minute

    If you use WhatsApp, the incredibly popular messaging app owned by Facebook, chances are you’ve encountered the news surrounding their ever-changing privacy policy. While the service seems to continually shift from more to secure to less secure and back again, you may feel like it’s time to pack up your data and find a new platform to chat with friends.

    If you choose to remove yourself from WhatsApp, here’s what you’ll want to do:

    To export your messages, tap on the chat you want to save. Tap on the name of the chat at the top and scroll down to “Export Chat,” and then choose whether or not you want to include the media from the chat with it.

    Then request your account data by going to “Settings” in the bottom right corner. Then choose “Account” and “Request Account Info”. It will take about three days to receive your data report from WhatsApp, but they’ll notify you when it’s ready.

    For Better Privacy, Use These Apps Instead of WhatsApp’s Disappearing Messages

    WhatsApp’s long-awaited disappearing messages feature has finally rolled out for all users, but you should make sure you’re comfortable with how the feature works before using it.

    Read more

    Finally, to delete your account, go to “Settings,” then “Account,” and “Delete My Account”. Doing so will erase your message history, remove you from all groups, and delete your backup. Now you’re free and clear of WhatsApp, and just need to convince your friends and family to migrate to a different app.

    The post How to Ditch WhatsApp for Good appeared first on Lifehacker Australia .

    • Li chevron_right

      Is It Worth Switching From a Mouse to a Pen?

      pubsub.dcentralisedmedia.com / LifehackerAustralia · Sunday, 14 February, 2021 - 21:22 · 4 minutes

    I’ve been a mouse guy for as long as I can remember — never wavering. However, what if you want to ditch your mouse entirely? That’s the question put forth by Lifehacker reader James . He writes:

    I sign my name as best I can using my Logitech mouse. I am in my late 80s and find shaping letters very difficult. I am anxious to try a Pentype Mouse to provide me with better control when signing or making sketches.

    My system is Windows 10, 64 bit. Can you recommend any mouse or give me a reference to any reviews of such mice?

    Pen mouse or drawing pad?

    I confess, I haven’t seen a review of a bonafide pen mouse in years. They always struck me as one of those cheap, $30 gadgets you’d probably find on some deep shelf at Target, perhaps with an “as seen on TV” sticker on it. They’re not a very conventional way to use one’s system, look bulky as can be, and you have to deal with wireless charging all the time. Ee ech .

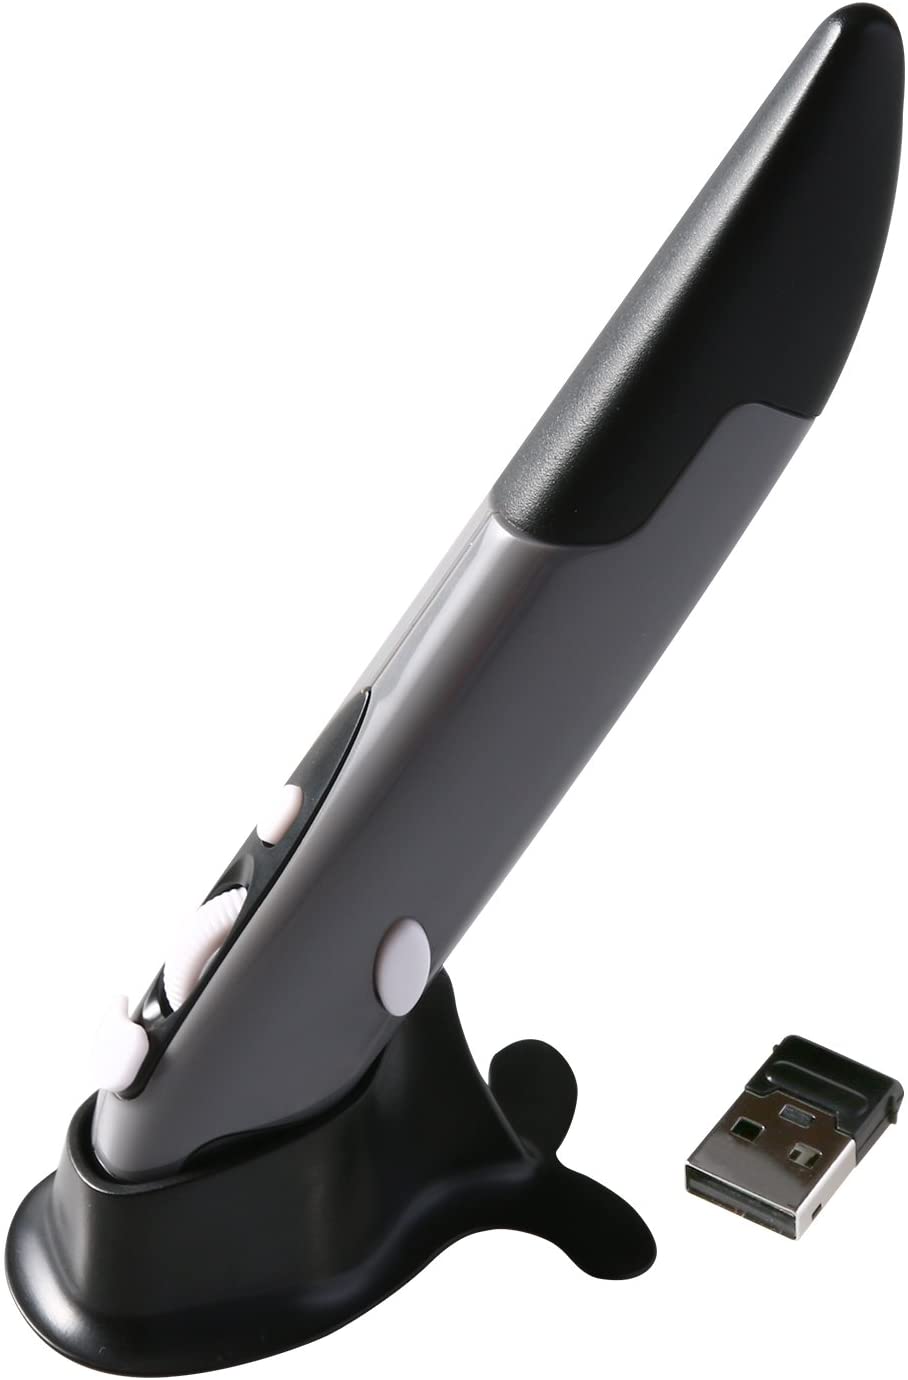
    I’m talking about a very specific type of product, though, like this one:

    gh7pvs2ous6wrgvp3bmn.jpg?auto=format&fit=fill&q=80&w=1280&nrs=30

    Plenty of people use a pen to interact with their computers, but in a slightly different way. I’d recommend you try out a full-on drawing tablet, one that you use a stylus to interact with, even though a pen mouse would likely be a cheaper investment at first.

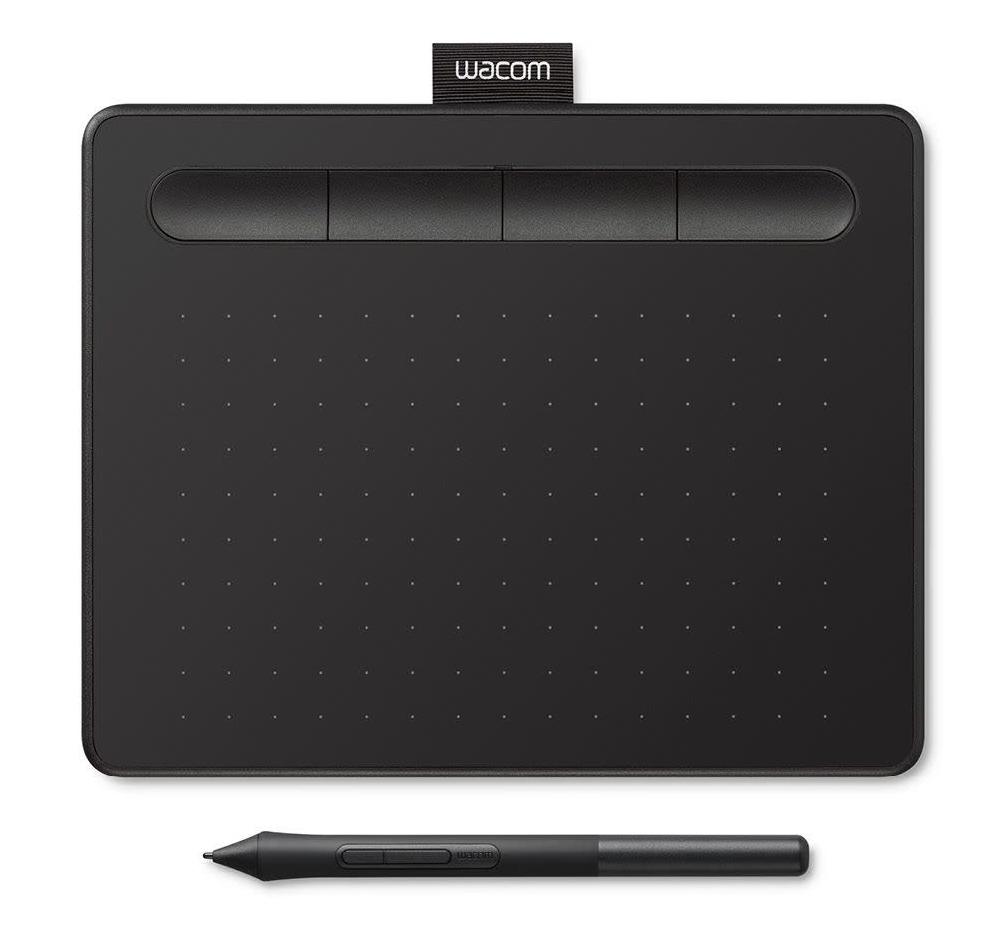
    The pros? The stylus never runs out of battery. It’s merely an extension of your hand that interacts with the tablet, which is the real meat of the operation. Drawing tablets like the Wacom CTL4100 — its entry-level product — come with a sea of favourable reviews, and Wacom is a trusted brand, so you know that any quirks with the relationship between pen and PC will likely get sorted out, which is more than I can say for some random manufacturer of a $30 “pen mouse.”

    l1ndhk9jwqgqztlrqlbr.jpg?auto=format&fit=fill&q=80&w=1280&nrs=30

    The downsides? Well, you’ll be tapping, not clicking, so that might take a little getting used to. That said, I’ve even heard of some people going for a hybrid approach — resting their non-primary hand on a mouse and using that to click, while using a pen+drawing tablet combo to navigate around Windows, move apps, and so on.

    There’s also the price. The aforementioned CTL4100 costs a cool $109. That’s just around four times the price of various pen mice I saw; however, I would consider this purchase like buying a quality kitchen knife. Sure, you can get $30 knives from Amazon that get the job done — as I have in the past — but the quality generally sucks and their long-term prognosis isn’t great. (Of course, though, when you lose, break, or rust them, it’s not that big of a deal.)

    How Do I View Messages on a Broken Phone?

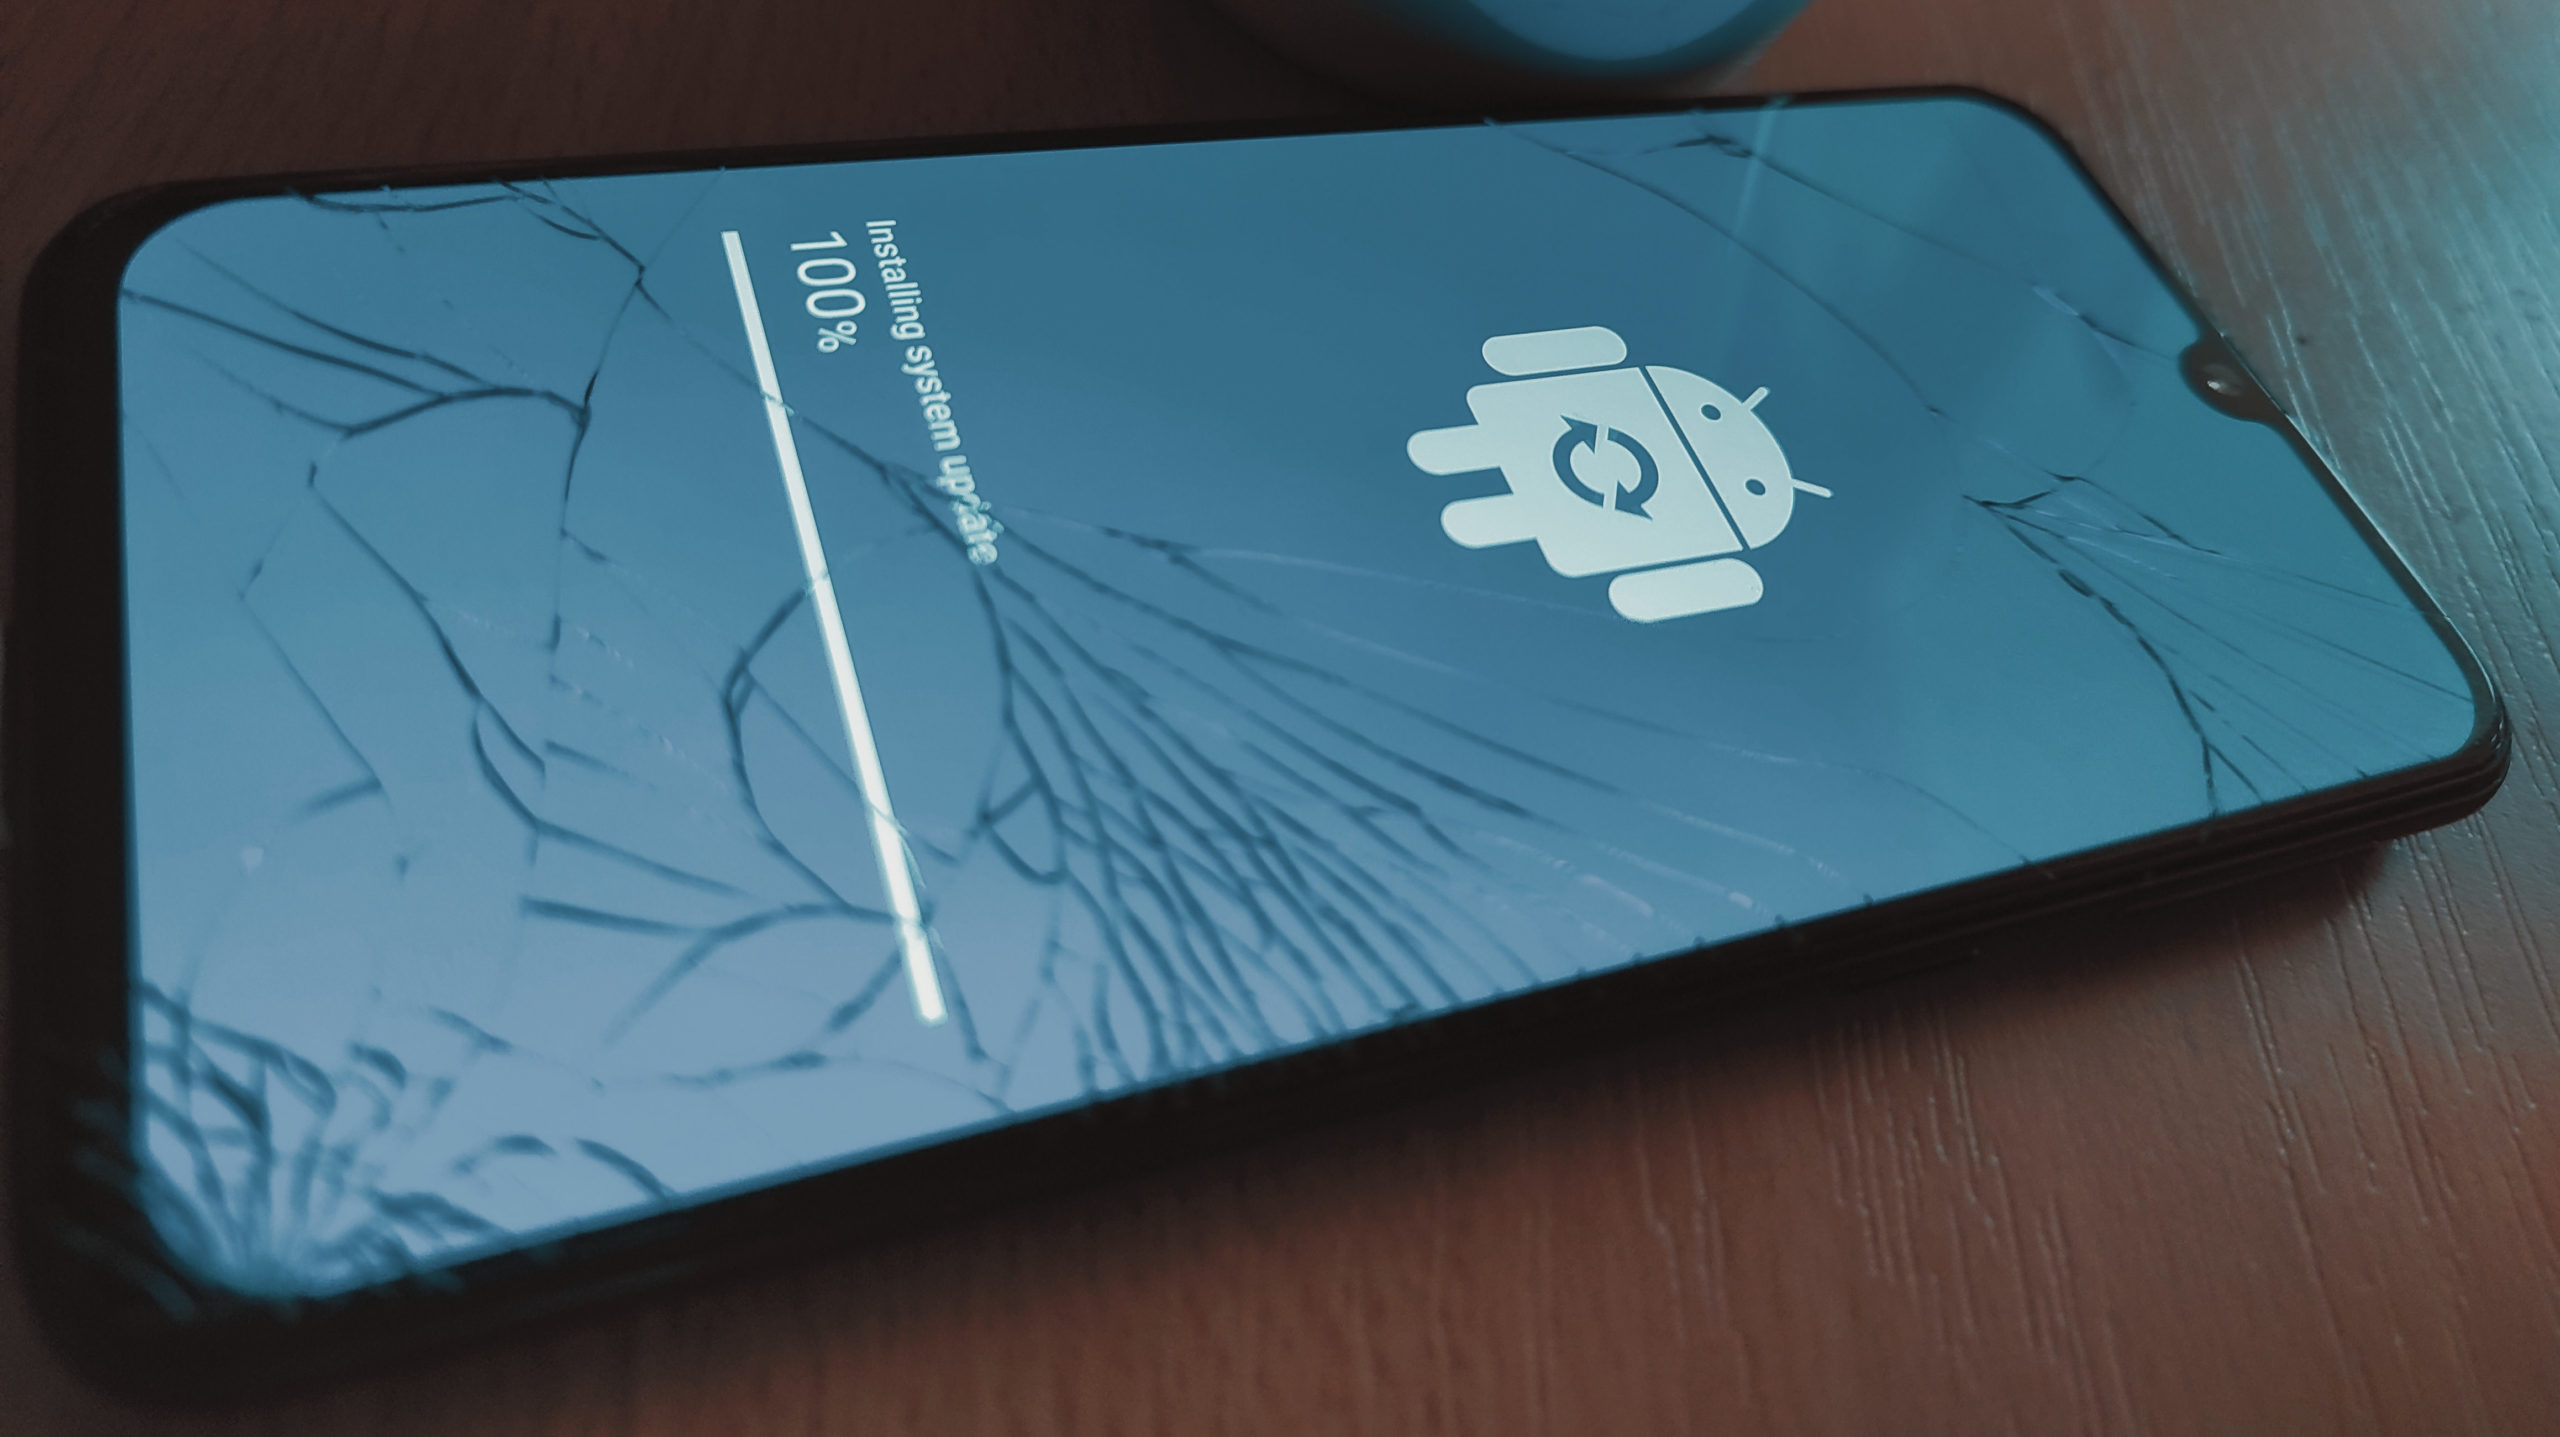
    Nobody likes a broken phone screen — especially when you need to access something on your device, but can’t see your display at all. It’s a frustrating predicament, as Lifehacker reader Ayana explains in this week’s tech question:

    Read more

    I’m assuming that you interact with your computer a fairly regular amount, and given that you specifically referenced signing your name and sketching, I think the CTL4100 is the perfect fit. I also didn’t mention earlier that it has a lot of built-in pressure sensitivity for the latter, in case you want to explore that as part of your doodling. A pen mouse? Unsure if it’ll have that kind of a feature built-in, as it’s more an input device than an ideal drawing tool.

    So that’s my advice: Go with a drawing tablet. I (and many others) like Wacom, but I’m sure there are decent alternatives out there, too. Given your needs, though, I wouldn’t buy something that costs hundreds of dollars — not unless digital art is a key part of your daily life.

    If, or when, you purchase a drawing tablet, make sure you pull up Windows 10’s Pen & Windows Ink settings, where you should also see a key option you’ll want to enable: “ Allow my pen to act as mouse in legacy applications.” I don’t have a pen/drawing tablet myself, so I can’t confirm this is what it’s called (or whether it still exists), but I know this was previously a way to ensure that you could use your stylus to interact with apps system-wide. It’s also plausible that you’ll have similar settings in whatever app comes with your drawing tablet (make sure you’ve installed that, as well as the tablet manufacturer’s drivers, to ensure the best experience).

    Do you have a tech question keeping you up at night? Tired of troubleshooting your Windows or Mac? Looking for advice on apps, browser extensions, or utilities to accomplish a particular task? Let us know! Tell us in the comments below or email david.murphy@lifehacker.com .

    The post Is It Worth Switching From a Mouse to a Pen? appeared first on Lifehacker Australia .

    • Li chevron_right

      How to Take Scrollable, Full-Page Screenshots of Websites on iOS

      pubsub.dcentralisedmedia.com / LifehackerAustralia · Thursday, 11 February, 2021 - 18:45 · 2 minutes

    Once a year or so, I spend some time trying to find the best way to take a seamless screenshot of an entire website, as I’m not always a fan of the CTRL + S approach for saving a site’s data. I only wish I knew earlier how absurdly easy this was to do on iOS, of all places.

    I’ve tried plenty of browser extensions that worked to varying degrees (until I found the reason why most of them would typically mess up for me). Capturing the entirety of a site on my iPhone now opens up plenty of new possibilities though — including being particularly convenient if I want to send someone a snapshot of what a site looks like at the exact moment I’m viewing it or want to show someone how a bug is mucking up my experience.

    How To Fix Full-Page Browser Screenshots That Render Black

    There are a bunch of different extensions you can use to take full-page screenshots in your browser — typically a more elegant way to preserve a site’s contents than “printing” it as a PDF or saving it to your computer as a complete website. Since I use Chrome, Full Page Screen Capture...

    Read more

    Whatever the reason, capturing a full-page screenshot of a website on iOS is simple. To start, launch the website in your device’s Safari browser — after you’ve made sure you’re using the latest version of iOS. Take a screenshot of a website as you normally would — Side Button + Volume Up , in my case. You’ll now see this screen:

    vepbqjrmswvylva3nh9c.png?auto=format&fit=fill&q=80&w=1280&nr=20

    If you don’t see those two options at the top — Screen and Full Page — iOS is probably being fussy. Close Safari, reopen it, and try taking another screenshot. These options are critical, as tapping Full Page is the magic sauce that will lead you to this screen:

    mehgkw3upcs5p8hc6lds.png?auto=format&fit=fill&q=80&w=1280&nr=20

    That little sidebar on the right, which you can scroll through up and down, shows you the entirety of the page that your phone has captured. When you go to save it, however, you won’t be dropping it in your photo album because your device isn’t technically creating a giant photograph. Instead, your iPhone will have converted this mega-screenshot into a PDF, so you’ll need to send it to some other folder on your device:

    d9hoyi8zyhgwctpsyo0d.png?auto=format&fit=fill&q=80&w=1280&nr=20

    And that’s it. You now have a gigantic, full-page screenshot of whatever website you were looking at — one that’s already been converted into a PDF for you. If you’re doing a lot of archiving of old work, I would argue this is almost easier to deal with than the combination of a desktop browser and an extension, but that’s just me.

    The post How to Take Scrollable, Full-Page Screenshots of Websites on iOS appeared first on Lifehacker Australia .

    • Li chevron_right

      Make Microsoft Word’s ‘Dark Mode’ Actually Dark

      pubsub.dcentralisedmedia.com / LifehackerAustralia · Thursday, 11 February, 2021 - 14:00 · 2 minutes

    Microsoft’s Word app has a dark mode that you can use right now, but it’s not as dark as you might prefer it if you’re the kind of person who likes working on projects in the wee hours of the night.

    When you fire up Word normally, this is what you’ll see when you’re using its “Colourful” theme:

    uy5nmu8rqh53on04enlr.png?auto=format&fit=fill&q=80&w=1280&nr=20

    If you go to switch the theme (via File > Options > General > Personalise your copy of Microsoft Office or File > Account > Office Theme ), you’ll be able to pick a slightly darker grey to use:

    k5poxp2ubavp6zii3gho.png?auto=format&fit=fill&q=80&w=1280&nr=20

    And even a straight-up black setting, the app’s “dark mode” as it currently exists:

    ygdydhd02vuay0wfoheb.png?auto=format&fit=fill&q=80&w=1280&nr=20

    Even in dark mode, you have a big-arse hunk of white staring you in the face: the very page you’re working on. It kind of takes away the purpose of having a dark mode.

    While you can certainly change this yourself using the Page Colour option under Design , that modifies the document for all who view it. And it’s possible that whoever you’re sending your work to might not want white text on a black background.

    To get around this, Microsoft is testing a new dark mode iteration for Word that turns the page black, if that’s your preference — but only as a viewing mode. That document will still look normal in whatever viewing mode another person has set up for themselves.

    To get to this feature, you’ll need to first sign up to be an Office Insider. You’ll find that option within the Account window on your main Office screen:

    fzp4aeiyap7wowuibtp8.png?auto=format&fit=fill&q=80&w=1280&nr=20

    Sign up for the Beta Insider channel, rather than the Preview insider channel, and then click on the Update Options box on your Account screen to download whatever updates Word asks of you. You’ll now be “on the cutting edge,” as Microsoft says:

    bizgqnip5yf68yestldc.png?auto=format&fit=fill&q=80&w=1280&nrs=30

    Close Word and reopen it. From there, head back to File > Options , and set your theme to Black once again. You should now see a blissful black background that you can type on:

    r3apcqvedemobtvsaosj.png?auto=format&fit=fill&q=80&w=1280&nr=20

    And if you want to switch back to a white page at any point, simply pull up the View tab in your document and click on the new Switch Modes button:

    bd1t7js0igzmvh6xjpn6.png?auto=format&fit=fill&q=65&nrs=40
    trnqu3yys1fpdqxjzf5k.png?auto=format&fit=fill&q=80&w=1280&nrs=30

    The post Make Microsoft Word’s ‘Dark Mode’ Actually Dark appeared first on Lifehacker Australia .

    • Li chevron_right

      Use Admin Roles to Share Access to LinkedIn Pages

      pubsub.dcentralisedmedia.com / LifehackerAustralia · Tuesday, 9 February, 2021 - 22:00 · 2 minutes

    Managing your business’ presence on LinkedIn takes teamwork, but unless you really know and trust your colleagues, you probably aren’t comfortable sharing the company LinkedIn page’s password with another employee just so they can post updates.

    Thankfully, LinkedIn now lets you add other users as admins for any page you own. With these new admin tools, you can give someone else the ability to post updates and manage new job listings for your company from their personal account. They never have to sign into the page.

    There are obvious privacy benefits to using LinkedIn’s new admin roles, but they can also help you organise your business by assigning admin privileges based on a person’s role in the company.

    Don’t Use LinkedIn to ‘Build Your Brand’

    Like all social networks in 2021, LinkedIn is regularly swarmed by users trying to go viral or make a splash by pontificating about their career insights. Though it isn’t as toxic as Facebook or Twitter — remaining a much more benign platform existing (mostly) outside of the social media culture...

    Read more

    There are two types of admins you can create for a LinkedIn page: Page Admins , who maintain the page’s content and communication, and Paid Media Admins who can create and manage ads and sponsored content for a page. Each type has a hierarchy of roles that grant the admin different features and privileges. Here’s a quick explanation of each:

    Page Admins:

    • Super Admin: Has full access to all admin tools, and is the only role that can edit a page’s information, deactivate a page, or add (and remove) other page admins.
    • Content Admin: Can create, post, and manage page-related updates, Events, Stories, and job listings.
    • Analyst: Can access a page’s analytics tab on LinkedIn and access the page in third-party analytics tools.

    Paid Media Admins:

    • Sponsored Content Poster: Can post sponsored content and ads on behalf of a company through their personal LinkedIn profile.

    • Lead Gen Forms Manager: Can download marketing lead data from page-associated ad campaigns.

    • Pipeline Builder: Can create and edit Pipeline Builder landing pages for other Media Admins and manage leads through LinkedIn Recruiter.

    LinkedIn says the new admin tools are rolling out to all users, but it may take some time before they’re universally available. However, once they are, you can start assigning admin roles to any employee, advertiser, or member associate with your page.

    How to become an admin on LinkedIn

    Users can request admin privileges for any page they work for or are otherwise associated with. The process is identical on desktop and mobile:

    1. Add current position with the organisation on your LinkedIn profile. As LinkedIn’s support page notes , this is a required step to ensure you’re qualified to be an admin.
    2. Open the LinkedIn page you’re requesting admin privileges for.
    3. Click/tap the three dot “More” icon.
    4. Select “Request Admin.”
    5. Confirm that you’re authorised to become an Admin, then click/tap “Request access.”
    6. You’ll receive a notification once your request is approved.

    (Note that requesting access grants that page’s Super Admins access to your profile’s public info.)

    The post Use Admin Roles to Share Access to LinkedIn Pages appeared first on Lifehacker Australia .

    • Li chevron_right

      Update Your Slack Passwords Now, Android Users

      pubsub.dcentralisedmedia.com / LifehackerAustralia · Tuesday, 9 February, 2021 - 20:37 · 1 minute

    Over the weekend, some Slack Android users received a seemingly random email urging them to update their passwords. The email claims a bug in the Android app incorrectly logged password data as plaintext that could be easily scooped up by hackers.

    I don’t blame you if you ignored the email — it has many signs of a phishing scam — but it’s legit. Android Police confirmed with multiple Slack representatives that the emails originated from Slack, the security issues are real, and the links within the message are safe to click. While there’s no evidence passwords have been stolen or accounts hacked, Slack is proactively asking users to update their passwords.

    Slack’s email includes instructions for changing your password and clearing your app cache, but it’s unclear if all affected users were alerted, so it’s wise for anyone using Slack on Android to follow the company’s suggestions, even if they didn’t get the email. Here’s what you need to do:

    First, update your password with the link in Slack’s email, or under your account settings on Slack’s website.

    Next, make sure you have the right version of Slack installed. This part is simple: If Slack works on your phone, you have the right version; if not, you can safely download the latest build from Google Play. Google removed the bugged version of the app from Google Play, which also disabled it on devices that had previously downloaded it, so there’s no risk in using the app anymore.

    With the correct version of Slack installed on your device, the last step is to clear the app’s data cache to ensure the improperly-stored password data is removed. There are two ways to do this:

    ( Note: Clearing the app cache logs you out of Slack, so make sure you sign back in afterward.)

    1. In your Android settings, g o to Settings > Apps > Slack > Storage and select “ Clear Data or Storage .
    2. Long-press the Slack icon from your app launcher. Tap App Info , then Storage , then select “Clear Data or Storage.”

    The post Update Your Slack Passwords Now, Android Users appeared first on Lifehacker Australia .